Project Superspurt

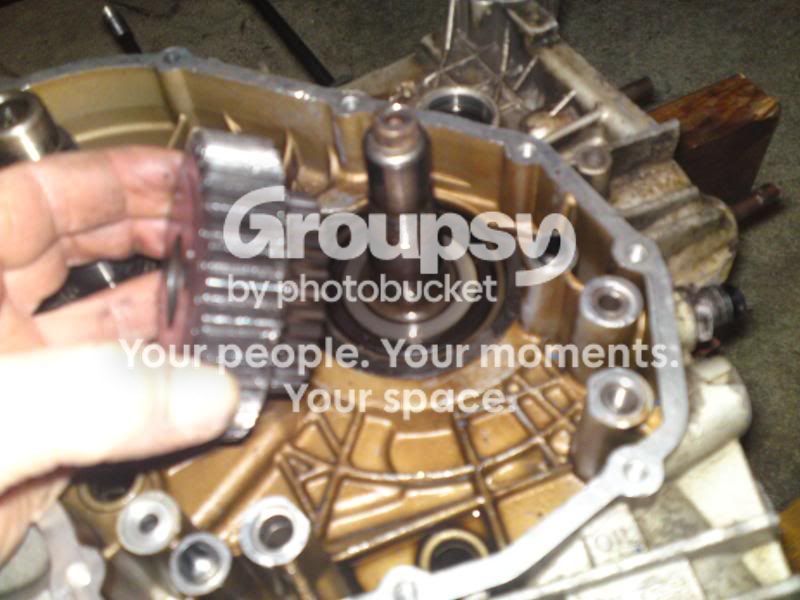
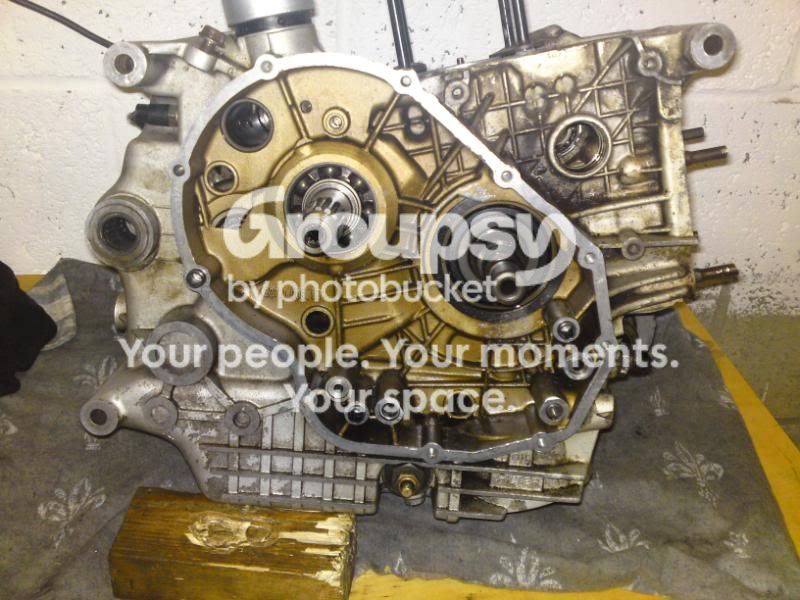
Primary drive extraction....eventually
002-59.jpg

005-44.jpg


006-35.jpg


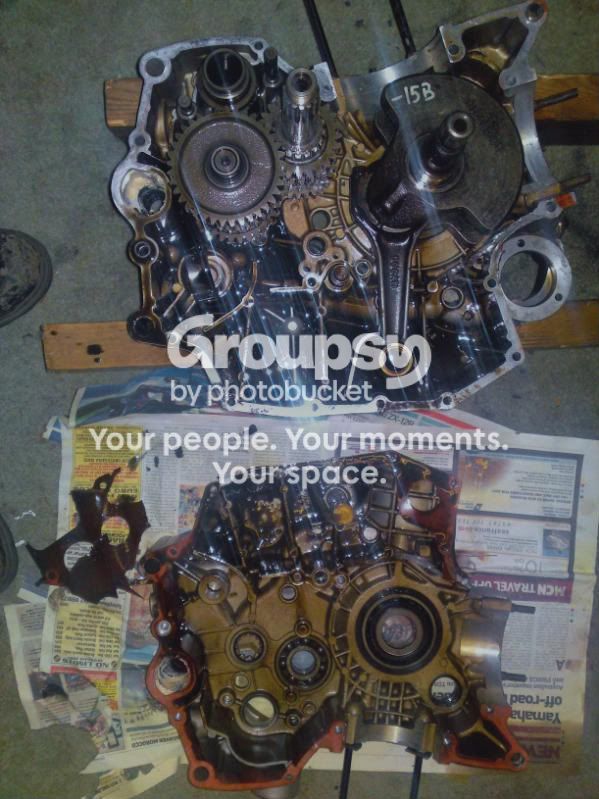
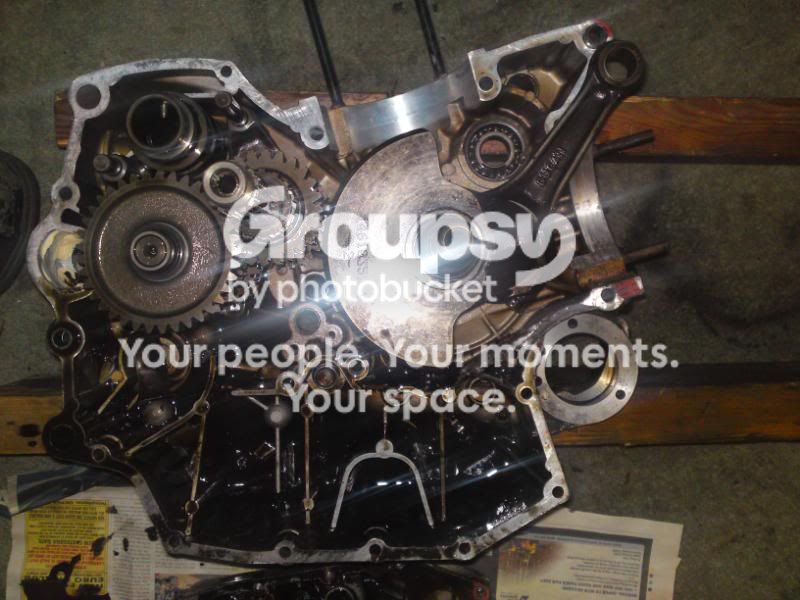
cases split,sorry about the reflections
008-27.jpg

009-26.jpg


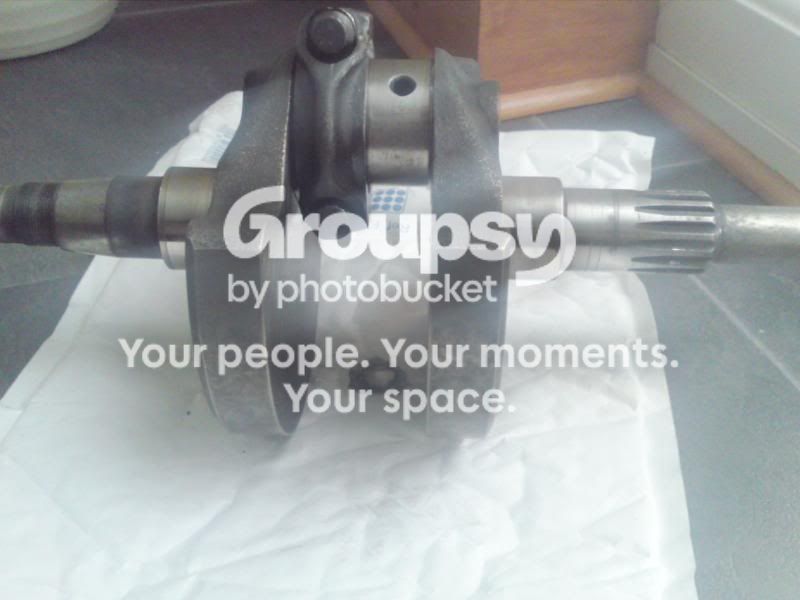
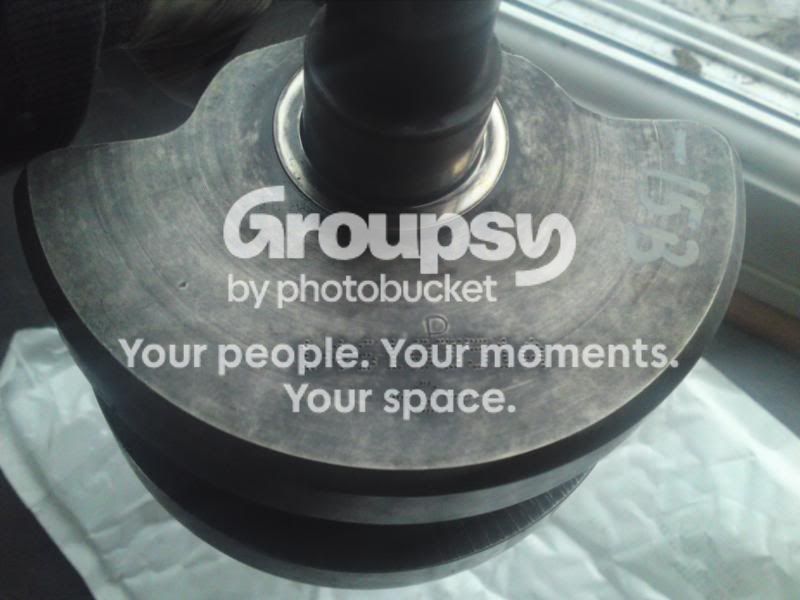
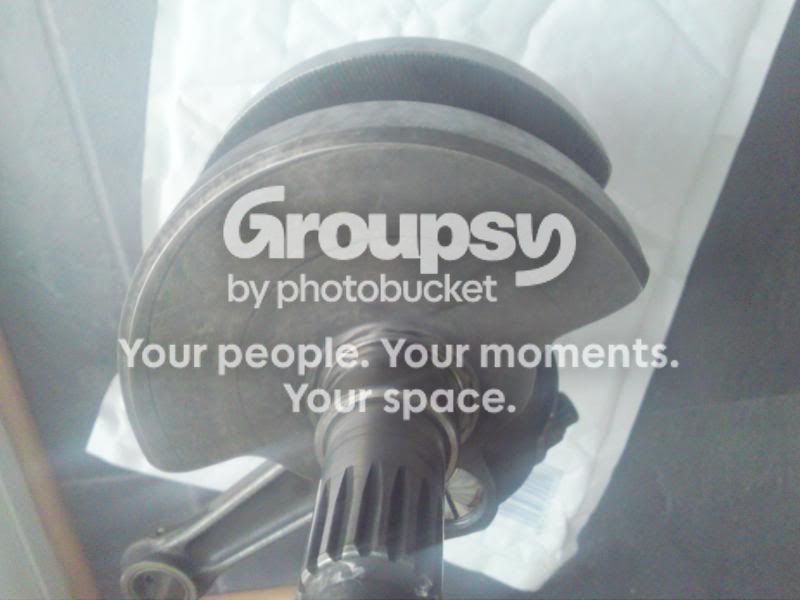
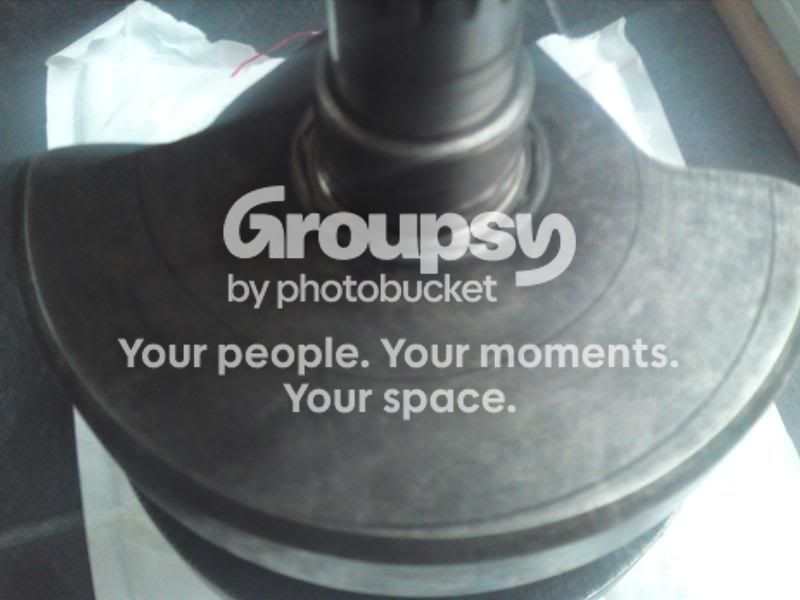
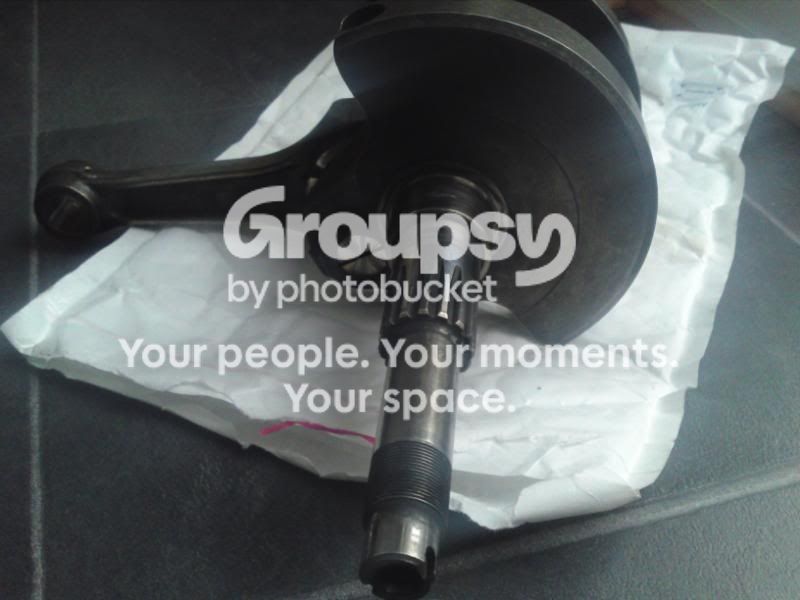
So tell me what I'm looking for regards the crank,straight out the case

014-12.jpg

015-10.jpg

017-7.jpg

018-8.jpg


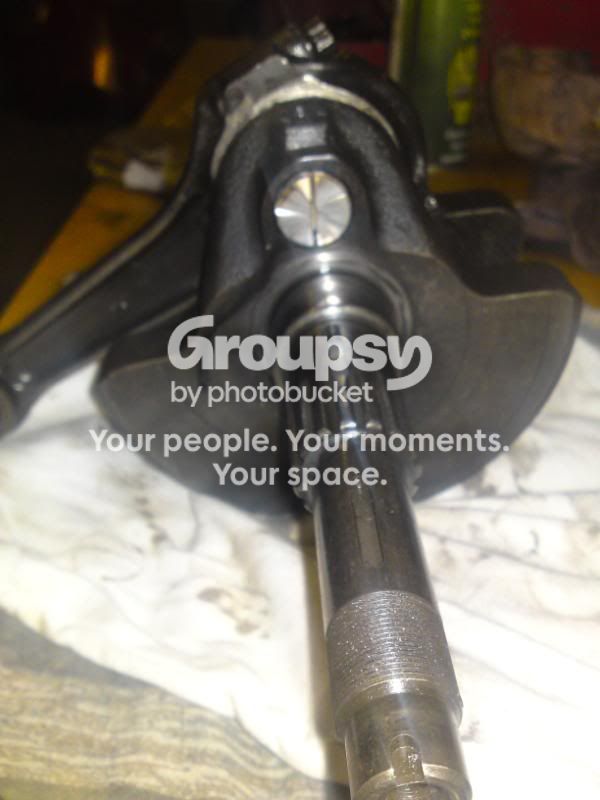
Some marking on that big silver screw
016-7.jpg


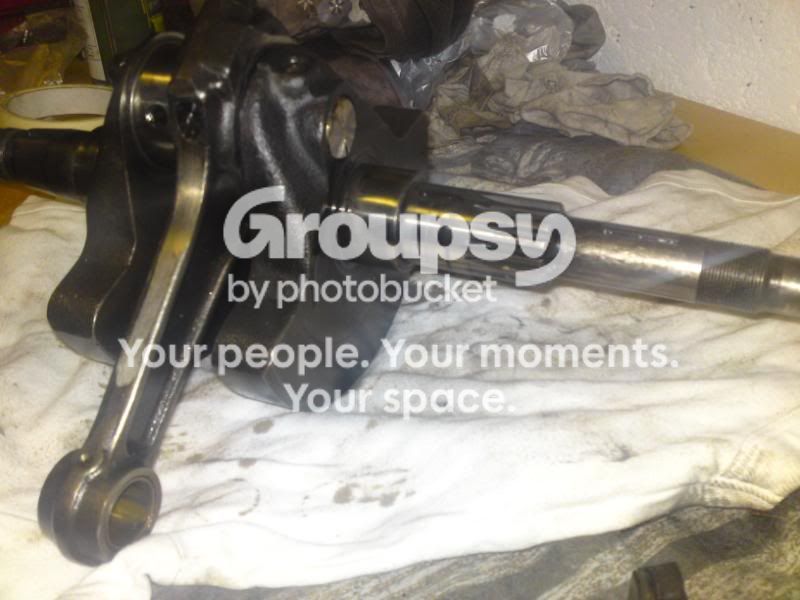
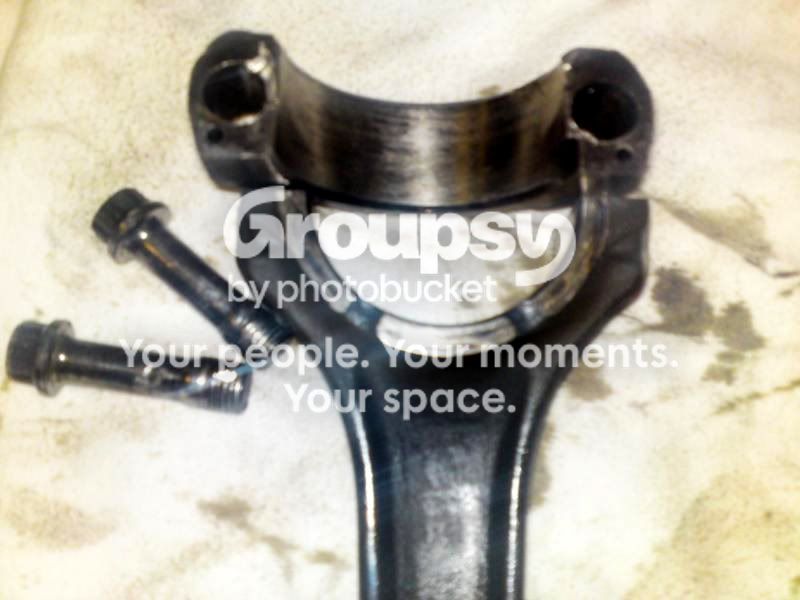
Threads on the horizontal conrod bolts stripped,
013-16.jpg
 
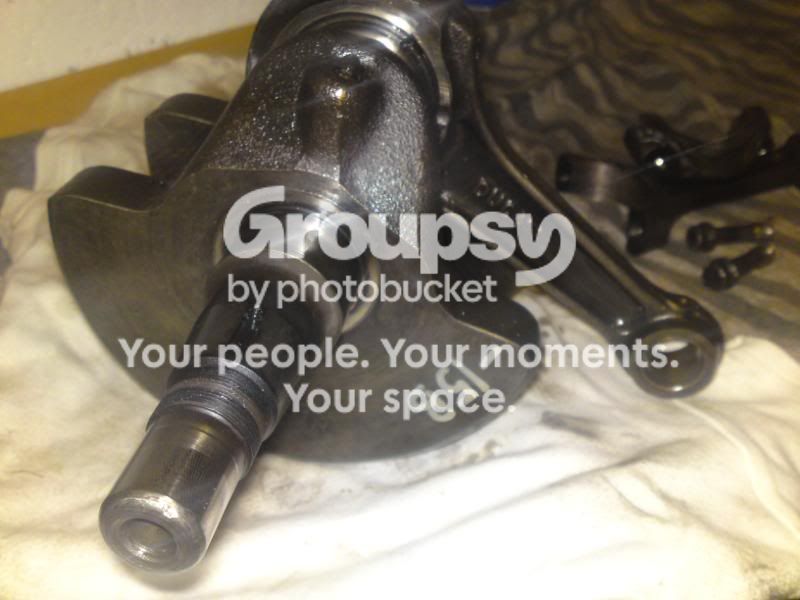
The big silver screw is the oil galley plug, these are known to back out resulting in no oil pressure and subsequent big end failure. Are the markings due to it rubbing against the crankcase? If so that's the first signs of it backing out.
You should be examining the crankshaft big end journal for wear and scoring. There should be no scoring, which I'd find hard to believe given the state of the conrod, and wear should be within the service limits as described in the workshop manual.
I've been trying to figure out how that big end managed to get pulled apart. Presumably the piston to which it was attached nipped up in the cylinder and the big end bolts were torn out by the momentum of the motor. Yet the piston/cylinder seems to have come out remarkably undamaged :confused:
 
With that much damage I would check the crank for truth as well as surface marking. It would be interesting to know what revs were required to cause such a mess!! Good luck! :flash:
 
Right I've taken better pics of crank,think your right Derek,big end failure...that oilway plug was backed out 3/4 the way and one of the oil ways under the shells was blocked solid.
011-27.jpg

001-53.jpg

012-19.jpg

003-48.jpg

013-17.jpg

006-36.jpg

007-33.jpg

008-28.jpg

OUCH ...damn star socket is too fat to get onto the big end bolts to get that conrod off
009-27.jpg
 
OUCH ...damn star socket is too fat to get onto the big end bolts to get that conrod off

Grind the socket down, ;):D
 
This is what the bike looked like b4 i sold it to that :jerkoff:,Not Colin:rolleyes: Hugo,(friend of mine from Cadiz), i regret it big time,feel sorry for the thing, anyway Colin if you need a man to get that bolt out i could pop round tomorrow,although i have got a wee project myself as you know
Andres,

I cant believe that's your old bike,..what the FCUK happened to it.:confused:

Anyway good luck Colin,...this is defo "a winter project"

David
 
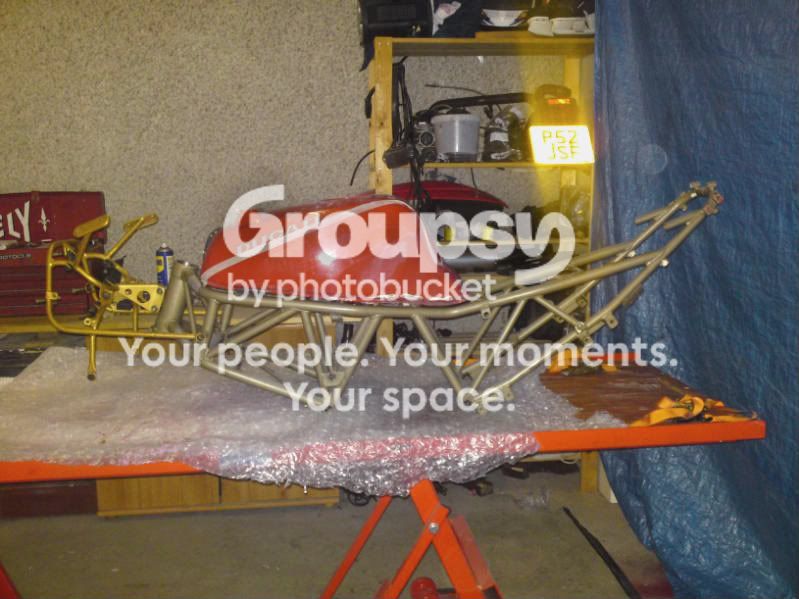
Picked up frame from Eddie(ERS),thats the split tube sorted.
I have an engine sorted out(req's piston rings on one piston) so its all systems go,well if I can decide which direction I want to go with regards colours,style or back to standard :confused:
 
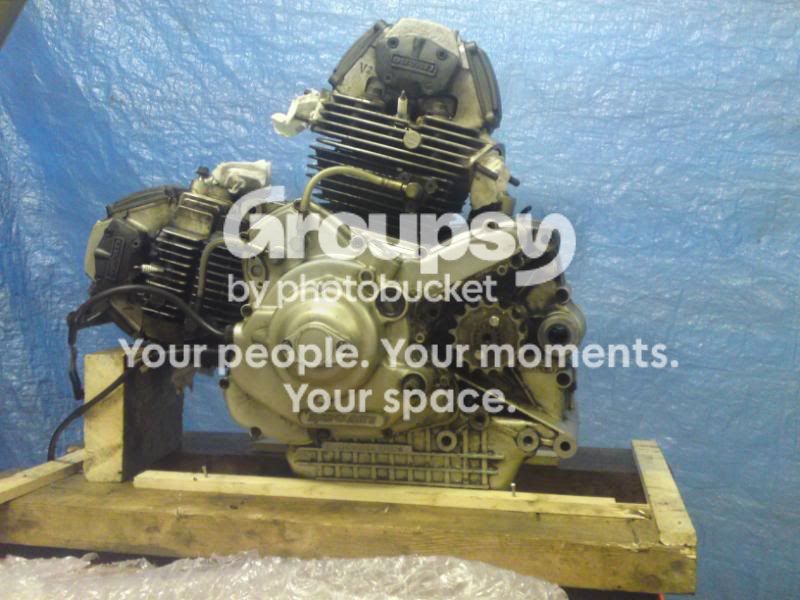
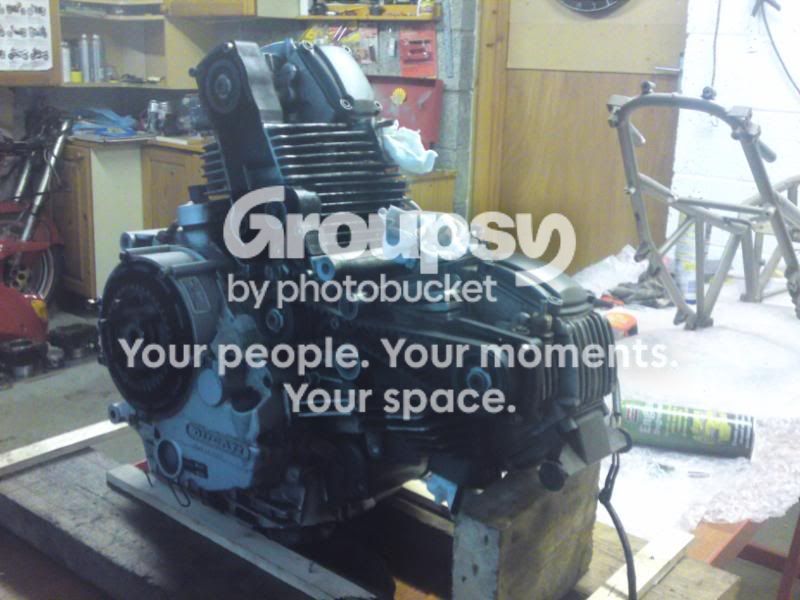
Got my new engine,need to get rings sorted out on vertical cylinder,looks pretty clean without being cleaned.
006-39.jpg

004-49.jpg
 
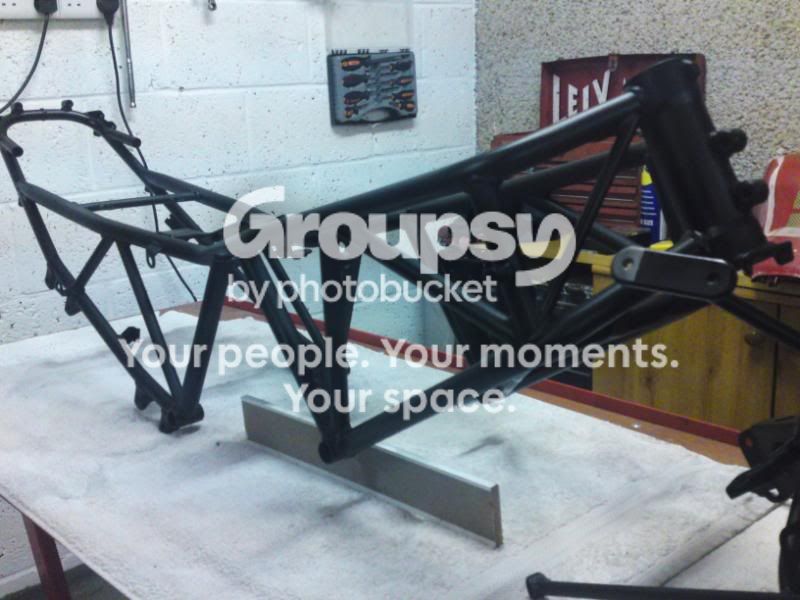
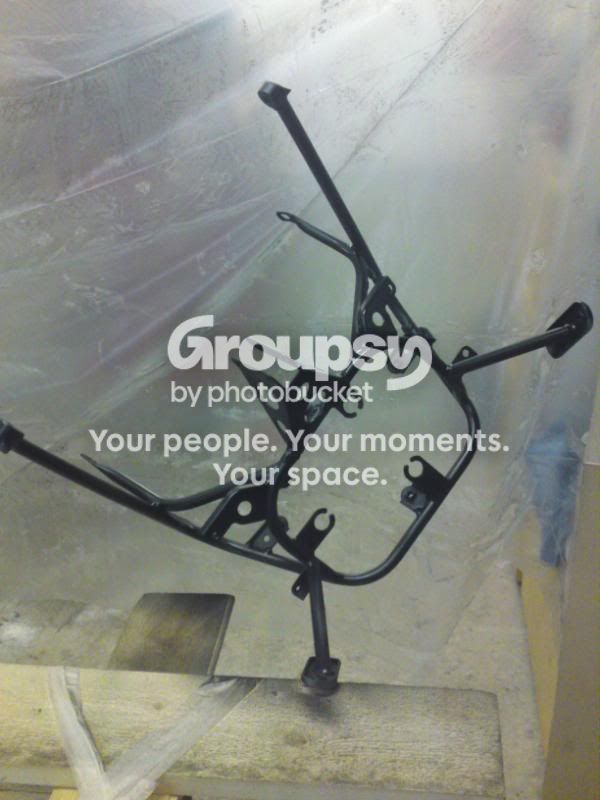
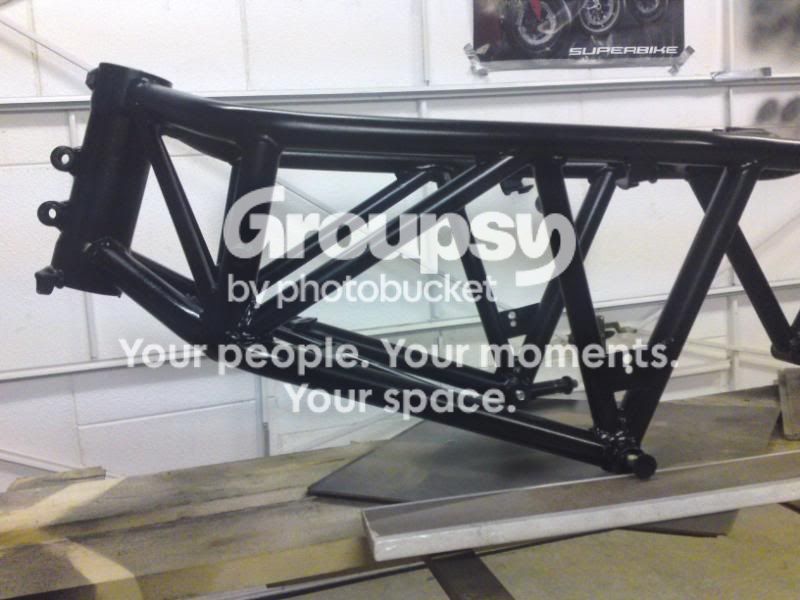
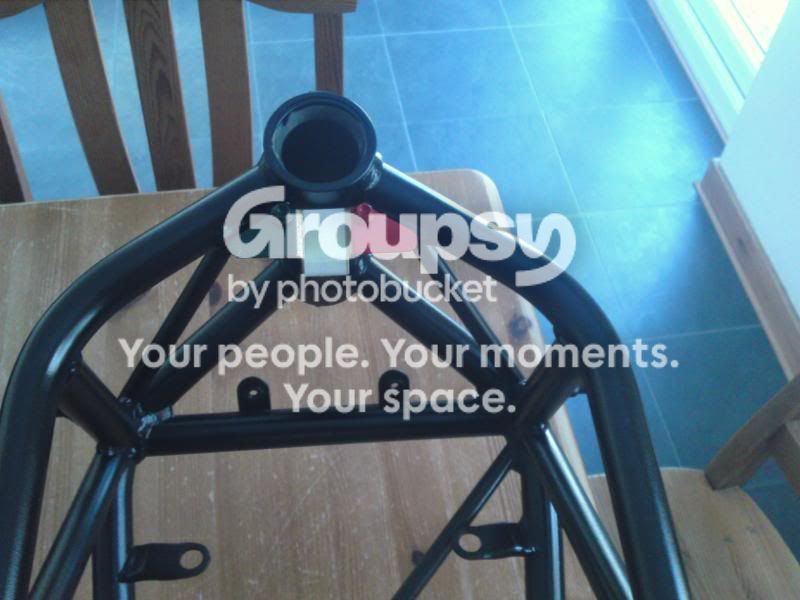
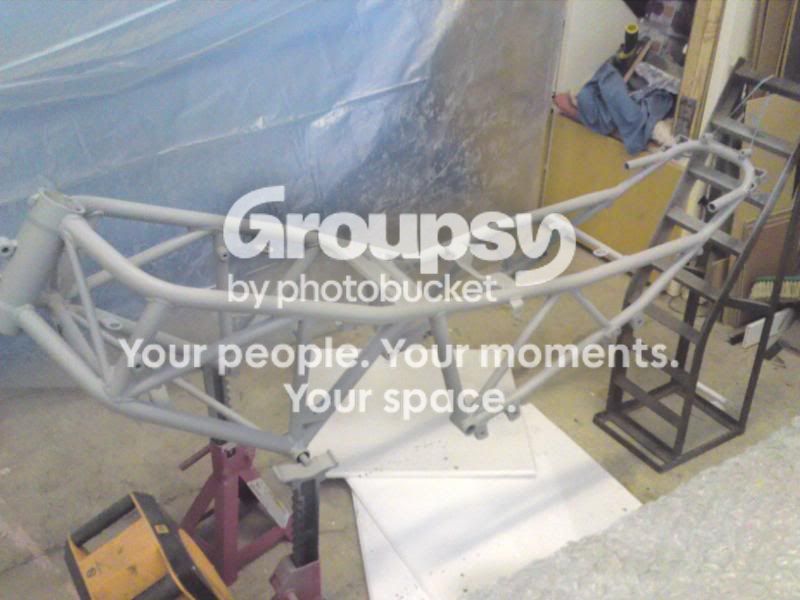
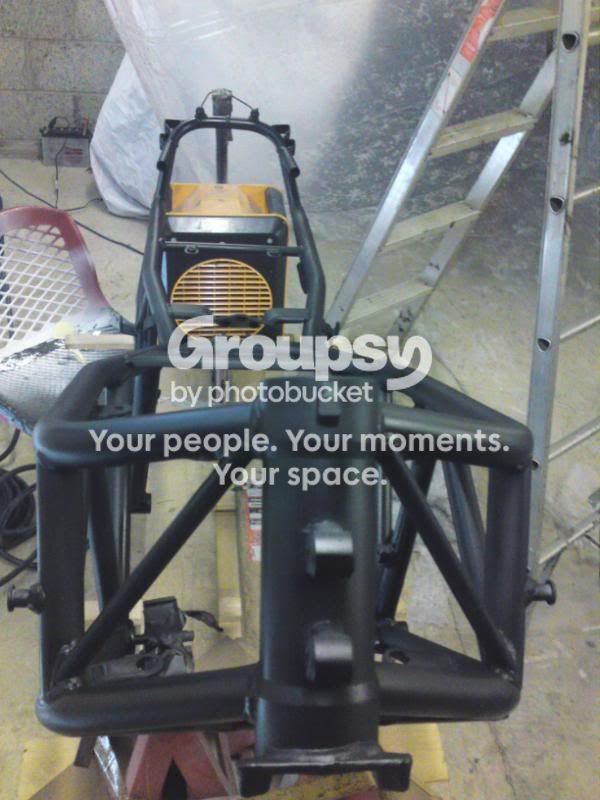
Haven't been slacking on this ...honest,due to mainly restriction of funds and my never say never altitude I decided I was gonna spray the frame !!....myself...shock feckin horror.
I have a compressor and gun ,bought some 2 pack primer/hardner/satin black and battered in.To be fair the frame was in reasonable nik to start with so prep wasn't too bad.
Results are reasonable,hard to show with these pics,I don't know whether I need to cut it in with paste then a good polish or just a light going over with 1200 grit and a satin lacquer ???

001-59.jpg

002-65.jpg

004-50.jpg

003-54.jpg


this is the rough look I'm going for

16-05-09.jpg
 
Hi Colin ,

Great thread Col.

My mate has just finished painting the rack on his quad .

He used Hammerite smooth spray paint out of Halfords.

Gave it three coats and it looks great. Nice glossy finish and looks a great quality of finish too.

He also said it was great to work with , with no runs in it also.

I had a look at it the other day and it looks fab...
 
cheers Kenny but i'm done :D
Ended up giving the 2 pack satin black a going over with 1500 wet and dry then a clear lacquer.Its a bit shiny for my liking and those of you who seek perfection would pick fault but for a budget rebuild its ok,in saying that I dont think I'll be attempting the tank,fairings etc(well not with out major practice/tuition).

001-60.jpg

005-50.jpg

011-28.jpg


Next back to the oily bits,need to get an oil control ring sorted for tha vertical cylinder,get new belts,double check valves(guy I bought it from says he'd just done them but I'll double check them).
Then bolt frame to motor,then strip/clean/replace bits as they go back on ............................................heeelp,Derek :confused:
 
Next back to the oily bits,need to get an oil control ring sorted for tha vertical cylinder,get new belts,double check valves(guy I bought it from says he'd just done them but I'll double check them).
Then bolt frame to motor,then strip/clean/replace bits as they go back on ............................................heeelp,Derek :confused:
You're doing fine Colin and you will be learning a lot as work through this project. I'm getting used to you're PM's every other day :lol2:
 
I'm getting used to you're PM's every other day :lol2:

Only every other day now is it? :lol2:

Seriously Colin nice to see you trying something many folk wouldn't contemplate. Hope you have a running bike by the end of it.
 
Yeah I know the tank will hide it :rolleyes:
001-61.jpg


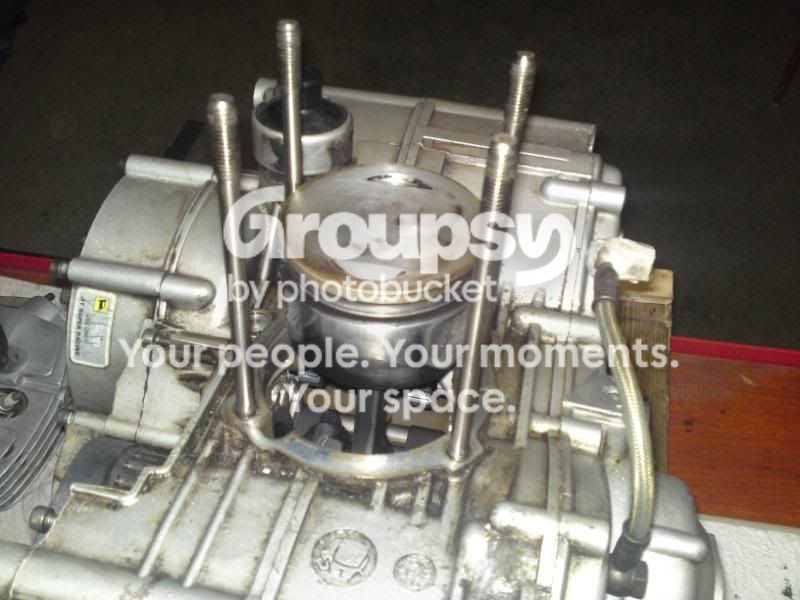
Aw naw back to engine bits laying about :eek:,only the vertical cylinder,piston needs an oil control ring fitted(which I aint got yet).Internals look in pretty good condition,plus the casings should clean/titivate up nicely.

008-30.jpg

009-29.jpg

006-40.jpg

005-51.jpg

004-52.jpg
 
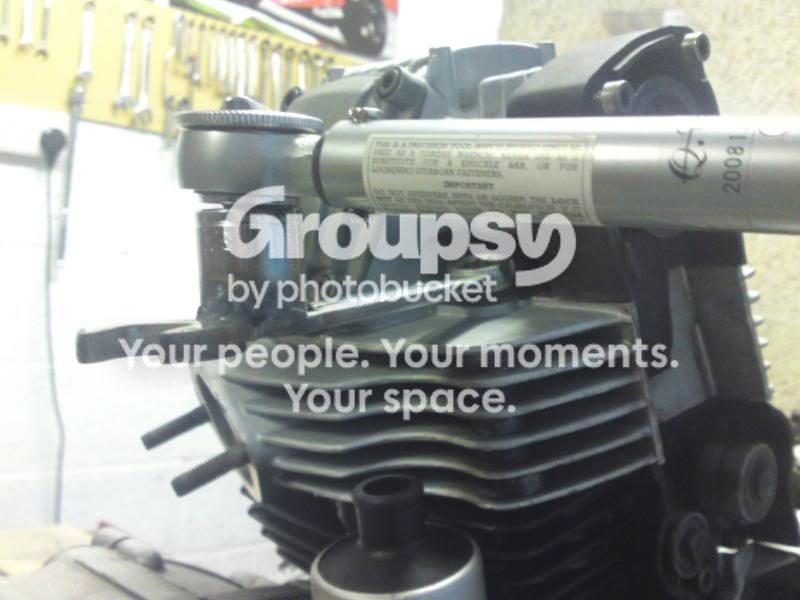
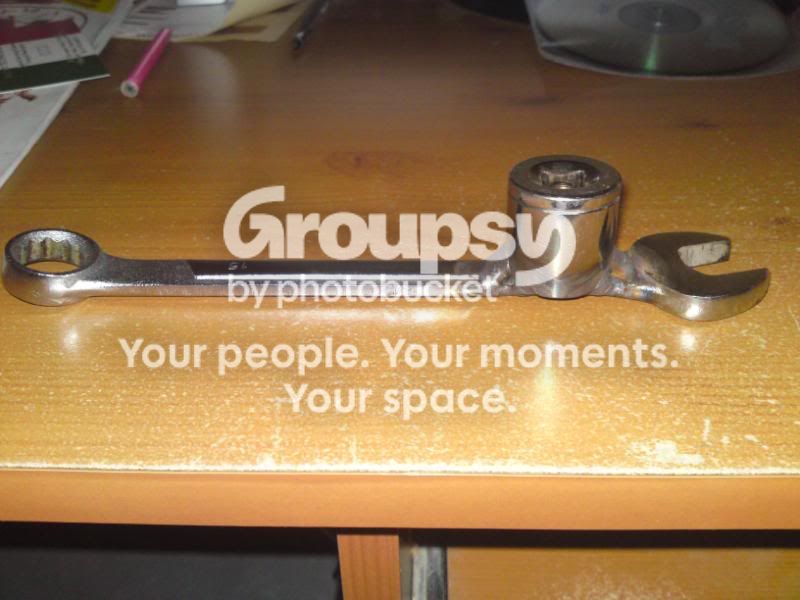
my two new fave tools
(thanks Eddie(ers) and Derek for giving me the tip)

002-68.jpg

016-8.jpg


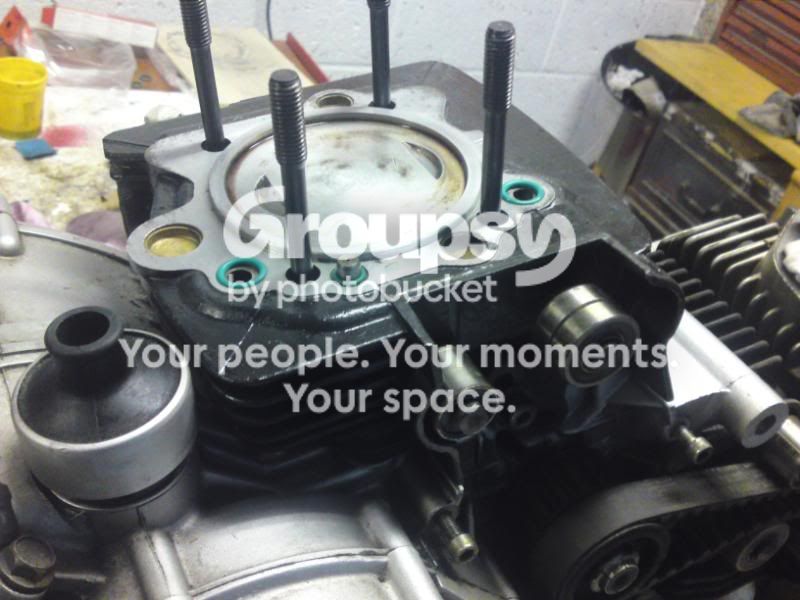
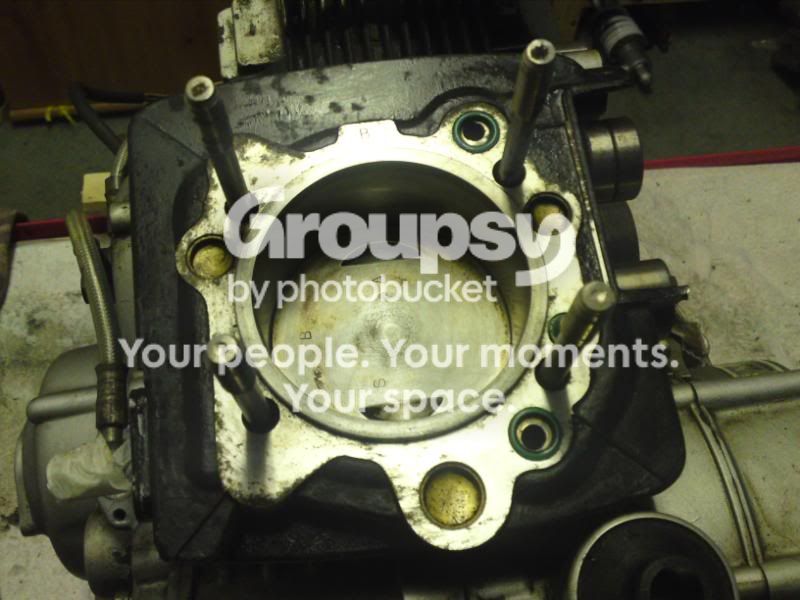
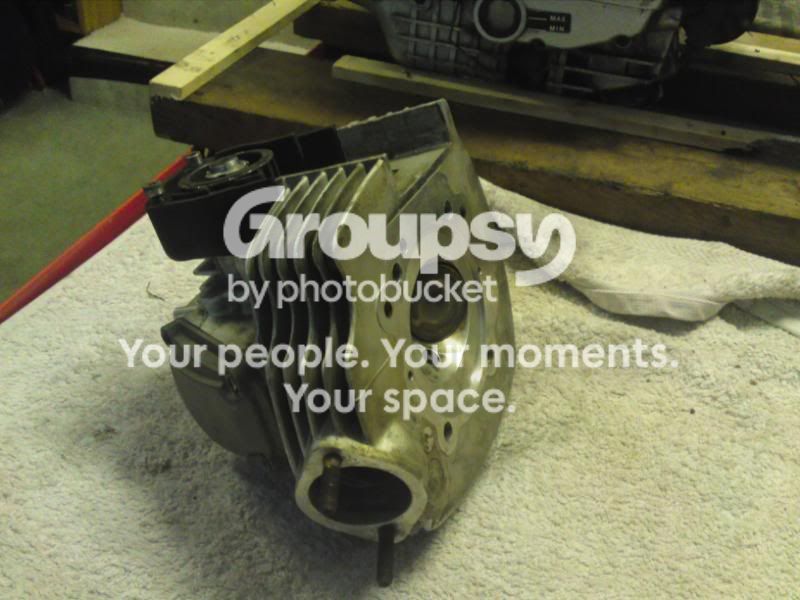
time to get the barrel and head back together,I put the new oil control ring on last night,lots of sweating,thanks to Derek again for tip, I eased them into place with the thinnest feeler gauge possible.
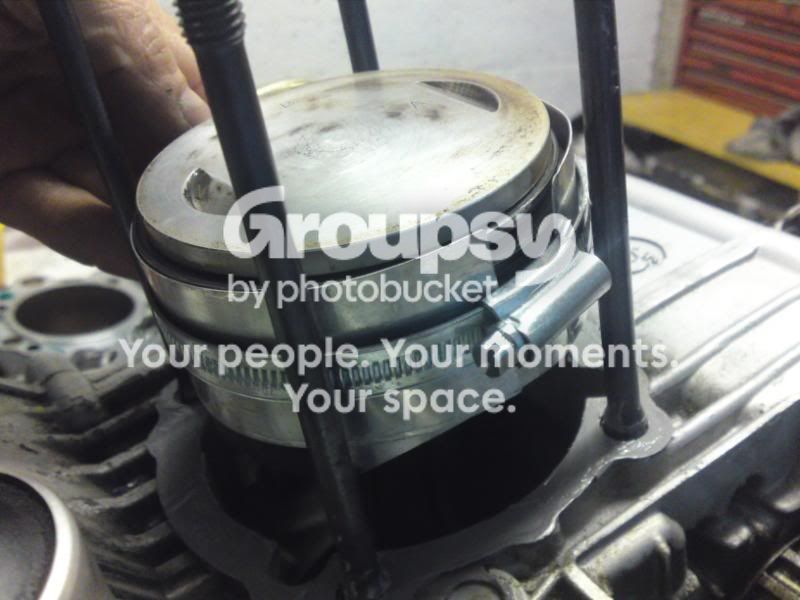
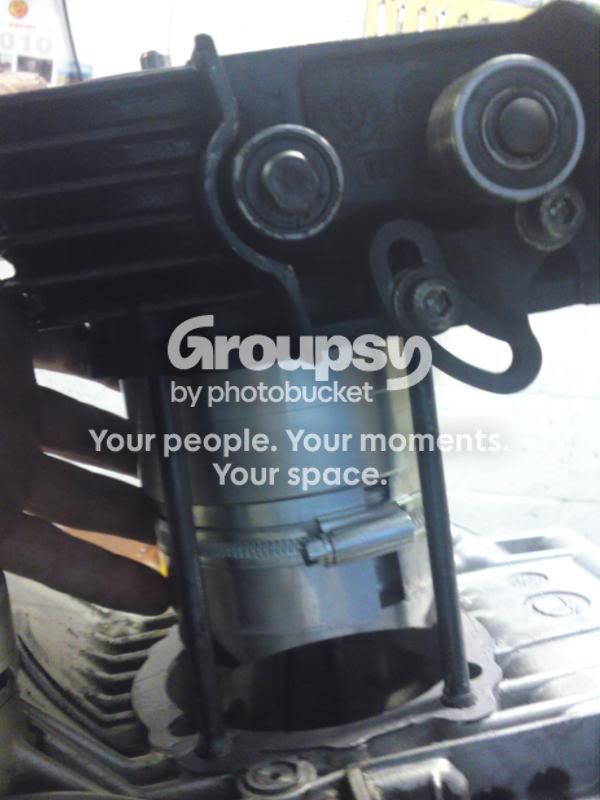
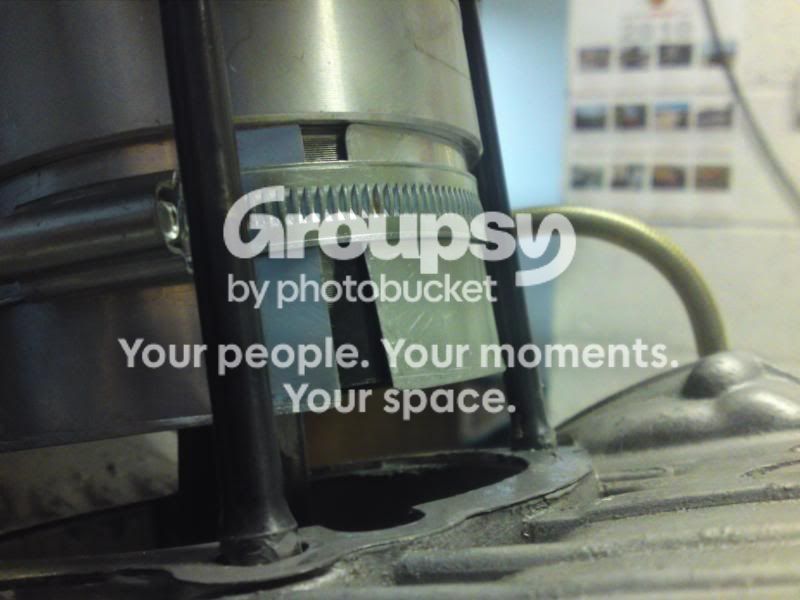
I made up this wee collar gadgy,the theory is to compress all the rings in a oner,with lube on the inside of the barrel and in the collar you lower the barrel down onto the piston pushing the collar down as it goes and obviously the already compressed rings slide into the barrel as the collar slides down.
005-53.jpg


Let me just say at this point my ASS was making buttons,remember the cost of a set of rings....£136
006-42.jpg


Slid down far enough to cover the rings
008-32.jpg

just leaving enough room to dismantle the jubilee clip and remove the gadgy
009-31.jpg


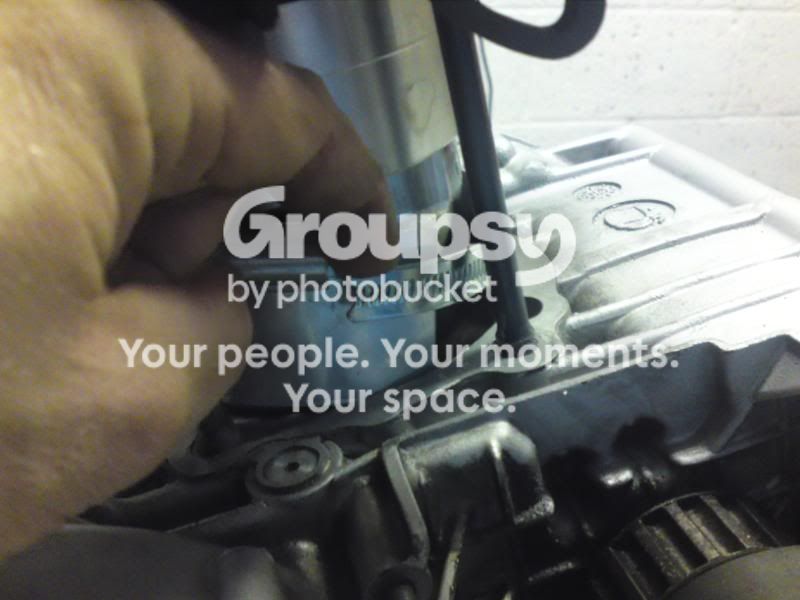
holding the barrel in place turning the crank to make sure all looked and sounded ok,nice woosh of air out the plug hole.
012-21.jpg


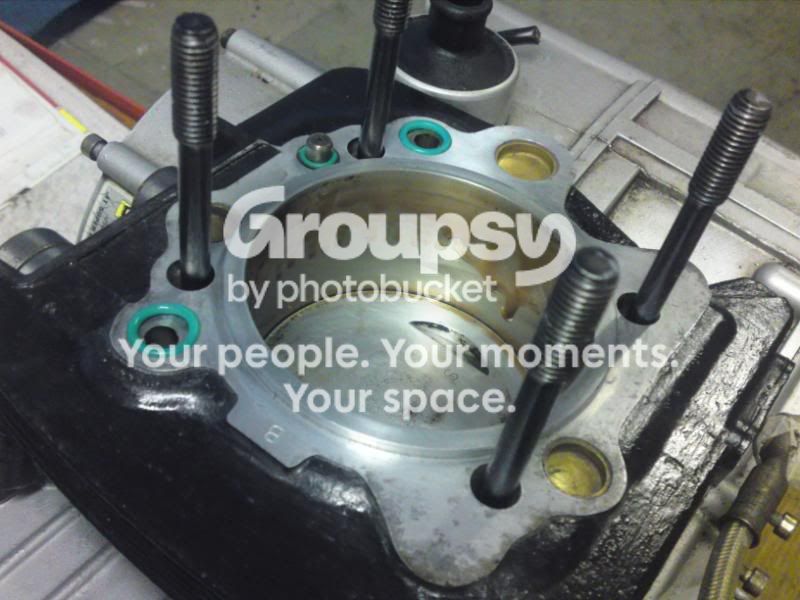
Fresh o rings and a wee clean up
011-30.jpg


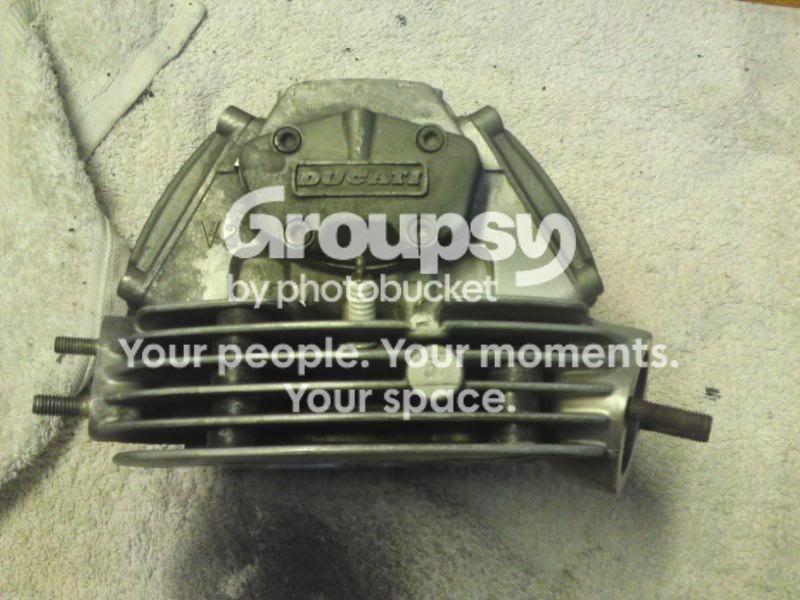
Head on and torqued up
015-11.jpg


even a tube of sealant is stylish eh(yeah Derek,I know...unneccesary extravagance)
017-9.jpg


Next step is to clean up the engine,don't want the over painted tacky look,just touch up and try blending in...if ye know what i mean:confused:

ooh and belts !
 
Last edited:
Very impressed with the new skills. :)
I've promised Derek I won't pm him for advice for a few days so get in quick now if you are not sure on anything! :flash::lol2:
 
Very impressed with the new skills. :)
I've promised Derek I won't pm him for advice for a few days so get in quick now if you are not sure on anything! :flash::lol2:

Think I'll be ok for a few days :D

Though Derek be warned as from Saturday I am off for 4 whole days,hope to have the frame/swingarm/engine mated up by then.
Soon be time for that witchcraft thing called electricity...multimeters
and such things :confused::eek::confused::eek:
 
my two new fave tools
(thanks Eddie(ers) and Derek for giving me the tip)

Great idea.....wish I'd had these when putting the head on to the RS....and I thought there was some fancy expensive workshop tool required to torque the head! :comp2:
 
Back
Top Bottom