
You are using an out of date browser. It may not display this or other websites correctly.
You should upgrade or use an alternative browser.
You should upgrade or use an alternative browser.
Eelco's Darmah
- Thread starter MartinW
- Start date


MartinW
New member
I rest (or rather close ) my cases
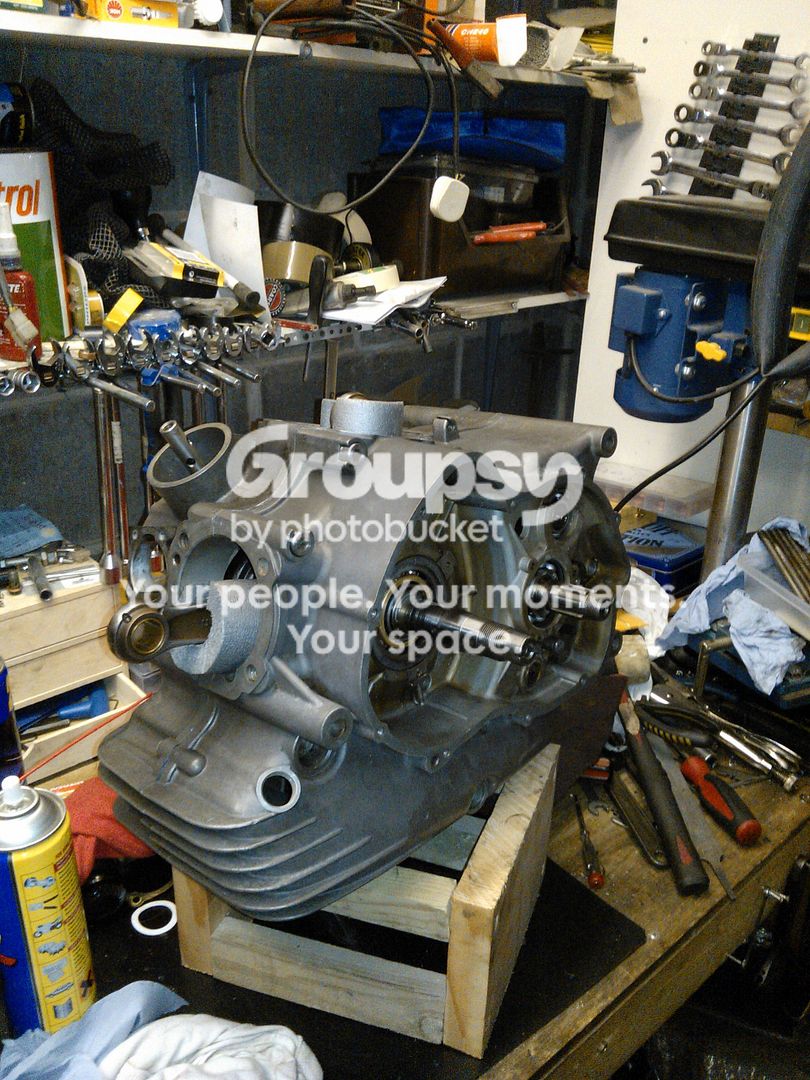
Not certain that I've got everything right with the kickstart but at least I'll know how to take it apart next time!
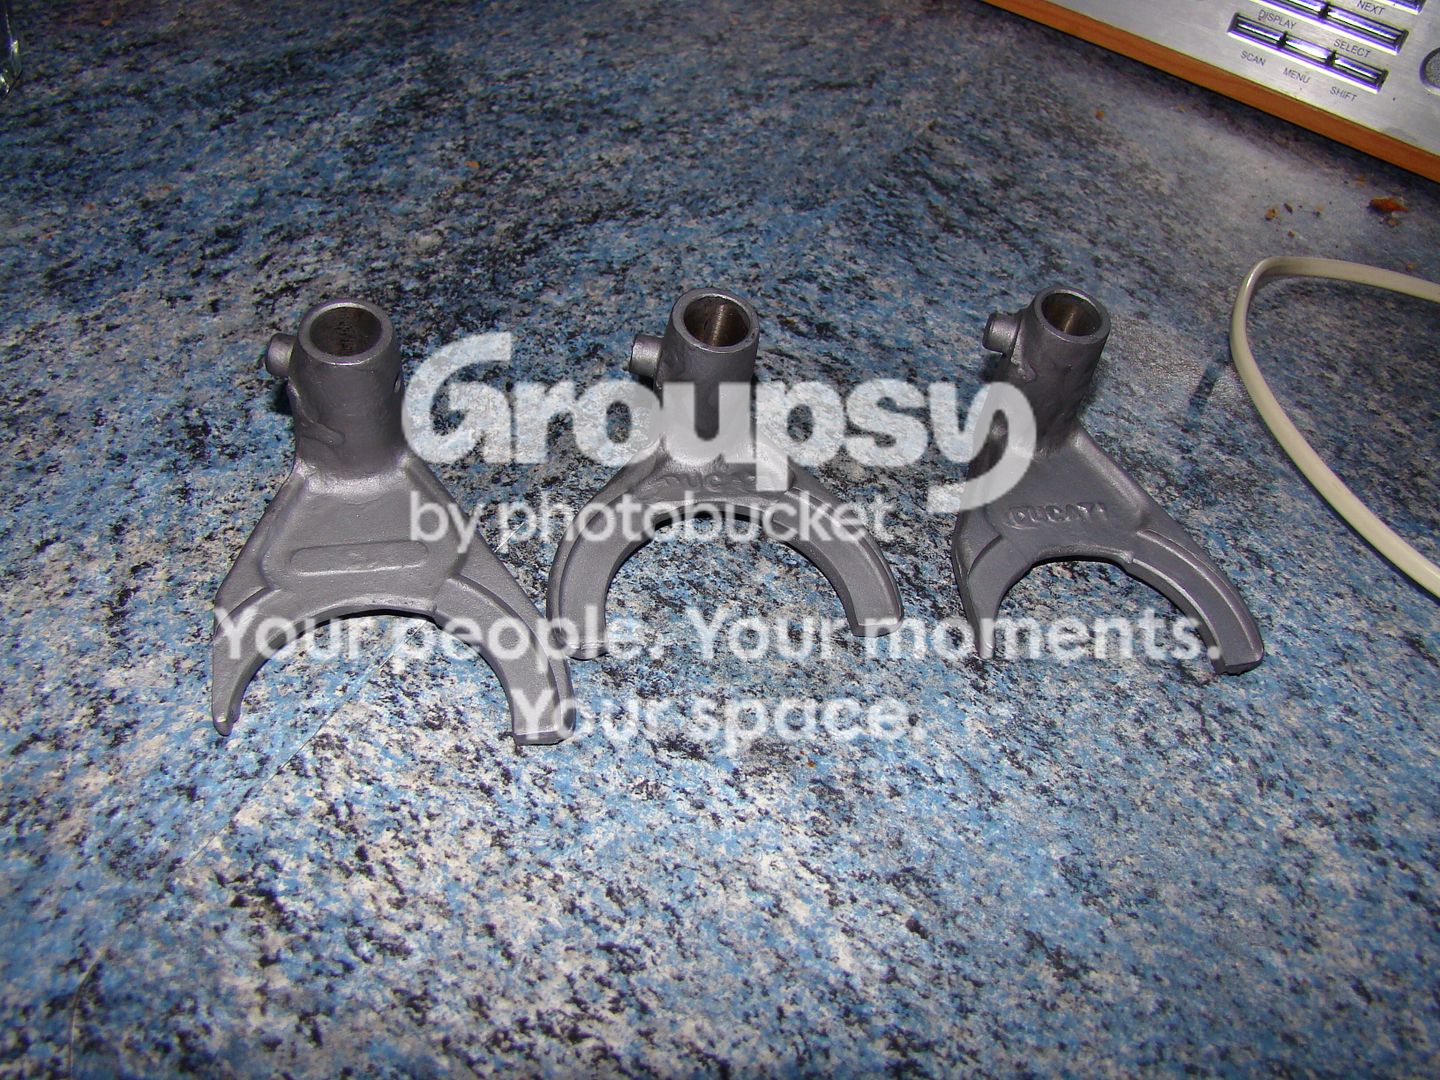
The selector forks were much tighter in the gear clusters as a result of the material being added but I guess most of it will rub off.
Crank turns easily with no endfloat so I'm going to continue with the oil pump mods next.
Not certain that I've got everything right with the kickstart but at least I'll know how to take it apart next time!
The selector forks were much tighter in the gear clusters as a result of the material being added but I guess most of it will rub off.
Crank turns easily with no endfloat so I'm going to continue with the oil pump mods next.
Last edited:
MartinW
New member
I've started on the full-flow oil mods to the pump housing. Once I slotted the pump into place I realised that I needed to change the angle at which the new pipe came out so set two filing off a lump , drilling and tapping to 1/4BSP for the 8mm compression fitting which will take the oil up to the filter. MMT has taken away the back of the pump to block off the original outlet and will make up an extension to the pipe which usually sits in the middle of the filter and acts a a drain, so that it pokes down into the cases and can be joined to the new pump outlet pipe. I'll put up some pictures in the New Year as I get the bits back. I have ordered a pair of Keihan stainless headlamp brackets as my Christmas present from the COW and a couple of stainless shaft tunnels as the chrome on the originals is v.pitted. happy Christmas to everyone.
Martin
Martin
Last edited:
MartinW
New member
Sorry 1812 but I only just saw this post. I tried to open the link but it crashed the useless (and expensive - it's always expensive when it's useless) wifi at this site. I'll have a look when I get to a more civilised part of the world.
In the end MMT decided that the crack, if it was a crack, didn't matter as it wasn't under any load and wouldn't cause a leak.
Cheers
In the end MMT decided that the crack, if it was a crack, didn't matter as it wasn't under any load and wouldn't cause a leak.
Cheers
MartinW
New member
I've been watching a NOS oil pump on ebay that went for about £200. The real shocker was the kickstart at over £400!! I googled bits of 1812's link and managed to find another way into the German site. His mod is exactly the same as I am trying to acheive but he seems to have got a billet oilpump housing like the Australian one that I originally saw. If I were going that far i'd think about some bigger gears to make more flow as there is just about room. My main obsession at the moment is with not making something that I cannot take apart again when it inevitably needs changes!
It's all on hold until I get back in mid January, anyway.
Cheers
Martin
It's all on hold until I get back in mid January, anyway.
Cheers
Martin
Last edited:
MartinW
New member
Had a go at google translation of the german page. very interesting discussion about pros and cons such as fact (?) that main bearings can only use so much oil anyway, balanced at the design stage by the size of various orifices and pipe-section changes,
plus genius use of other pumps and gears such as Pantah. There was also a picture of a japanese conversion that looked to feed into a different place in the filter-bowl. Fascinating.
plus genius use of other pumps and gears such as Pantah. There was also a picture of a japanese conversion that looked to feed into a different place in the filter-bowl. Fascinating.

sam
New member
MartinW
New member
Thanks Sam, but I think that I'll do some more research, first. The only way I could use Pantah gears at the moment would be if they were exactly the same as darmah ones but a bit wider. Imust be getting old as I have had my fair share of ebay impulse disappointments! I'm going to see how it all works, first with the originals. Thanks anyway
MartinW
New member
Whilst working away I had occasional access to the internet and so ordered a front sprocket and chain. There are various standard fitments on the Darmah SD and SSD but as I already had a 36 tooth rear I opted for a 15-tooth front. I would have liked a 14 as most people suggest that lower gears are better for the health of the big end. I think this may arise from the over-aggressive ignition advance curve on early Ducati Meccanica systems and is not such an issue on Bosch ones but I'll maybe amend my riding-style to suit and keep the revs up at 'low' speeds in high gears. I decided to use a non o-ring chain for nostalgic reasons and that is what I ordered but have been sent a very spiffy DID X-ring by mistake. Since the cost of the swap in terms of postage is quite high I have the option of keeping the x-ring. I'm tempted by the prospective cleanliness compared to a chain-lube flinging thrasher but does anyone know if that will give me clearance problems with the extra width?
MartinW
New member
Since I closed the cases a little voice has been saying the word 'oilseal' at the back of my mind. I have memory problems like this since a head injury some years ago and mostly they turn out to be 'false memories' linked to normal anxiety, you know, like being convinced you forgot to lock the house door or left the cooker on when you go on holiday. I seem to recall taking an oil seal out of the cases when I first heated them up but thought that it was the big one for the output shaft. Now I have another workshop manual as well as the Haynes, I see that it talks about an oil seal below the selector drum which I definitely didn't put in. I'm going to have a look at where the outer end of that ends up in case its not vital but I have a funny feeling that the cases are going to have to come apart again!

deputydawg
New member
There is a seal on the inside of the kickstart Martin but can't recall any more actually inside the cases - they are all inside the outer covers I'm sure.
Kenny
Kenny
MartinW
New member
I've looked at all the exploded drawings and realised that there is no place on the hole that the selector drum pins into for a seal or on the 'outside' of the case so it must be on the drum itself and I didn't take one off there, so I'm going to relax. The seal shown is so small it looks more like an O-ring, which would make sense. there's a lot of talk about oil seals on the back of the sprocket so that's the next thing to check. I can't get in the garage at the moment due to the snow so my overdue fettle-fix will have to wait.
deputydawg
New member
There is bugger all oil near the gearbox on the bevel twins - probably why there's no seals!
As far as I know the selector drum should have a wee bit of end float to help make sure that the selector forks aren't pushing against the gears.
As far as I know the selector drum should have a wee bit of end float to help make sure that the selector forks aren't pushing against the gears.
MartinW
New member
MMT came round last night with some bits to start the extended oil filter centre tube and we discussed various ways of arranging things so that unlike my normal 'creations' this could actually be disassembled once complete. This involves making a right angled pipe elbow with a very fine thread (So it will seal better with loctite) from scratch It sounds like he may be redundant next month after 35 years with the same firm so I need to get as much made as I can before that happens (note the high level of sympathy there). He doesn't have a lathe at home or any of the other heavy-duty stuff that has been so essential to his many race-bikes, restorations and creations over the previous decades. I asked him if he could maybe buy some machines, but he says that they too big and he has no space, or too old an knackered (He knows because he has kept them going for that 35 years or so) Where he works are 300 employees, of whom 100 actually make things and 200 manage and administer that. Bearing in mind that the last set of redundancies saw most of the old guys who knew how to make and mend stuff go, I don't hold out much hope for rational rationalisation this time.
On a different note, the front sprocket I bought has fine splines in the centre rather than coarse, so it looks as though it is wrong, despite being described as correct in many places (1493-15 code) I have also seen 35020, 0759 and 0755 codes. There used to be a JT sprockets and B&C express catalogue with dimensions and applications but none of the ones on their websites go back far enough. Back to the drawing board, there, then. Looks like I'll have to send the seller my old sprocket for comparison or bite the bullet and pay the higher price for one I know will fit from a specialist. I'd really have liked a 14-tooth so that might be the push I needed.
On a different note, the front sprocket I bought has fine splines in the centre rather than coarse, so it looks as though it is wrong, despite being described as correct in many places (1493-15 code) I have also seen 35020, 0759 and 0755 codes. There used to be a JT sprockets and B&C express catalogue with dimensions and applications but none of the ones on their websites go back far enough. Back to the drawing board, there, then. Looks like I'll have to send the seller my old sprocket for comparison or bite the bullet and pay the higher price for one I know will fit from a specialist. I'd really have liked a 14-tooth so that might be the push I needed.
MartinW
New member

MMt also brought round the oli pump backplate. He fine-threaded the original output hole and inserted a plug which he then cut off and filed flat. You can see the blanked-off hole in the picture. the oil will be forced along the new route 'backwards' through the filter and also be unable to backfeed along its original route. I'm still not sure whether to block off the relief-spring or not.
MartinW
New member
I spoke with a very nice bloke at B&C today who told me that the last 15 tooth sprocket they sold was 4 years ago and the last 14 tooth in 2001. He said that their code was 493-15 (or 14 or 16) so maybe there is some confusion over '1493' on the JT part.
I have found an italian sprocket with the 493 code listed for the 750 GT amongst others which has a proper drawing just as I remember from the old B&C catalogues.
I now realise that the one I have is for a Paso.
I have found an italian sprocket with the 493 code listed for the 750 GT amongst others which has a proper drawing just as I remember from the old B&C catalogues.
I now realise that the one I have is for a Paso.
Last edited:

DrD
New member
Martin, read all this one snowed in evening last week but forgot if you had tried these people:
http://www.oldracingspareparts.com/twin-models-3/900-1000-mhr/
http://www.oldracingspareparts.com/twin-models-3/900-1000-mhr/

The sprockets appear to be readily available from Mdina italia

MartinW
New member
Thanks for the leads. I'm waiting to see if the original supplier can come up with what he promised. The ebay picture was of the correct part but what came was wrong. I have a job in Milan in March so I could track one down there and not have postage to pay - ahh, the curse of my tight Yorkshireness!

239desmo
Is it nearly bedtime?
Milan in March so I could track one down there and not have postage to pay - ahh, the curse of my tight Yorkshireness!
Or support a specialist bevel dealer in the UK that is helping keeping our old bikes on the road?
deputydawg
New member
And he's in Yorkshire 
MartinW
New member
MMT made the next bit of the full flow oil conversion for me. He threaded the inside of the original centre-post from the filter and then made a piece that screwed into the bottom, extending it downward into the crankcases. The idea is that you push it through until it starts into the thread inside the elbow fitting and then continues to thread itself as well higher up into its original location.

Then he threaded the inside of an 8mm elbow fitting to take that. The external thread you can see at the top of the elbow is now surplus. It would be good to use a locknut but there isn't room behind the fitting for one to turn. Once we have it all fitting in copper we'll remake the pipe in steel which should be more reistant to the vibration and not crack, which would be fatal for the motor.

There isn't much clearance for the nut on the bottom fitting and that may have to be turned down yet more to fit properly.
it's all a bit fiddly, especially as everything has to be put together loose and then tightened bit by bit. We aim to use very firm setting threadlock to calm my nervous paranoia.
Then he threaded the inside of an 8mm elbow fitting to take that. The external thread you can see at the top of the elbow is now surplus. It would be good to use a locknut but there isn't room behind the fitting for one to turn. Once we have it all fitting in copper we'll remake the pipe in steel which should be more reistant to the vibration and not crack, which would be fatal for the motor.
There isn't much clearance for the nut on the bottom fitting and that may have to be turned down yet more to fit properly.
it's all a bit fiddly, especially as everything has to be put together loose and then tightened bit by bit. We aim to use very firm setting threadlock to calm my nervous paranoia.
Last edited:

rockjock620
New member
I would have thought that the copper pipe (being more ductile than steel) would be LESS likely to suffer from vibration induced fatigue?
I would also have thought that a decent epoxy/chemical metal applied correctly might hold better than thread lock?
Just my 2p.
I would also have thought that a decent epoxy/chemical metal applied correctly might hold better than thread lock?
Just my 2p.
MartinW
New member
I think that MMT was more bothered that the steel fittings would cut into the copper and create a stress raiser. I also, so far as chemical metal is concerned don't want to make it too 'permanent' as it will undoubtedly have to come apart again at some point! I had considered soldering as an alternative.
I have just seen a photo of an endurance racing 900ss in the Barcelona museum and am in love, but fighting the desire to create a replica as clip ons and my stiff old neck do not good bed-fellows make.
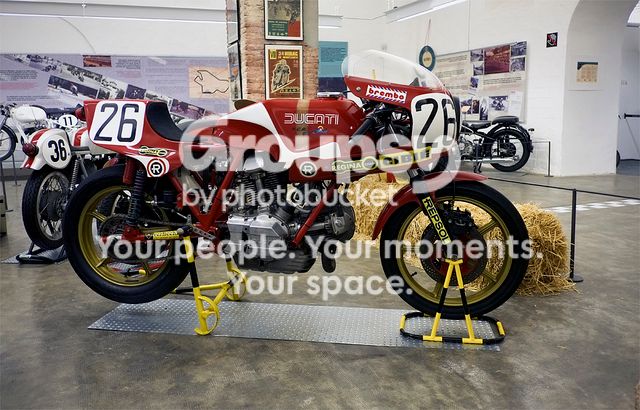
I have just seen a photo of an endurance racing 900ss in the Barcelona museum and am in love, but fighting the desire to create a replica as clip ons and my stiff old neck do not good bed-fellows make.
Last edited:
rockjock620
New member
aye, fair enough, you can do these things several ways.......
MartinW
New member
I soldered the two parts of the central oil pipe together and assembled the whole thing using copper pipe and olives, together with blue loctite on the treads. I stood back, smiled with pride and noticed the small locknut which should be holding the oil-pipe into the elbow thread, sitting on the bench.Doh! At least I can see just how tight everything was when I take it apart!