Eelco's Darmah

He must be one of the last people who did the proper apprenticeship with the thrown hammers and swearing and stuff. He is still at the same company although things are changing so it may not be for ever. His first apprentice job was to file a round-bar square. To this day he hand-files with a skill that I can only marvel-at. I was trying to persuade him that the best way to repair the slider would be to make a fork brace but I think that that might be a wish too far when he has so many other things on the go. Proper renaissance man, I think, and a good mate, too.
I have a similar pal who had worked in the boat building business when they still made fishing boats in Scotland, subsequently made wood-burning stoves and repaired classic cars or anything else that was brought to him. He could just about fix anything, making a new part from scratch if necessary. Alas due to ill health he has gone into a sort of semi-retirement and has become somewhat reclusive and hard to get a hold of.
 
Looks like the legs I have are Paoli so I now have to got to the openday at Gutsibits next weekend and see if any of their stanchions match mine or if that fails, have my duff one rechromed.
 
Never having had any formal engineering training beyond 2nd year metalwork it is really humbling to watch an old fashioned, hands-on engineer work. It does rather destroy any confidence you might have in your own abilities unfortunately.
 
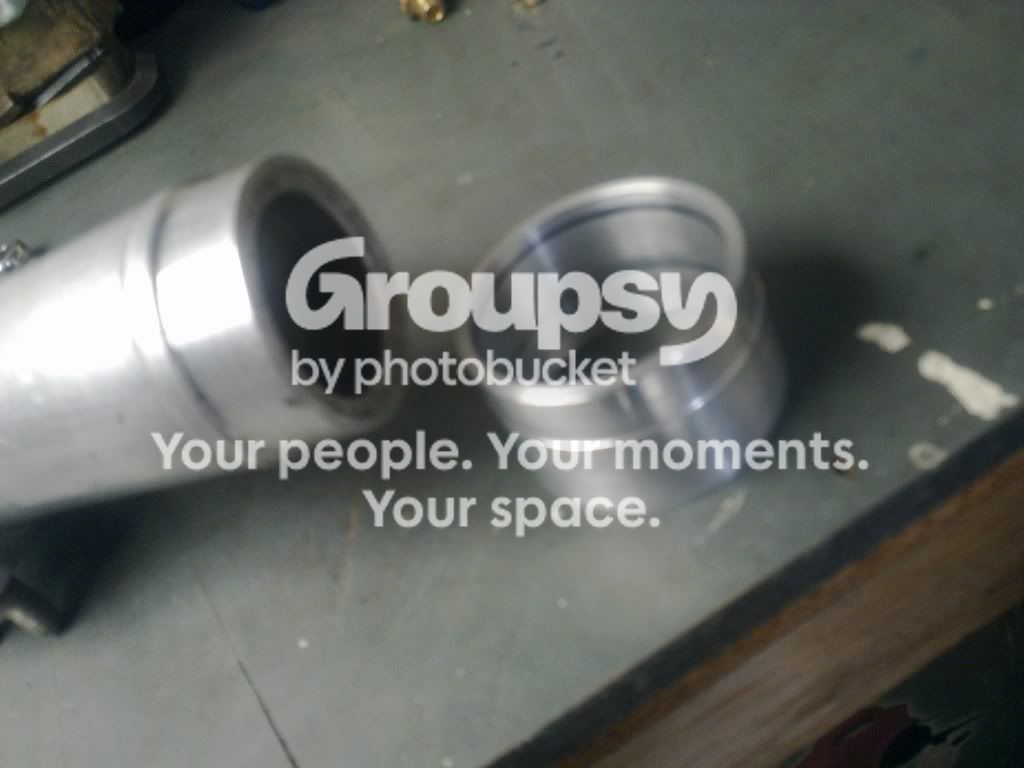
doublebanjobyTimcopy.jpg
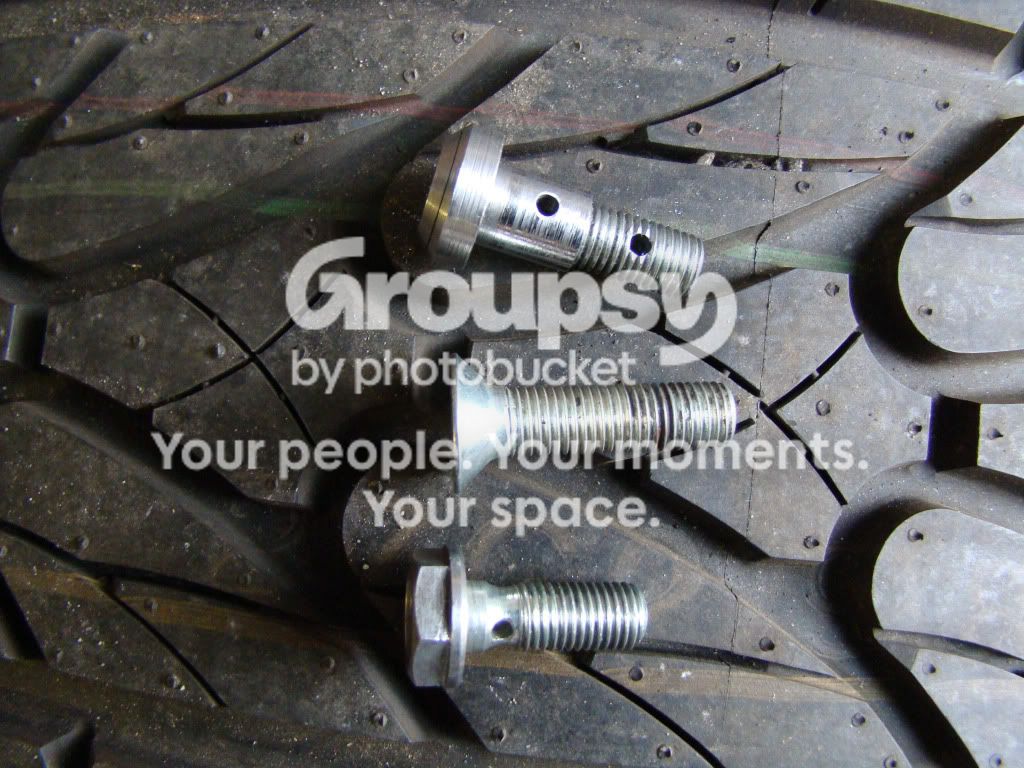
ok then, whilst we are enjoying his work, here's another bit, an adaptor made to turn a single banjo into a stepped double for an oil take-off to a turbo. My favourite bit though, is the tail-light on his Suzuki/AJS which is a spray-can top
 
With an early finish and some fine weather I got out in the garage and tackled the wheel bearings.
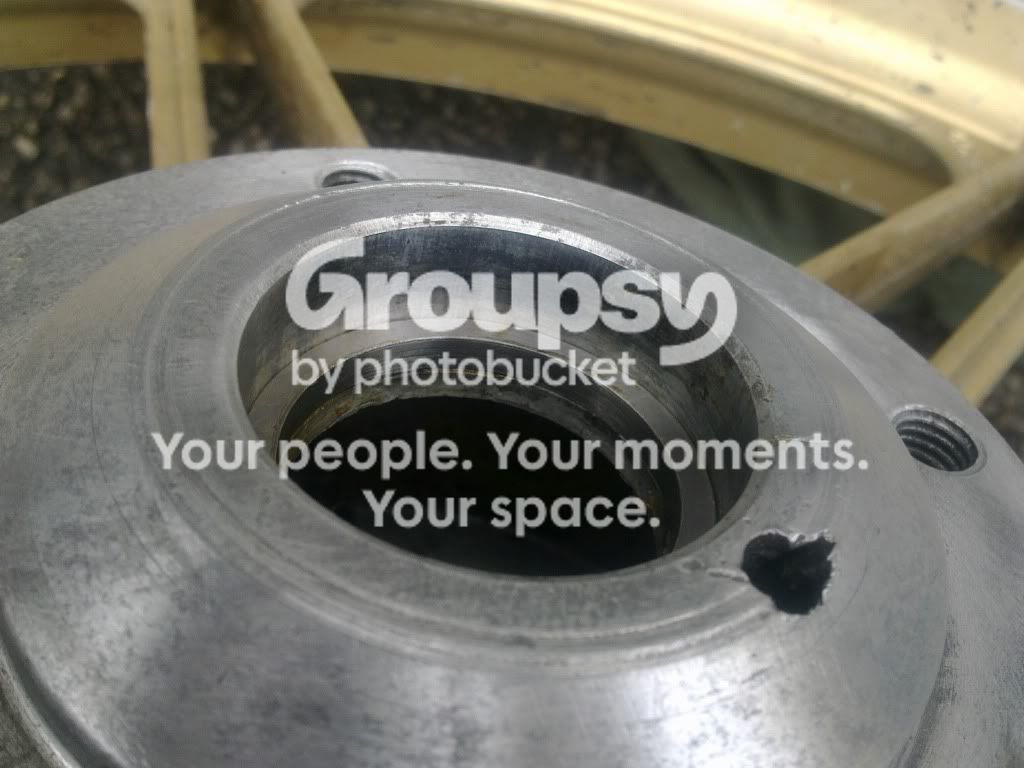
The spacers went in first to push the outer race away from the seat
spacergoingin.jpg


The longer spacer for the front and the original spacer with 2 x 4mm rings at the rear followed by some tapping a smear of loctite and the bearings were in.
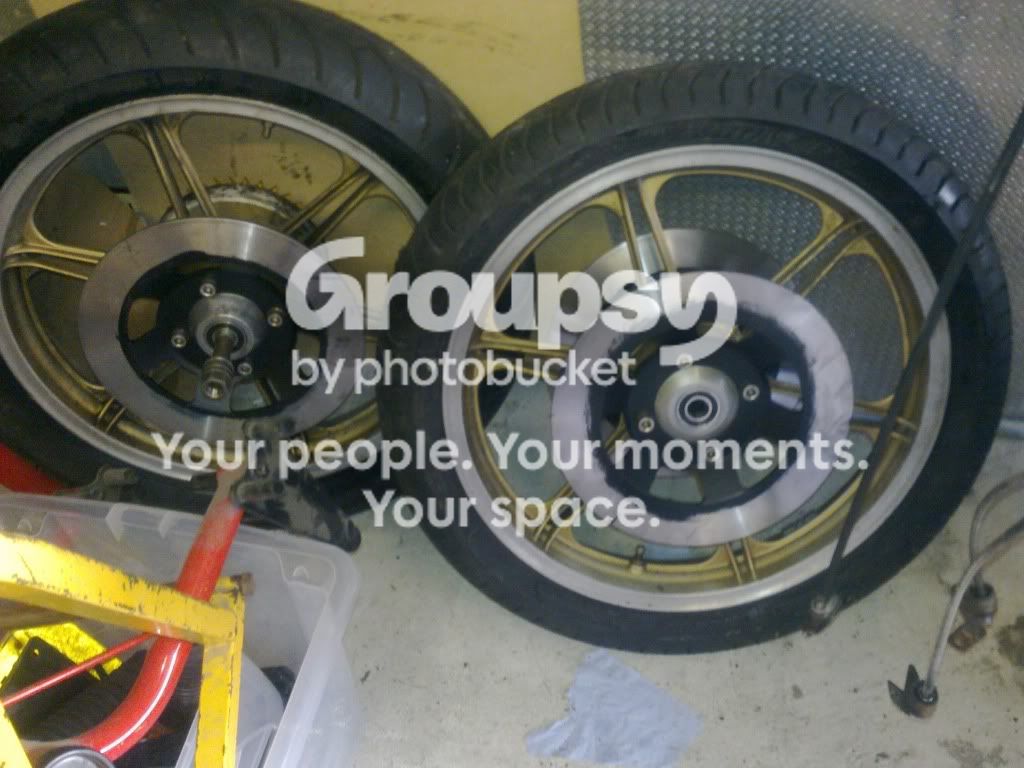
bothwheels2.jpg


I gave the disc centres another coat of satin black engine paint and then bolted-them up to the wheels. I wasn't too bothered about painting over onto the swept area as I think the pads'll take care of that.

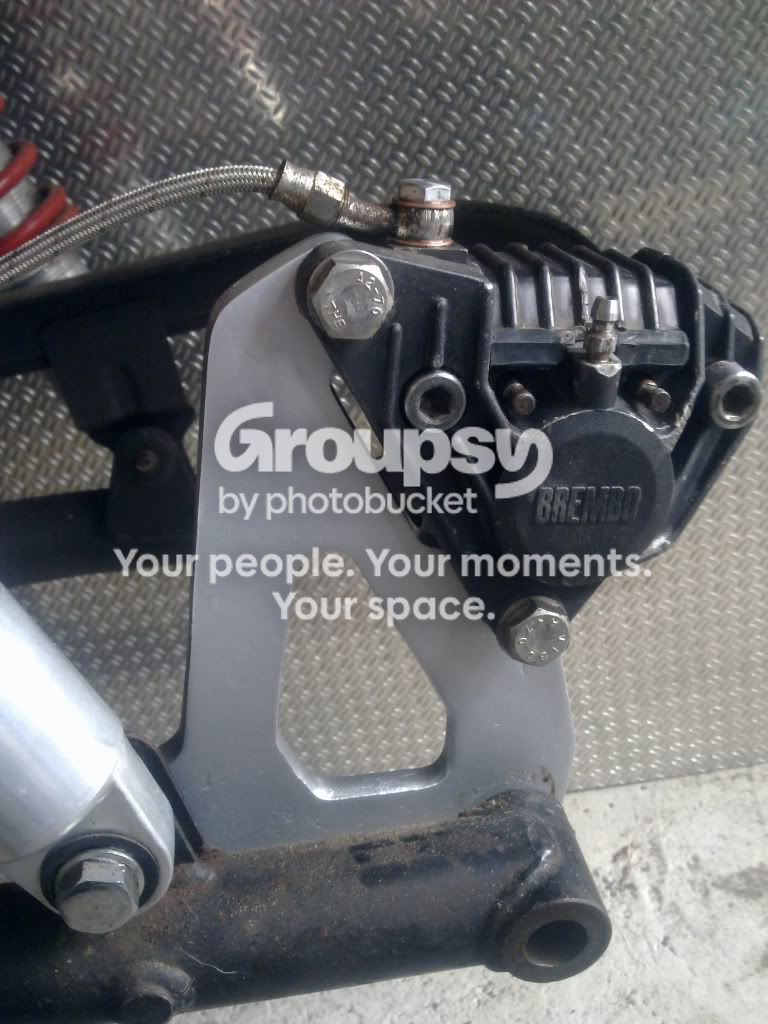
I lacquered the rear caliper carrier and mounted the rebuilt caliper
rearcaliper.jpg


Feeling pleased with progress I had another pleasant surprise when I took the yokes off to find that I had taper-rollers fitted already, so I cleaned and re-packed them then resisted the temptation to paint the old yokes and stuck them back in.
All in all not a bad few hours work, but I really should do something with my non-starting trike, except I'm really enjoying this...
 
Last edited:
Whilst browsing 'Ducati Headlamp brackets' today, as you do, I found that Keihan make repro stainless darmah brackets, which means that I can re-use my existing headlamp, which I think is the original one. The big 8" headlamp I was looking at on Ebay is looking unlikely now as, although I'm still winning at the moment it has a day to go. Looking forward to some cake at Gutsibits tomorrow and after a fruitless search in Mirfield for what looks like a long-gone hard-chrome platers, I'm hopeful for good news on that score, too.
 
Great cake, a nice hot chocolate and a lovely cafe race Guzzi with alloy tank and seat made my day. Unfortunately I lucked out on the stanchions since nothing Guzzi is the same so I'm back to re-chroming my old one. I did pick up a set of twin front, full-length stainless brake-lines for a bargain £35.00, plus a second-hand clutch cable adjuster that might work if I can get the thread lengthened and a gear-lever rubber. In the auto-jumble was a Ducati single master cylinder and a Goldline one as well. I passed on a front mudguard as I would have had to butcher it and they are pretty rare so I left it for someone's Guzzi.
In between showers I took the socket screws I had used to fasten the sprocket in and replaced them with hex-bolts and the tin locking plates that are standard. Just as insurance I used nylocs as well.
One big surprise was that whoever put the back wheel together last had got all the spacers wrong, so the cush-drive stuck out from the hub and was under a lot of stress and slop as a result. The rubber looked new so I swapped everything around until I got the right kinds of clearance and then stuck the back wheel back in, juggling the different size spacers until the disc cleared the caliper. That might need a bit more attention once the axle's nipped up properly (better not forget that) My dad always reckoned you should tighten everythng as you went along so you didn't forget it and that's not such a bad idea. He had some good catch phrases but my favourite was: 'Nivver buy a Mark One owt' Which he often repeated after the only new car he ever bought, a 1967 Vauxhall Viva SL90 (with 150 Stromberg - ooh!) kept breaking down. I made a T-shirt with that on in tribute but nobody ever 'got it' since dialect is dying out.
 
B*gger me, I won the 8" headlight on Ebay. I'm going to wait until it arrives and make sure that it fits between standard headlamp brackets before buying the stainless ones, if they still exist as anything more than a figment of Keihan's cyber-catalogue. Now I need an 8" headlight with built-in sidelight bulb. Hopefully something cheap like a car one will fit, but from memory most of those are 7"
 
Keihan emailed to say that they have brackets in stock so that looks like an item for my next birthday list. If they don't work with the 8" headlamp I'll have to put that back on ebay. (But I know I'll keep it for 'later'!)
 
A Monster headlight might fit. Have you an 8" shell and you are looking for a lens and reflector?

Monster units are expensive but I believe you can use a headlight out a BMW car (E series?) which is a direct fit and a lot cheaper. May also have been fitted on the older BMW bikes.
 
Ahh, good thinking.
I got an 8" shell and light unit but the lens is slightly cracked. If it is removeable i'll get a new glass which is available otherwise I'll look for a car unit (Thanks for the top) as they are almost always cheaper - I remember when Daf Daffodil points fitted BMW bikes but were a lot cheaper, in fact, I remember when it were all fields round ere...
 
Have a search here for old posts on this.
Pretty sure supplier is named as well as the unit.
BMW specialist. (Motorworks maybe??)
 
Thanks for that. I'll wait until the shell arrives and see what i'm up against.
I tackled the wobbly rear brake lever today. it has obviously been ground against the ground at some point and was wobbling around big time on its mounting bolt. In an old pair of girder links I had an oilite bushing that sacrificed itself to the greater good and a bit of pillar-drill and dremelling later I now have a less-wobbly pedal. Since I had the wheel back in I filled-up the master-cylinder and pumped fluid through until it started to come out of the far nipple. I stopped there as I need to find a bit of clear tube and a jar so I can push all the old fluid left in the hoses through and replace it with new. At least with a working brake I can use it to hold the engine still whilst I unfasten the clutch and sprocket nuts that will represent my first foray into Desmo Disassembly, with hopefully no Disaster as the inevitable alliterative Denoument.
 
Last edited:
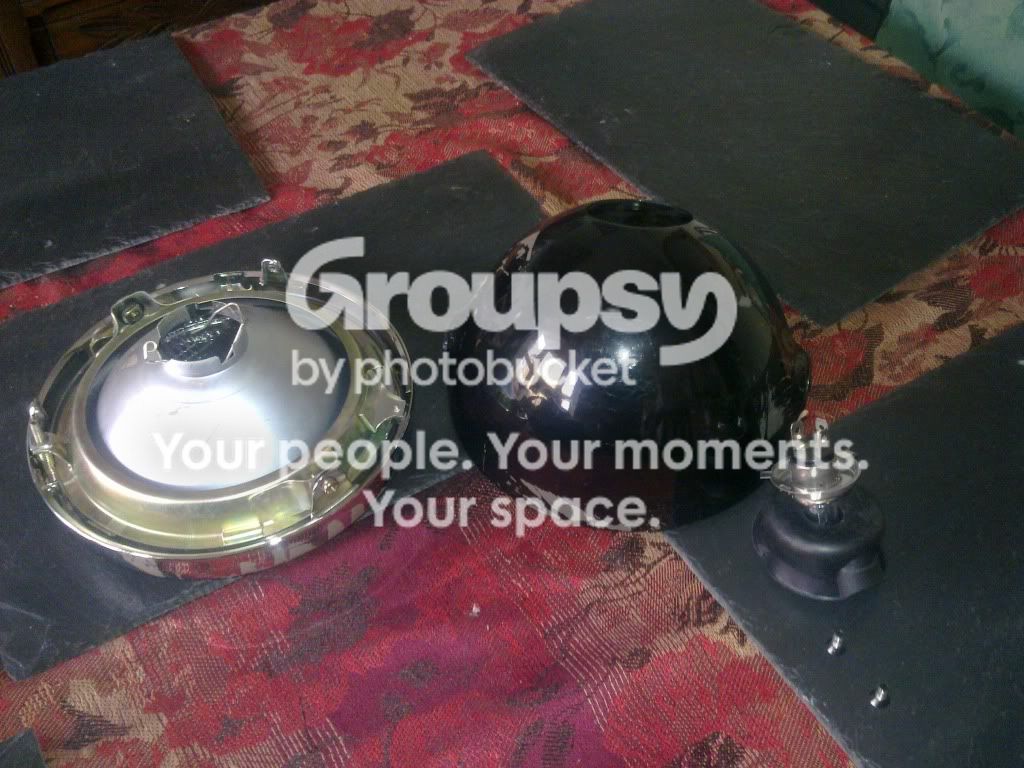
newheadlamp.jpg


The shell arrived, lovingly packed but the parcel-tape residue took a bit of getting-off. The headlamp unit itself is American, I think, as the glass says 'Motorcycle' and Jute and SAE and DOTon it. I took the smashed glass off the reflector with a view to buying another glass as there are some on ebay but I think that the size is a critical thing. One mans 8" is another man's 7" etc etc.
I popped down to my local car spares and customising emporium: 'Fast as f*ck innit' and was shocked to find that sealed units are no longer available! I suppose that thinking about it it is a long time since any car had round headlights. I mentally drove around the area thinking about other car spares shops and remembered one in Batley that had been there a long time. Sure enough they had one sealed unit on the shelf and it fitted like a glove. It has no side-light hole so I'll have to root around in the garage to find an old one but the light unit looks suitably 'big' which is what I was after. I slid the fork legs back in the yokes to see where the brackets end up and I think that they'll be ok. I'll take a picture of my old, chromed shell and see if the marque experts on here can tell me if it is the original or not. the glass has some italian on it so it is likely. It would also be useful to know the distance between the inner faces of a pair of standard brackets.
My indicators were used to mount the headlamp but I don't think they are original as a couple of larger nuts were used as spacers. I may have to find some bolts to attach the lamp and then drill and tap them down the centre to take the indicators. I suppose I could take the indicators off altogether as I'm not certain they are a legal necessity.
Any way I'm off to Rufforth with MMT this morning to look for a double banjo bolt and some clocks, perhaps.
He's found a set of 38mm forks in his shed that I can have if they are of any use, so I'll pick those up at the same time.
 
That saves me a job, then! I'll just have to practice the lost art of hand signals, that nobody else knows any more. I was at a junction the other day in a van and used the 'I am turning left' signal with the palm forward. The motorist I was informing of my movements took it very personally. I think that she thought I was telling her to go that way or something.
 
Large percentage of bevels don't have indicators. Many owners ditched them from new .
Right turns require a bit more thought and planning but you would quickly get the hang of it.
 
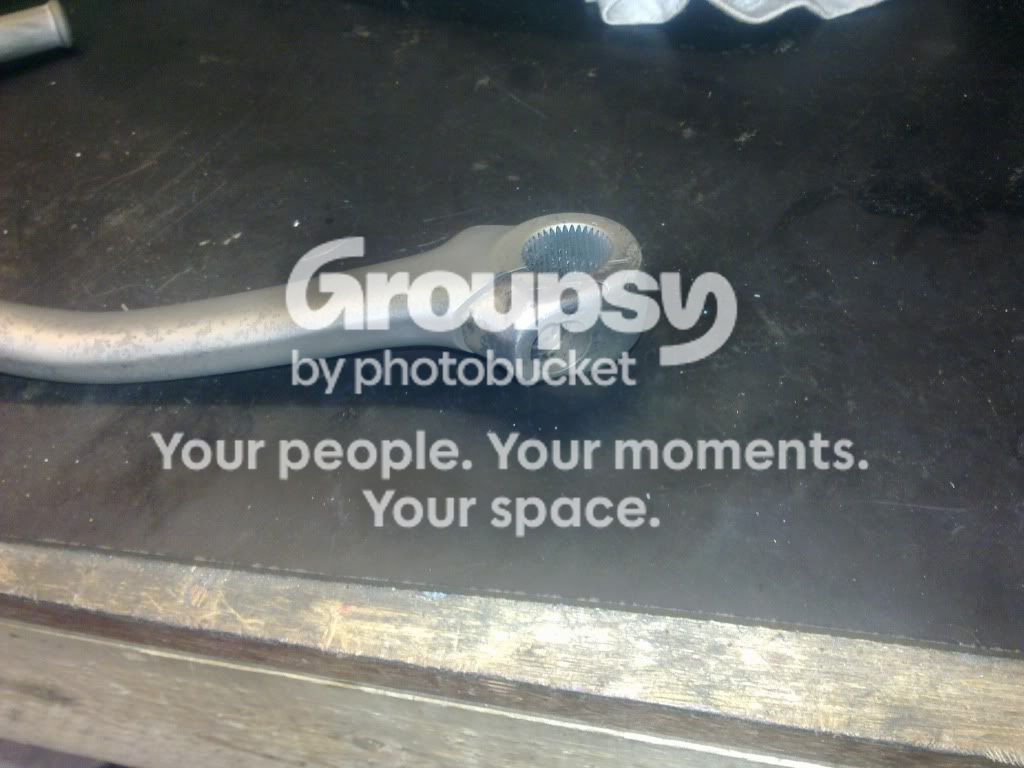
kickstartrepair.jpg

I don't know if this is at all obvious but there was a large lump shaved off the bottom corner of the kickstart. MMT welded a lump back on and then filed it back to the original shape.
bushedkickstart.jpg

Then he filed down the very worn pivot and bushed out the fold-out bit to match.
forkrepair.jpg

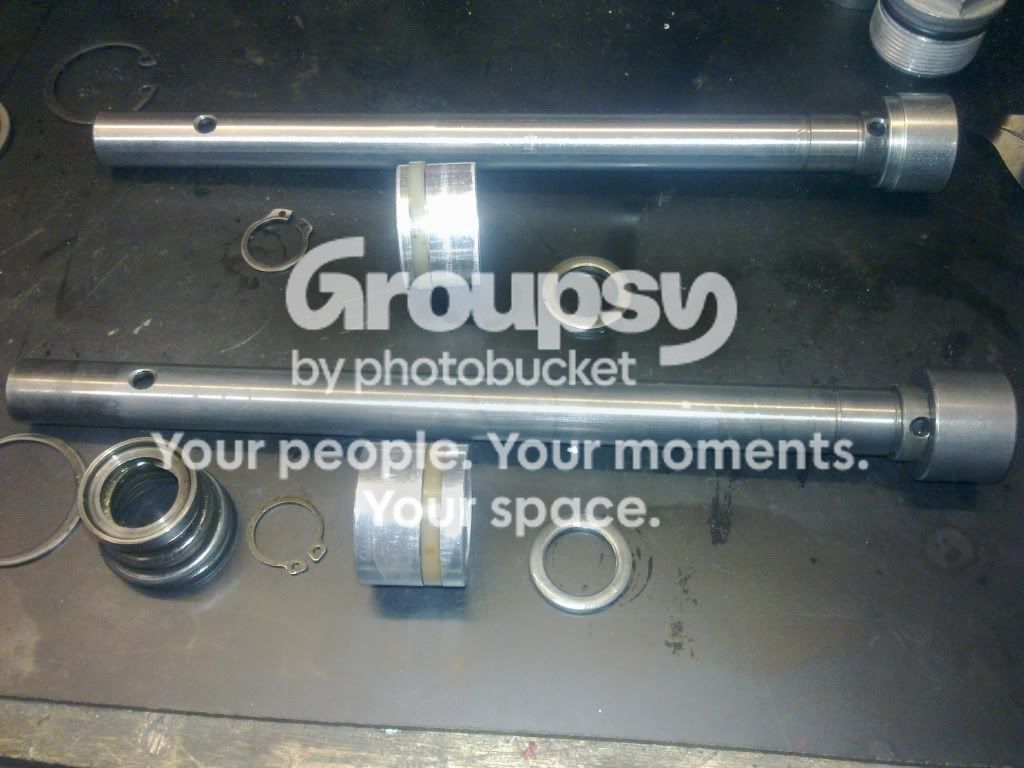
This is the slider repair part-way through - with the old rotten bit cut off and turned-down to accept a new bit that contains the oil-seals and will be loctited on. You will be able to see the join but it'll be under a rubber belows so it shouldn't be obvious.
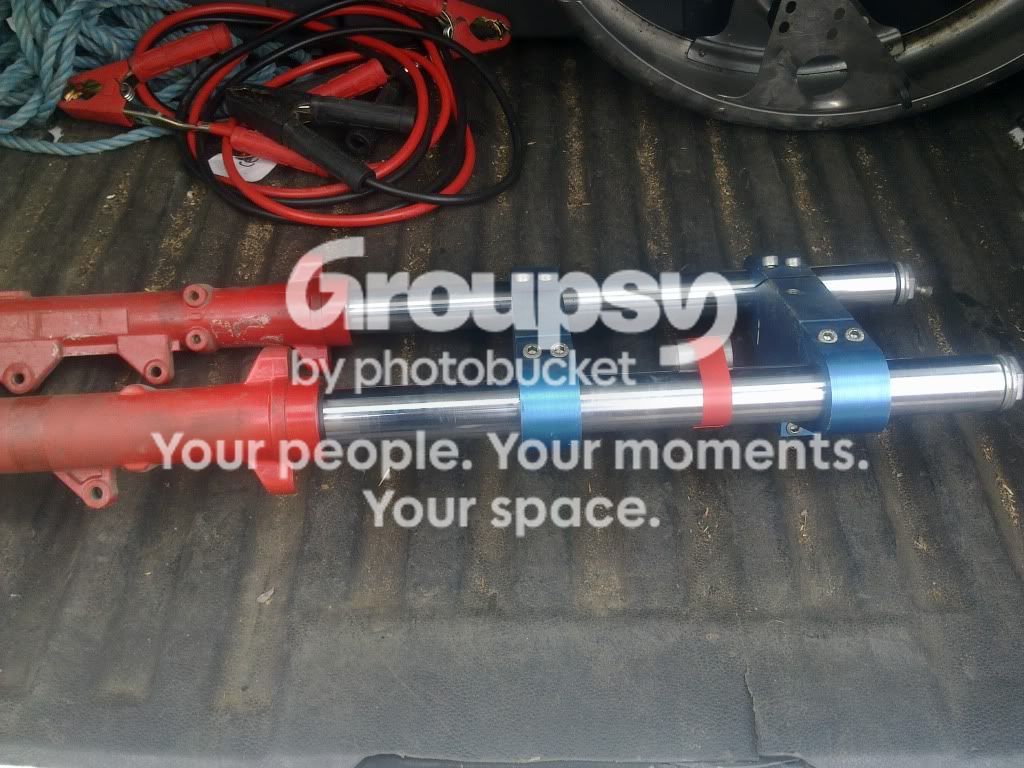
forks.jpg

Best news of the day , though, was MMT digging these out from the far darkness at the back of his garage. They used to be on some kind of drag bike or sprinter and unless you knew your stuff, which neither of us do, you wouldn't have spotted them as Marzocchi, especially with the blue, homemade yokes. He reached in to their resting place and measured the stanchions as 38mm so took a chance and pulled them out.
I was delirious when I took the first leg apart and saw that it was identical to my Darmah ones.
Time for some a strong mug of coffee courtesy of Edwina the C.O.W., 'Rock anthems of the '70s' on the CD-player and b*gger the neighbours - which is a sentiment, not a party game - whilst I laid the parts from the Rusty and the Red forks next to each other
forkinternals.jpg

There are small, but important differences, the Darmah springs are the same length but have more coils so I think are stiffer, they also have top-out springs. The holes in the Red damper rods measure up fractionally smaller which means more damping so I used those.
One of the Red forks pistons was assembled 'upside down' but generally the internals were less worn. The red forks have a steel shim between the two stanchion seals which the rusty's don't, but the Red sliders have slightly more room for the seal-stack to allow for that. In order to accommodate the seals and fit the circlip in I had to leave the shim out.
I used the best bits of the two to make a good set and look forward to mounting the front wheel when I get the repaired slider back next week.
Phew!

 
Could be. I have absolutely no idea! The caliper mounts on the sliders would suggest a larger disc than the Darmah. When I saw that they were red I thought of Laverda for some reason and the letters M1R jumped into my head.
At this point I ought to confess that, due to a concussion some 8 years or so ago, I sometimes have no way of determining if my memories are actually real or imaginery. That's not such a bad thing, though, since I have met and had great conversations with people who I thought I knew from somewhere but then later turned out to be 'someone off the telly'
I have an endless font of obscure and useless information that my friends imagine would make me a wizard at pub quizes but I don't have much control over the speed or timing of the recollection.
I'll have a look at the net and see if I can track them down a bit more in case they'll be of some use to another person's project.
I looked at your bike list and thought I'd tell you that I saw a Triumph motor in a Montesa frame in the car park at Rufforth yesterday. It was very nicely done. - sorry, but I didn't get a picture
 
Last edited:
...When I saw that they were red I thought of Laverda for some reason and the letters M1R jumped into my head...

Just so's you know, the M1Rs are recognizable by the rebound adjuster on the front of the RH slider.
 
Yep, I looked up M1Rs and immediately saw the extra bit stuck on the front - it was the red bit that fooled me. I decided to have a bit of a tidy up this afternoon in a bid to find the brake pedal spring that pinged-off somewhere last week. No luck there, but I dug out an old mini-bike caliper that MMT wants to see if he can make fit his old Dalesman trials bike and found a double banjo bolt that I need for my full-length front hoses. With sun shining and Gardeners Question Time banging on about drought-resistant planting I made two good front calipers out of the variety of parts I had so they'll be ready when the other slider comes back. I cleaned up the silencers and stuck them at the back of the garage then had a look at the next step of removing the exhausts before I start taking the engine out.
I think that I'm going to buy one of those special exhaust ring spanners on ebay as I've never seen a finned ring more asking to be broken!
 
If you've got a finned ring that's already been broken, cut it in half and get your pal MMT to braze a handle on to it and you will now have one of these special exhaust ring spanners. The fins on the spanner interlock with those on the exhaust ring to give you the purchase to loosen tighten it without damage.
 
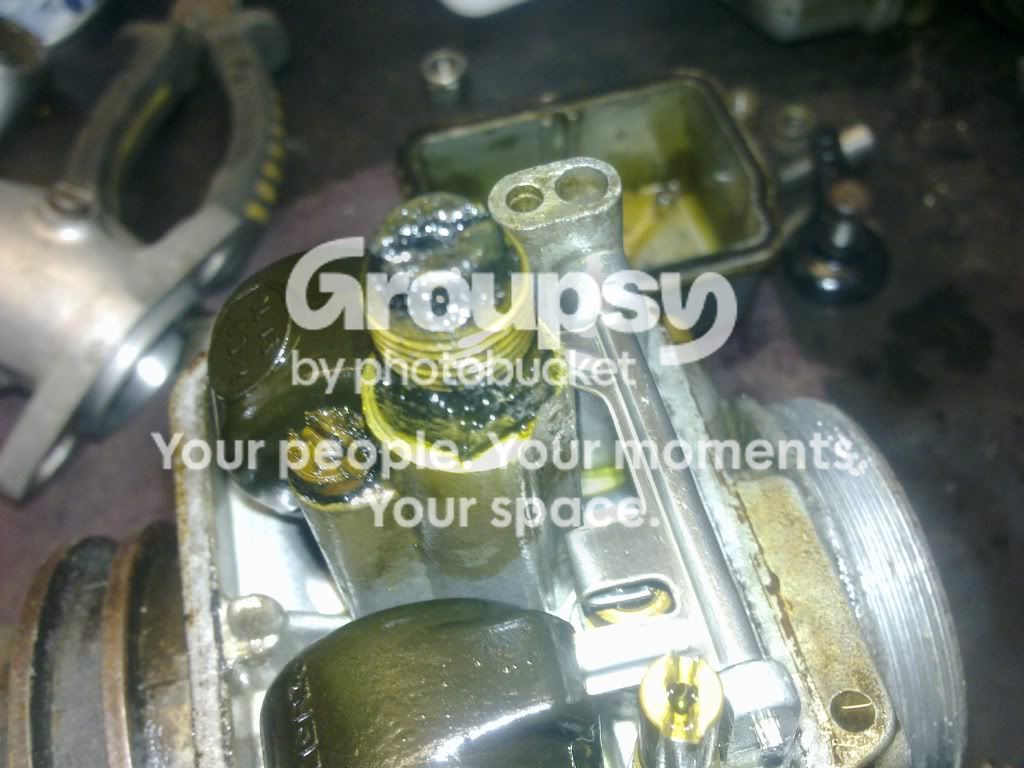
The pipes came off with only a little more than hand-tight pressure with a C-spanner and i also dropped the oil, which was golden, probably as a result of a previous recommissioning attempt. Next was the rear carb, which was clean inside but looked very worn on the slide. main jet was a 160 which is a bit bigger than the book says, but I know that doesn't count. Front carb was much gungier, with all jets solid black and sandy gunge. I have a mate with a carb-heating tank I think so I'll give him a buz tomorrow
mainjet.jpg

the inlet stubs are beautifully matched up all the way from carb to head, even the rubber spacers and it looks like a lot of hand finishing - again, i'm not sure if this is normal and apologise for the quality of the photo. Front main jet was a 132 which is standard - go figure.
inletstub3.jpg
 
I was bidding on what was supposed to be a Monster speedo on ebay and I was the only bidder up until 10seconds before time when a flurry of bids pushed the price up from my £20 to over £50 - damn those snipers and their false hope!
 
Found myself watching a bit of the 50th birthday party of the fender stratocaster in 2005 last week - I loved it. My niece has just taught herself to play guitar from you-tube tutorials which impresses the heck out of me.
I've been haunting google tonight looking at carb parts - they're all available but there's an awful lot of them!
 
Back
Top Bottom