
You are using an out of date browser. It may not display this or other websites correctly.
You should upgrade or use an alternative browser.
You should upgrade or use an alternative browser.
Project Superspurt
- Thread starter CJK
- Start date

CJK
New member
You're doing well Colin but, Ahem, who did you say told you how to improvise a ring compressor with a jubilee clip and a strip of aluminium? :watchout:
Very first bit of todays post
my two new fave tools
(thanks Eddie(ers) and Derek for giving me the tip)
:thumbs:
worked a blo0dy treat
CJK
New member
Engine tidied up a wee bit
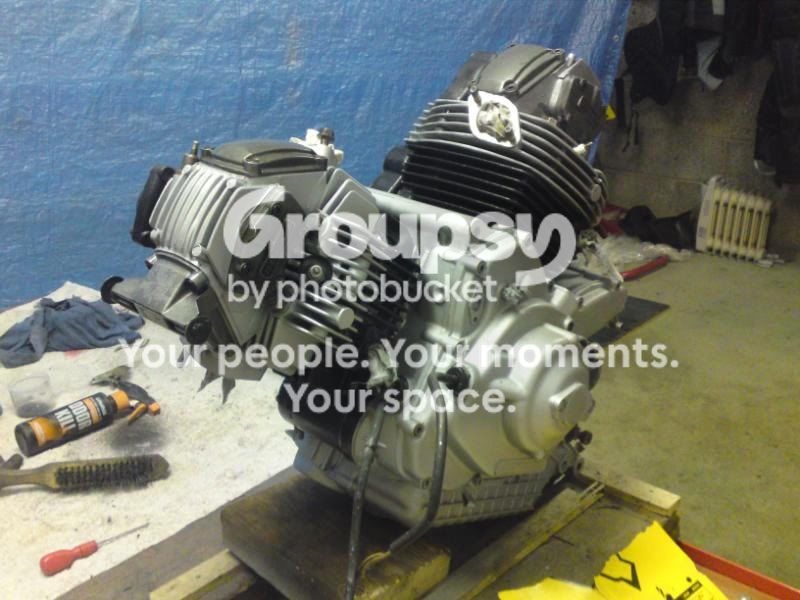
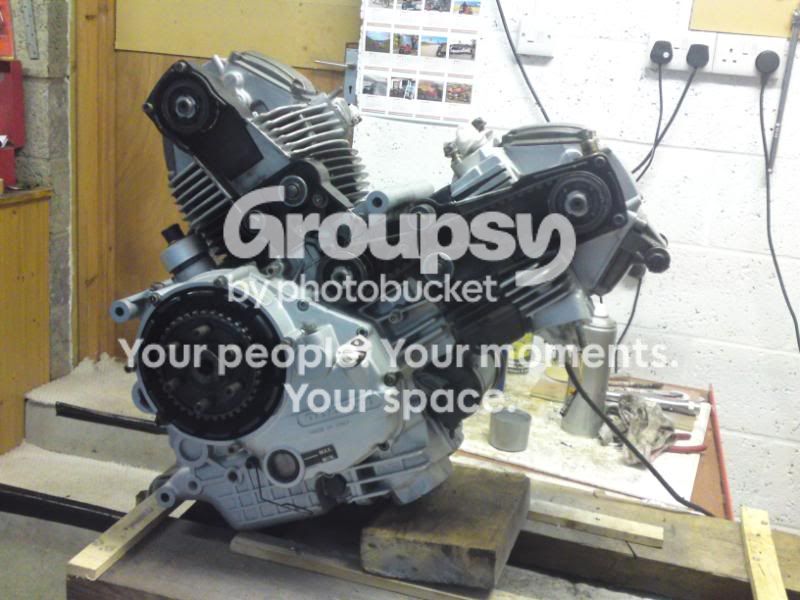
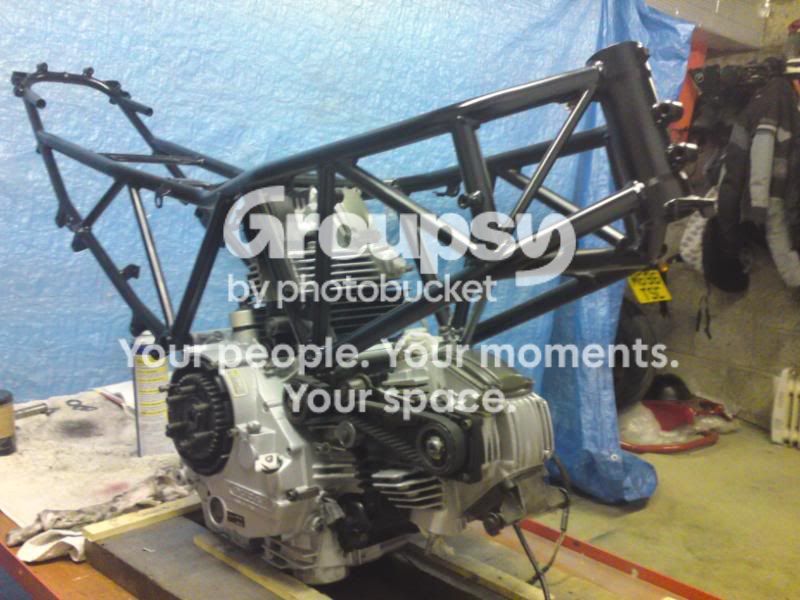
Frame mated up

Hadn't really decided which end to start with,plumped for the rear ,checking and cleaning
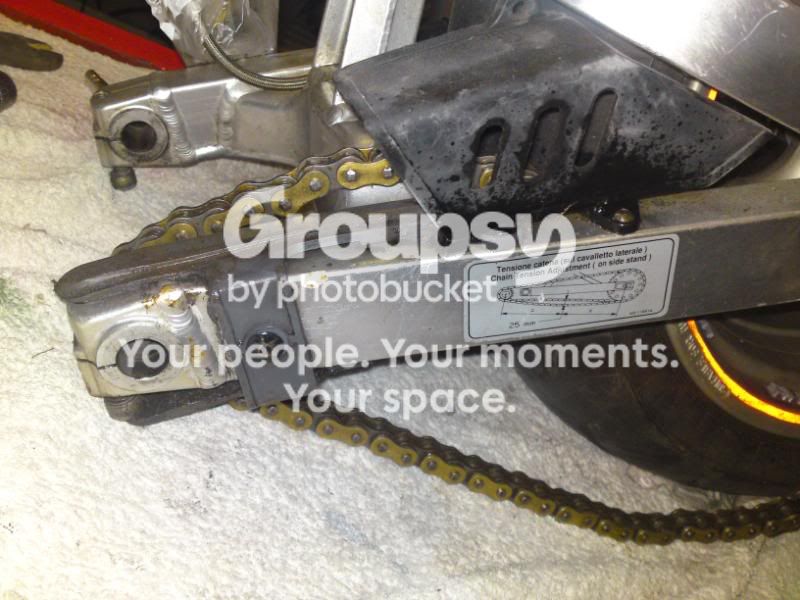
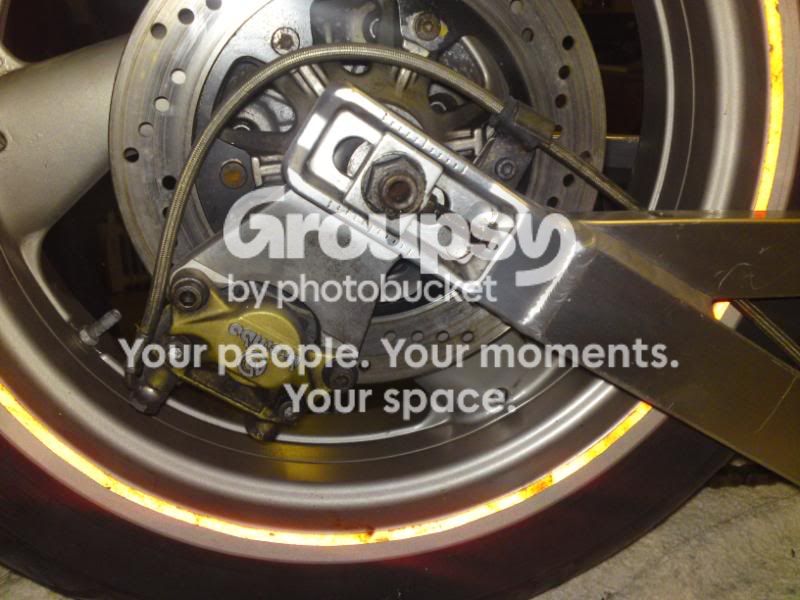
Still plenty of scratches and marks on swingarm,dont have the equipment to give it a heavy duty polish...but better than it was
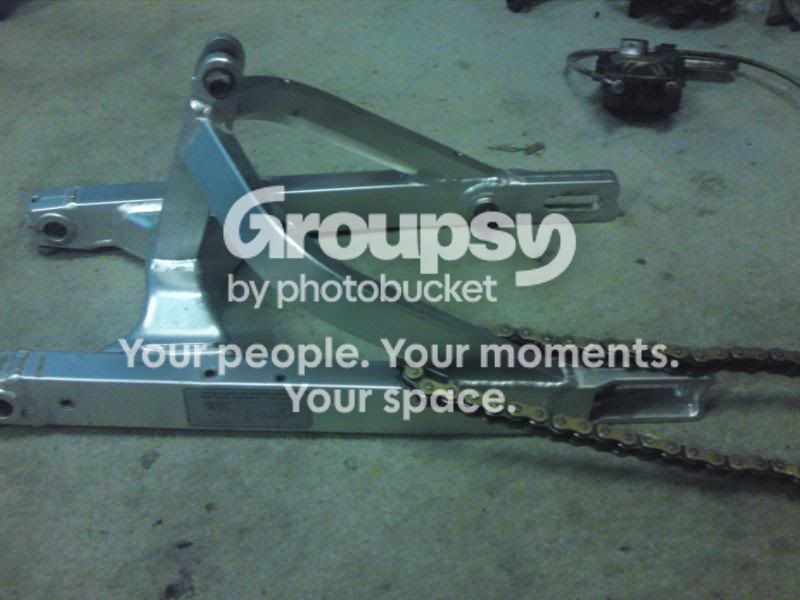
rear wheel bearings are gubbed...boll0cks ,old ones came out easily enough though.

Next,get belts get belts fitted(help),collect wheel bearings and bearings for steering stem to,then check out front end.
Hopefully have a rolling frame before too long.
Frame mated up
Hadn't really decided which end to start with,plumped for the rear
,checking and cleaning
Still plenty of scratches and marks on swingarm,dont have the equipment to give it a heavy duty polish...but better than it was
rear wheel bearings are gubbed...boll0cks ,old ones came out easily enough though.
Next,get belts get belts fitted(help),collect wheel bearings and bearings for steering stem to,then check out front end.
Hopefully have a rolling frame before too long.
CJK
New member
Got new wheel bearings,two different types apparently for the old Supersport...the one's i needed were the dear ones

Swingarm now
needs to fitted snug as possible using shims either side,first attempt i had 3 shims one side but could only get 2 in t'other,was no good,I could feel play in it so perseverance and swearing
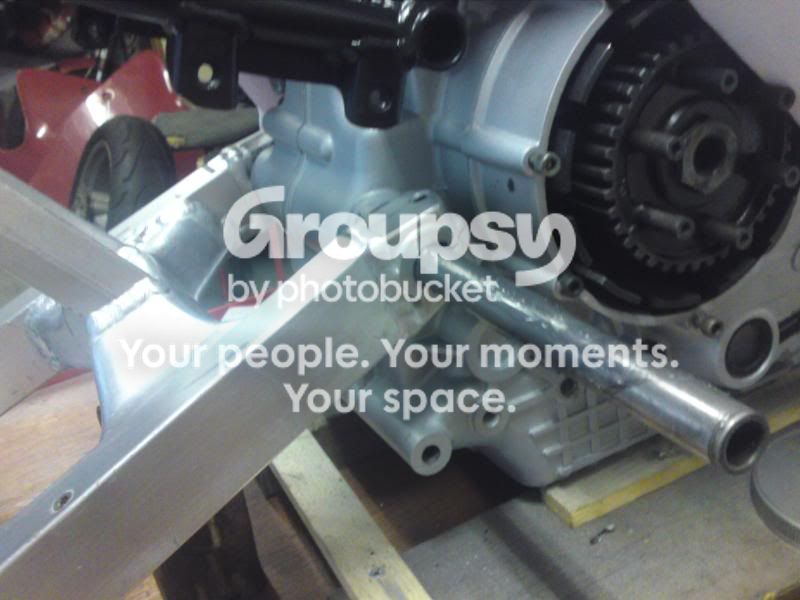
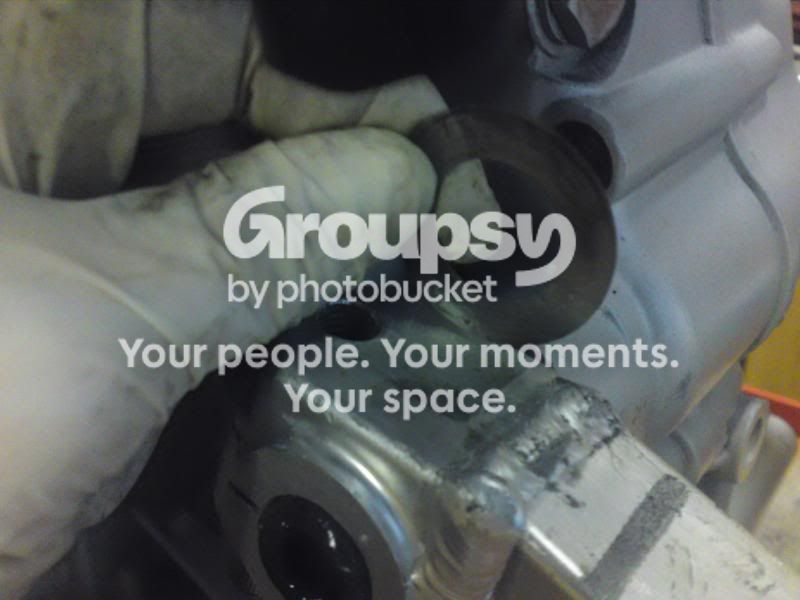

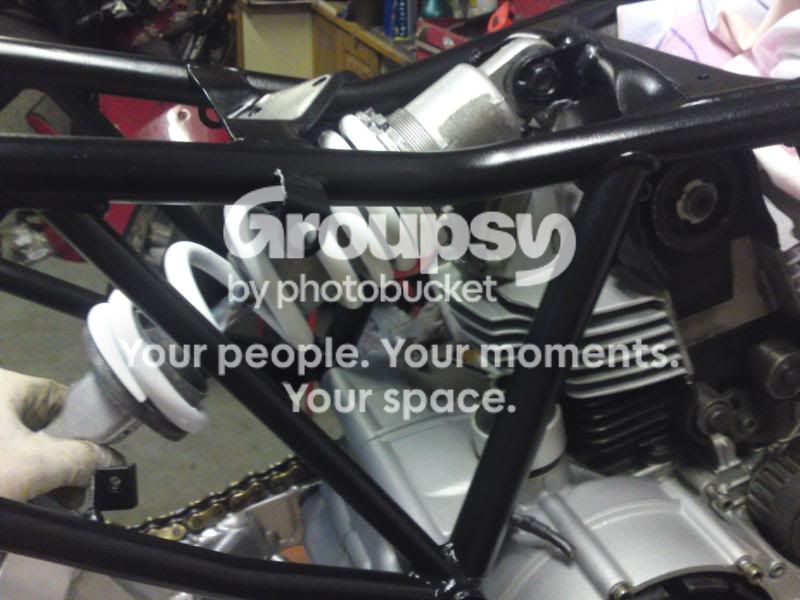
Popped in the shock
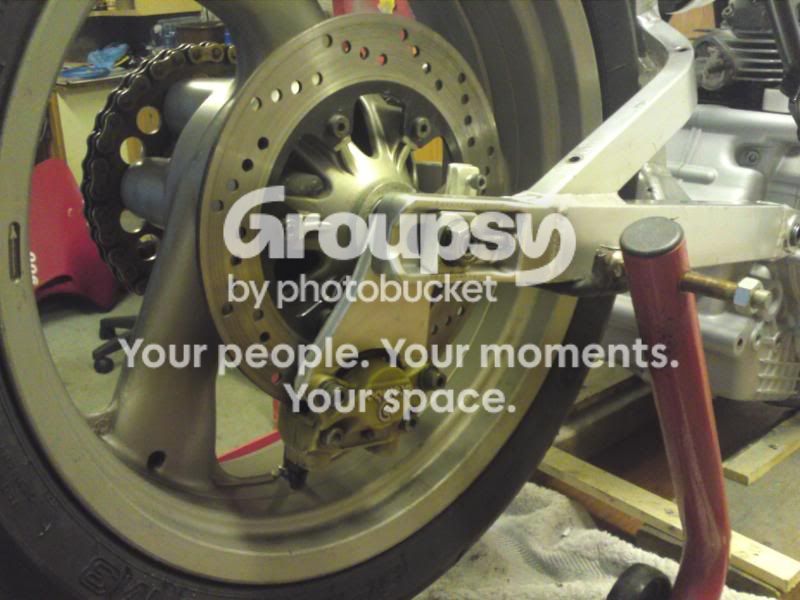
On with wheel

Chains a bit tight,weird nothings been touched,different engine/output shaft though there must a difference wear and tear wise. :dunno:[

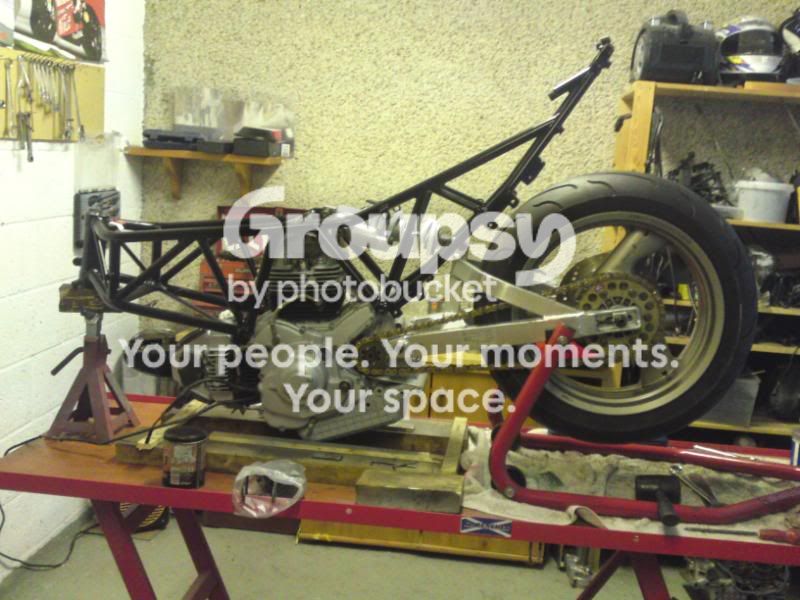
Starting to take some kind of shape:flash:
I got belts today to...all go !
Swingarm now
needs to fitted snug as possible using shims either side,first attempt i had 3 shims one side but could only get 2 in t'other,was no good,I could feel play in it so perseverance and swearing
Popped in the shock
On with wheel
Chains a bit tight,weird nothings been touched,different engine/output shaft though there must a difference wear and tear wise. :dunno:[
Starting to take some kind of shape:flash:
I got belts today to...all go !

kennybrown
New member
Looking good Colin ....:thumbs:

BruceCampbell
New member
Col
Looking good, and do I recognise that paddock stand!! Glad it fits mate
Looking good, and do I recognise that paddock stand!!
Glad it fits mate
CJK
New member
Hey, Your slowly getting there.:flash:When are you expecting to get it out the garage door & running?
Hoping to be at the stage of trying to start it within the next couple of weeks,depends how the 'lectrics go,work of the Devil that stuff

If it runs ok then money(lack of) will dictate the next stage,seat unit ,fairings,paint nae doubt a whole list of other stuff.
No hurry....just a project

Aye right,f*ckin obsessed with it

239desmo
Is it nearly bedtime?
depends how the 'lectrics go,work of the Derek that stuff
Sorted for you!
:lol2:
CJK
New member
Seem to be doin a lot of faffing about and not getting anywhere 
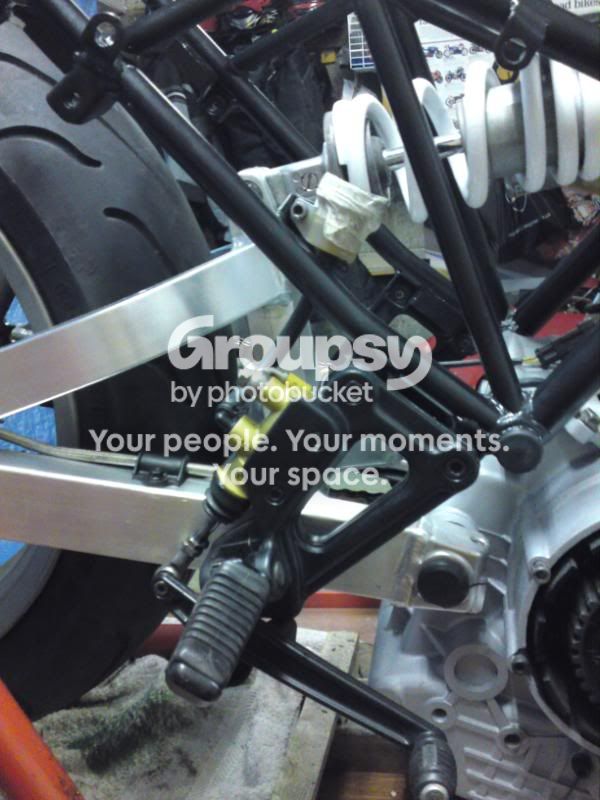
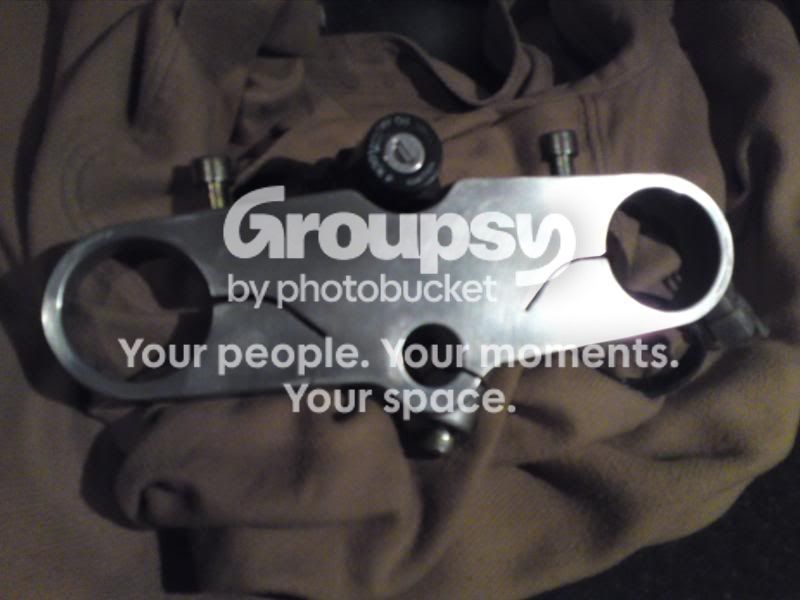
This requires more polishing,it had a crappy carbon effect effort on it which when removed was hiding some serious scratches caused by a key going by the nice sweepy pattern
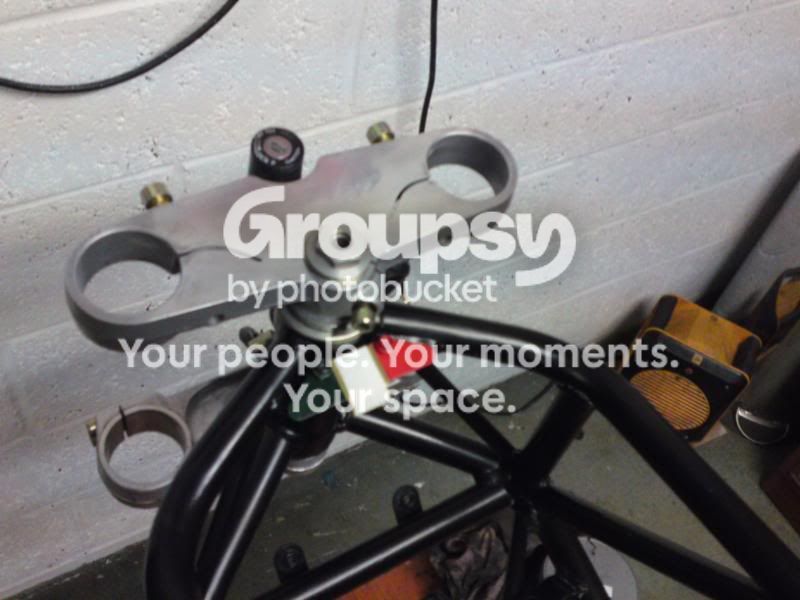
Finally made a start on the front end
The forks and calipers are passable,stripped the calipers,pistons are all good but on closer inspection the front wheel is a bit rough.
Its been stuck in the corner of the garage for weeks,its amazing how much those big discs hide,at a glance it looked ok.
Its going to be a touch up job sorry to say,cash flow...or is it just lack of the fuggin stuff...
Still have seat unit,bikini/Cafe racer fairings to buy and paint to sort for bodywork and tank.
This requires more polishing,it had a crappy carbon effect effort on it which when removed was hiding some serious scratches caused by a key going by the nice sweepy pattern
Finally made a start on the front end
The forks and calipers are passable,stripped the calipers,pistons are all good but on closer inspection the front wheel is a bit rough.
Its been stuck in the corner of the garage for weeks,its amazing how much those big discs hide,at a glance it looked ok.
Its going to be a touch up job sorry to say,cash flow...or is it just lack of the fuggin stuff...
Still have seat unit,bikini/Cafe racer fairings to buy and paint to sort for bodywork and tank.
CJK
New member
forks in,wheel on just used the lift to lower bike on to them
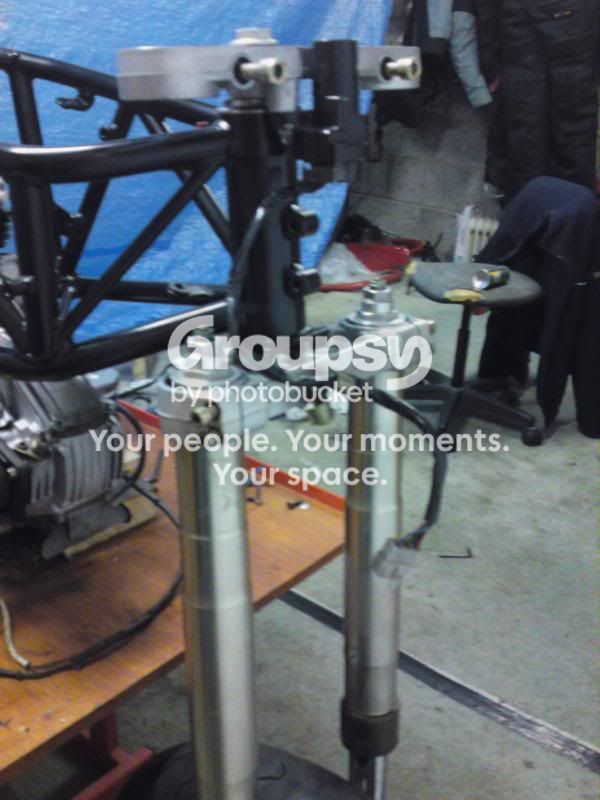
not forgetting the clip ons and bars etc
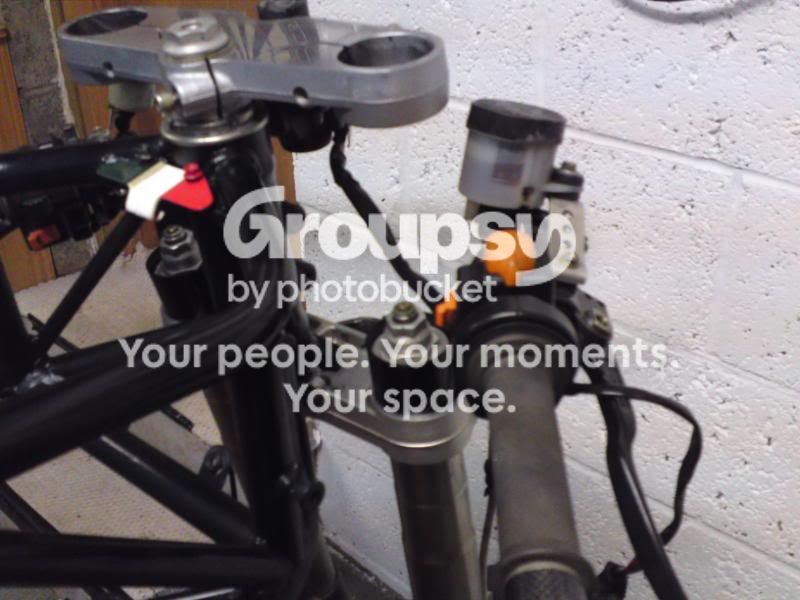
at last its rolling !

looks totsie without any gubbins on
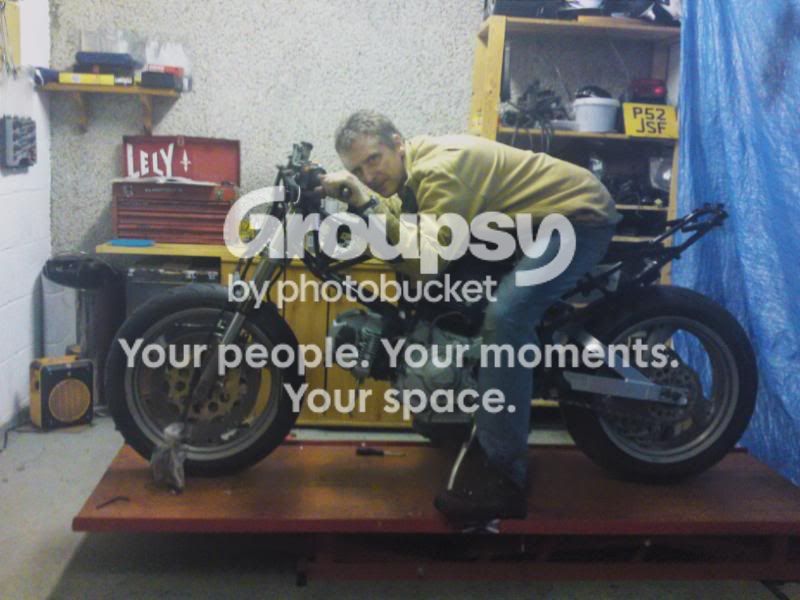
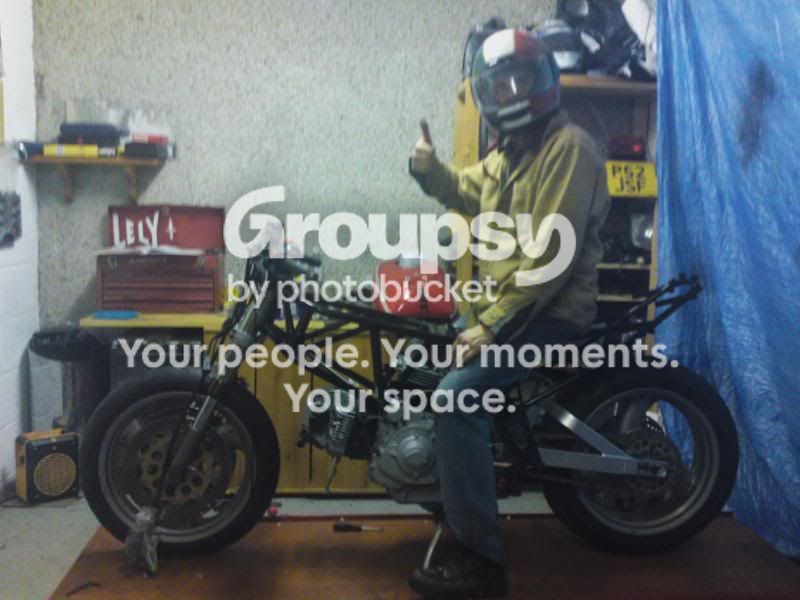
Right,where we going Guys

wee simple seat,drop the clip ons ......pity the muckle front sub frame will spoil it.Still not decided on a colour for tank,seat,plastics etc

not forgetting the clip ons and bars etc
at last its rolling !
looks totsie without any gubbins on
Right,where we going Guys
wee simple seat,drop the clip ons
......pity the muckle front sub frame will spoil it.Still not decided on a colour for tank,seat,plastics etc
BruceCampbell
New member
Col, looks great (exept for the pics of you!!!)
)
CJK
New member
not done much the last week or so,too busy messing with this little bastid thing...love/hate relationship :lol2::lol2:

I've assembled the front sub frame,although i was bidding on two seperate twin headlight front fairings on ebay but lost out on both,so I just went ahead and put the fugly square light back in.
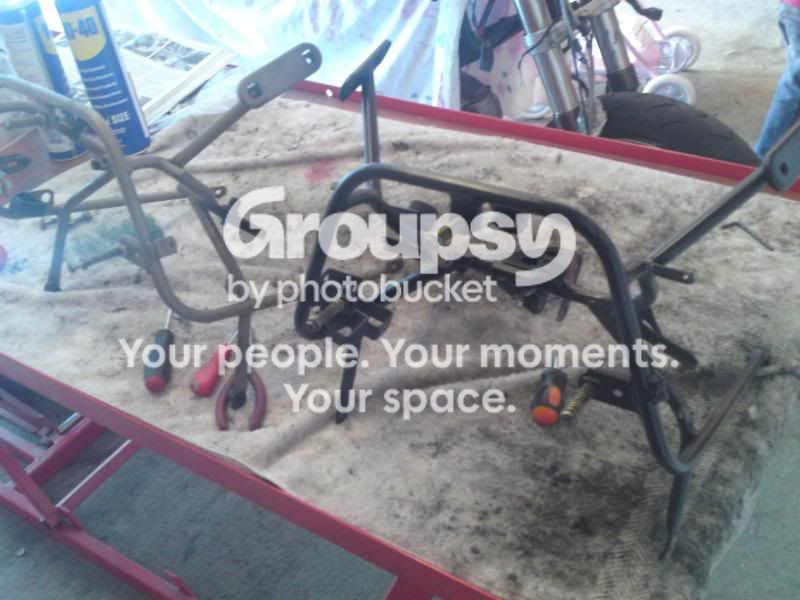


I've assembled the front sub frame,although i was bidding on two seperate twin headlight front fairings on ebay but lost out on both,so I just went ahead and put the fugly square light back in.

hindsight
Well-known member
and put the fugly square light back in.
Oi! - There's nowt wrong with square headlights..

CJK
New member
Oi! - There's nowt wrong with square headlights..
Aye,on the right bike... 888,851,Superlight etc even a nice straight standard Supersport....ye ken whit I meant
,I was/am looking for something a wee bit different without bustin' the bank
kennybrown
New member
That,s me up to speed with it noo Colin !!!!.:thumbs:
CJK
New member
Oi! - There's nowt wrong with square headlights..
and is it no' aboot time you told peeps of your latest aquisis..f*ck it,your latest BUY

Curriedug
New member
not done much the last week or so,too busy messing with this little bastid thing...love/hate relationship :lol2::lol2:
[qimg]http://img.photobucket.com/albums/v12/livicol/007-40.jpg[/qimg]
Ooooo.........somehow I think I can understand you predicament Colin!!:dunno::lol2:
hindsight
Well-known member
and is it no' aboot time you told peeps of your latest aquisis..f*ck it,your latest BUY
Oh ehm, aye. True enough. I'll post some piccies sometime soon.
CJK
New member
Pretty much got the loom in situ as far as i can until I get ignition stuff fitted in place and get that connected up,pretty straight forward in the end(I've got some nice rubber ties on order,do away with so many blo0dy cable ties,paricularly on the main frame tubing)


routed the clutch slave into place to,gave it the once over looks good,I've a wee bit experience with these feckin things:lol2:
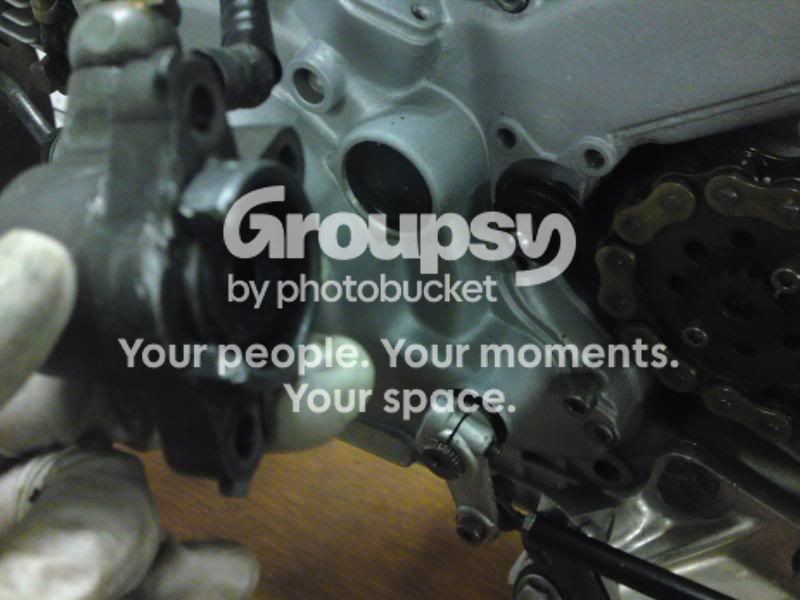

Now for the carbs,I have a compressor and the loan of an ultrasonic cleaner...how hosed oot do ye want yer Jets mrs ??


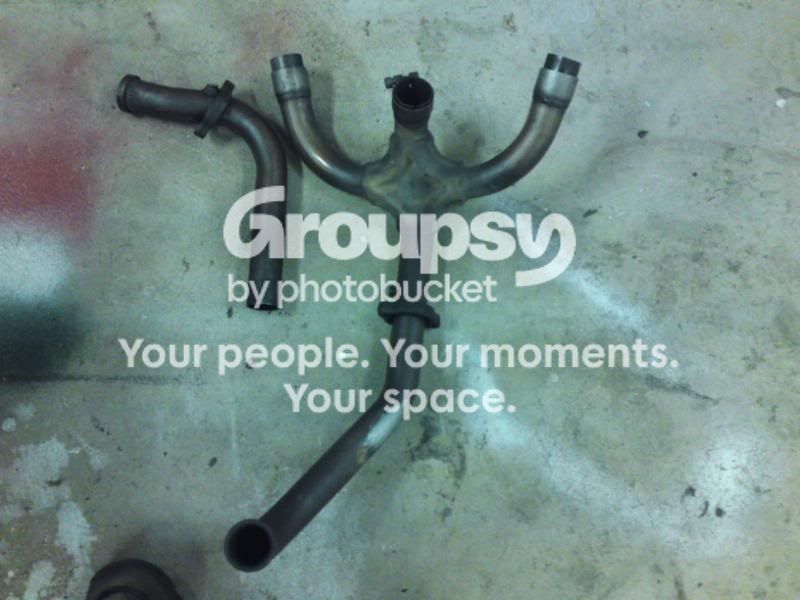
Any tips for polishing these or shall i heat wrap them for a Badass look
routed the clutch slave into place to,gave it the once over looks good,I've a wee bit experience with these feckin things:lol2:
Now for the carbs,I have a compressor and the loan of an ultrasonic cleaner...how hosed oot do ye want yer Jets mrs ??
Any tips for polishing these or shall i heat wrap them for a Badass look
Last edited:
239desmo
Is it nearly bedtime?
Colin you can polish the headers yourself with a bench grinder fitted with a polishing mop or a hand drill.
If you are using a hand drill remember it is designed for pressure running vertically through it for drilling rather than lateral pressure when you are polishing and you may knacker the drill if you get too enthusiastic! :lol2:
You could always get them coated (that will cost money) with likes of Camcoat who do a black or their Cermachrome finish.
http://www.camcoat.com/main/anti-corrosion-coatings/
If you are using a hand drill remember it is designed for pressure running vertically through it for drilling rather than lateral pressure when you are polishing and you may knacker the drill if you get too enthusiastic! :lol2:
You could always get them coated (that will cost money
) with likes of Camcoat who do a black or their Cermachrome finish. http://www.camcoat.com/main/anti-corrosion-coatings/
CJK
New member
Colin you can polish the headers yourself with a bench grinder fitted with a polishing mop or a hand drill.
If you are using a hand drill remember it is designed for pressure running vertically through it for drilling rather than lateral pressure when you are polishing and you may knacker the drill if you get too enthusiastic! :lol2:
You could always get them coated (that will cost money
http://www.camcoat.com/main/anti-corrosion-coatings/
what ye saying like ? eh eh !!
I shall try that Stewart,your right though,I aint spending a penny that i don't need to until I hear this engine running

Chiz
Elite Member
For the headers, start off with a wire brush on the drill before getting onto polishing mops.
Don't you think you should change that clutch hose for a braided stainless one? It must be about 14/15 years old
Best to, as I had issues last year with the 900SL.
CJK
New member
Carbs were remarkably clean,no signs of varnishing whatsover,still gave them a going over though,think everything went back into them that came oot.Choke slider was pretty cr*p feeling,gave a it a good clean up and a light greasing feels spot on now.
pics to follow....sorry :yawn: :finger:
pics to follow....sorry :yawn: :finger:
Curriedug
New member
Don't you think you should change that clutch hose for a braided stainless one? It must be about 14/15 years old
 Arhem...my St2 is reaching 13yrs this year so maybe I should be thinking the same? Also, the brake hoses??!
Where is the best place to get braided hoses for it?
Cheers

Especially the brake hoses
Where is the best place to get braided hoses for it?
Cheers
Busters and M&P do cheap braided hoses but the end fittings are only cadmium plated and not stainless.
