
You are using an out of date browser. It may not display this or other websites correctly.
You should upgrade or use an alternative browser.
You should upgrade or use an alternative browser.
Kawasaki KR1000 Endurance Replica
- Thread starter Exige
- Start date

Unfortunately yesWe have 2 perry's


It's a 'Recreation' sillyyou have asked this before Perry 2


It's a 'Recreation' silly

You’re much younger that Perry 1


The attention to detail is very impressiveStarter Motor Rebuild Kit arrived and fitted / tested - it cleaned up well apart from the two long M5 Screws and I couldn't find any part threaded replacements anywhere the correct length,
View attachment 62040
Decided on some 5mm ID Brass Tube to cover the original ones, found some with 0.5mm wall on Ebay which was ideal and that arrived today. The gap between the end castings was 86.00mm so I sawed the tube to near 87mm and gently filed until it was 86.02mm to allow the screws to fully compress the assembly...
View attachment 62041
Now fitted to the Engine and very happy with the result
View attachment 62042


Just spent a few hours over the last 3 days wrestling a piece of Polypropylene sheet into shape to use as a rear front section mudguard. The sheet was 3mm thick and in hindsight I should have used 2mm to heat / form it easier.
I could have taken the easy option of fitting a hugger but I think it would have spoilt the lines, another option would have been to fit nothing - but gave this a go and finally achieved a satisfactory result.
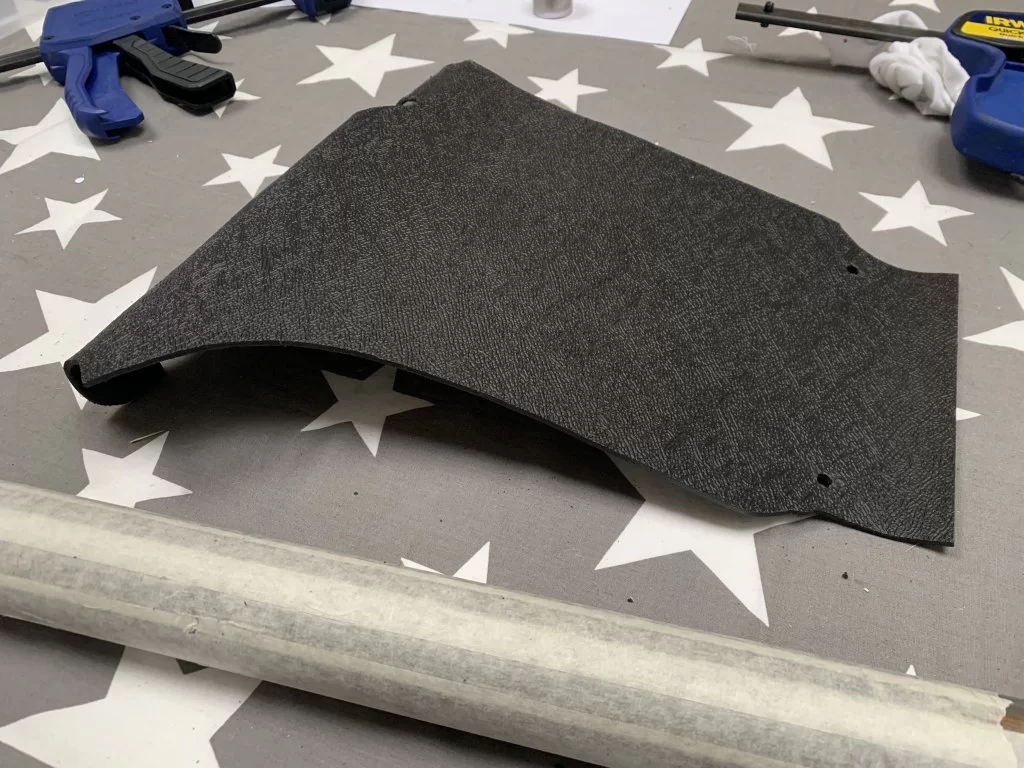
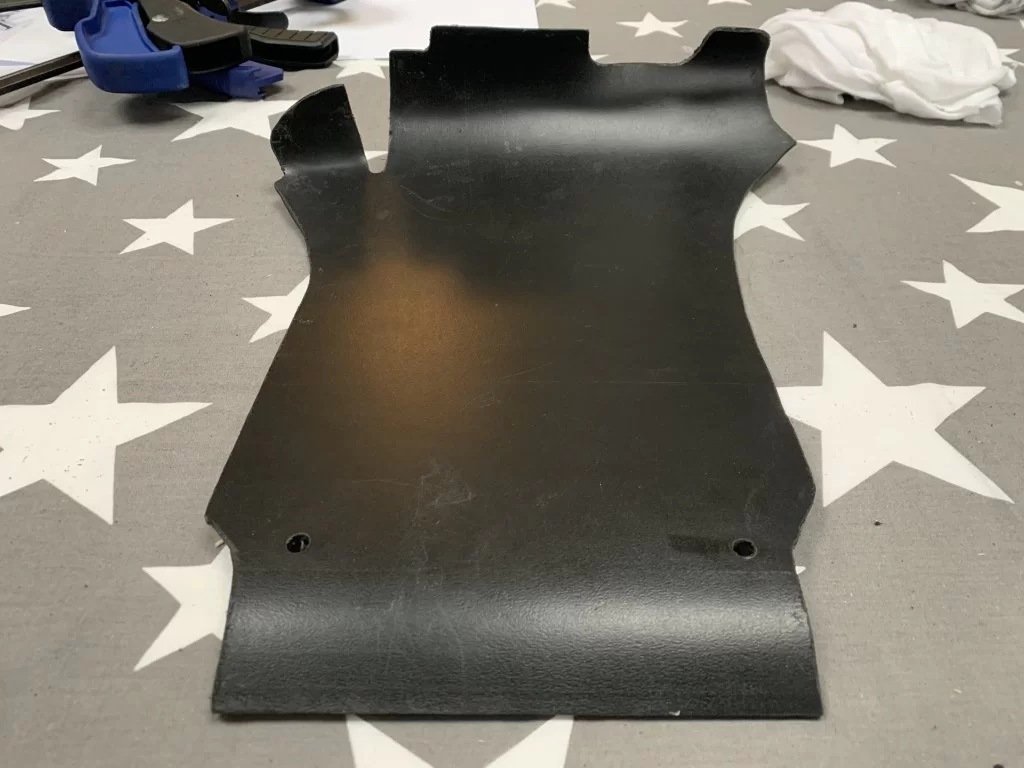
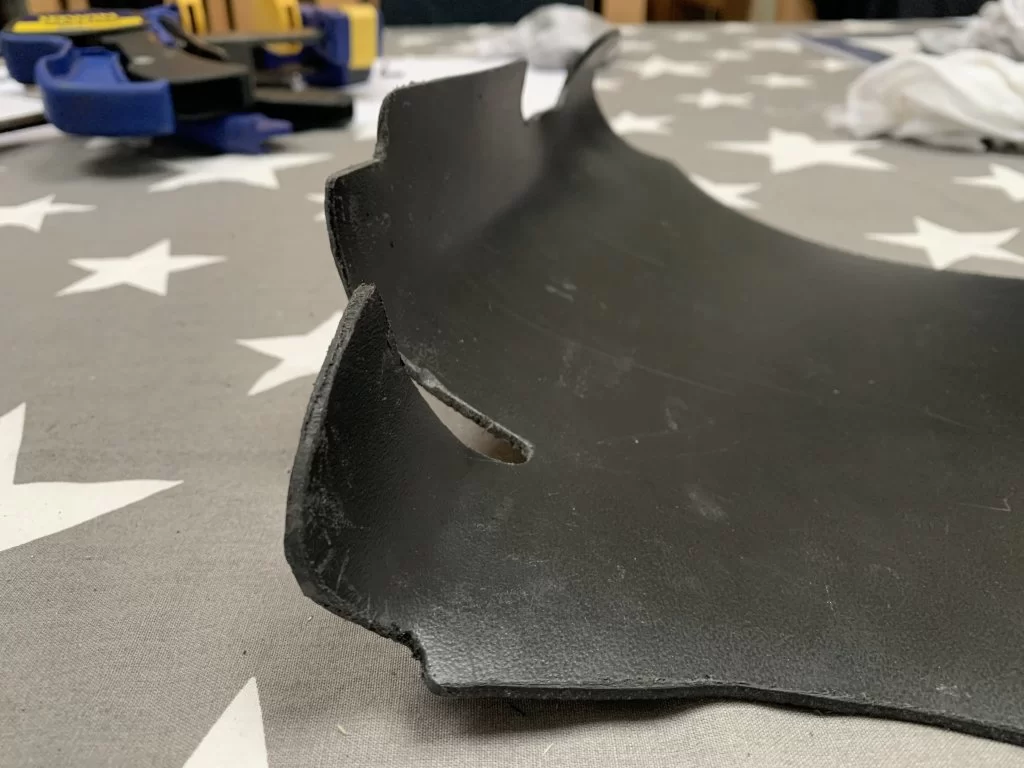
I extended the 2 screws which fix the rear laminated plate (top of the picture) to fix the rear of the new guard...
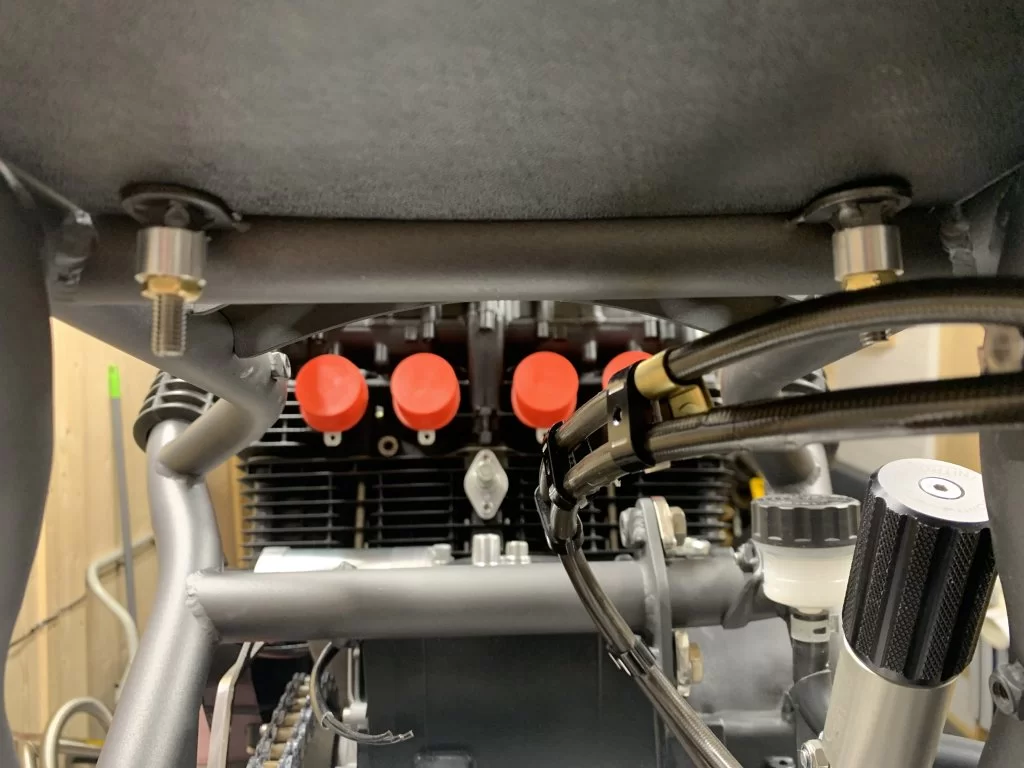
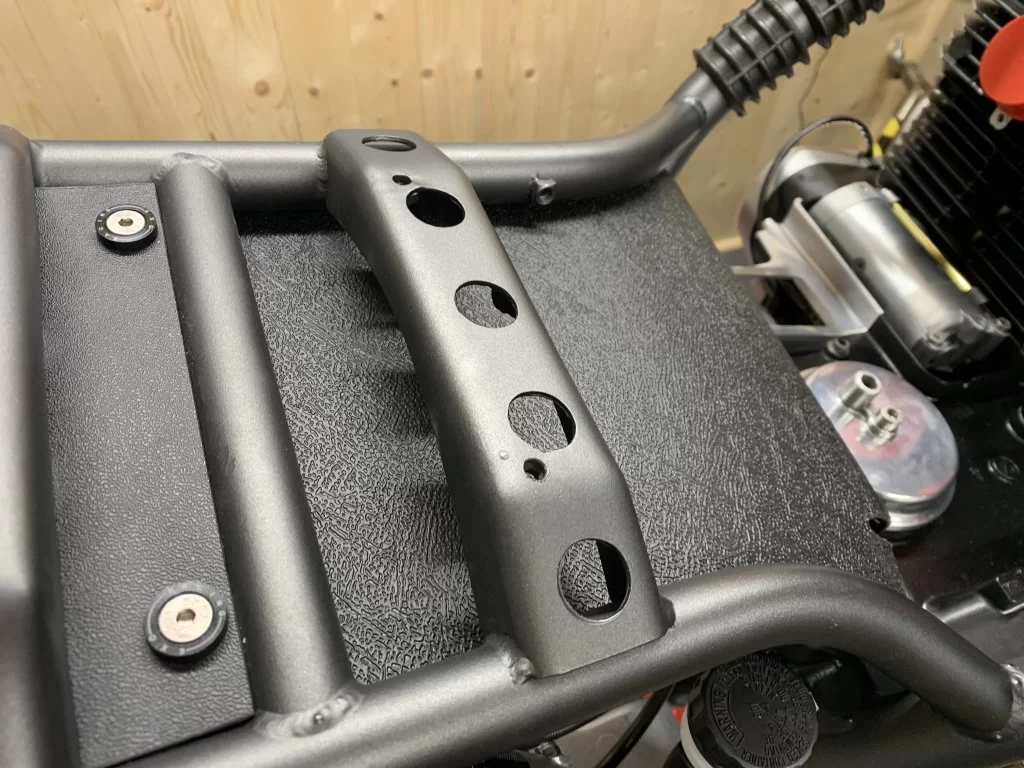

A lot of time spent fine tuning the shape as I didn't want any unsightly edges or gaps showing below the frame rails on either side (see below). The whole guard is fixed using the two fixing point shown above, with the front simply tucking into the rear engine mount recess on the back of the engine.

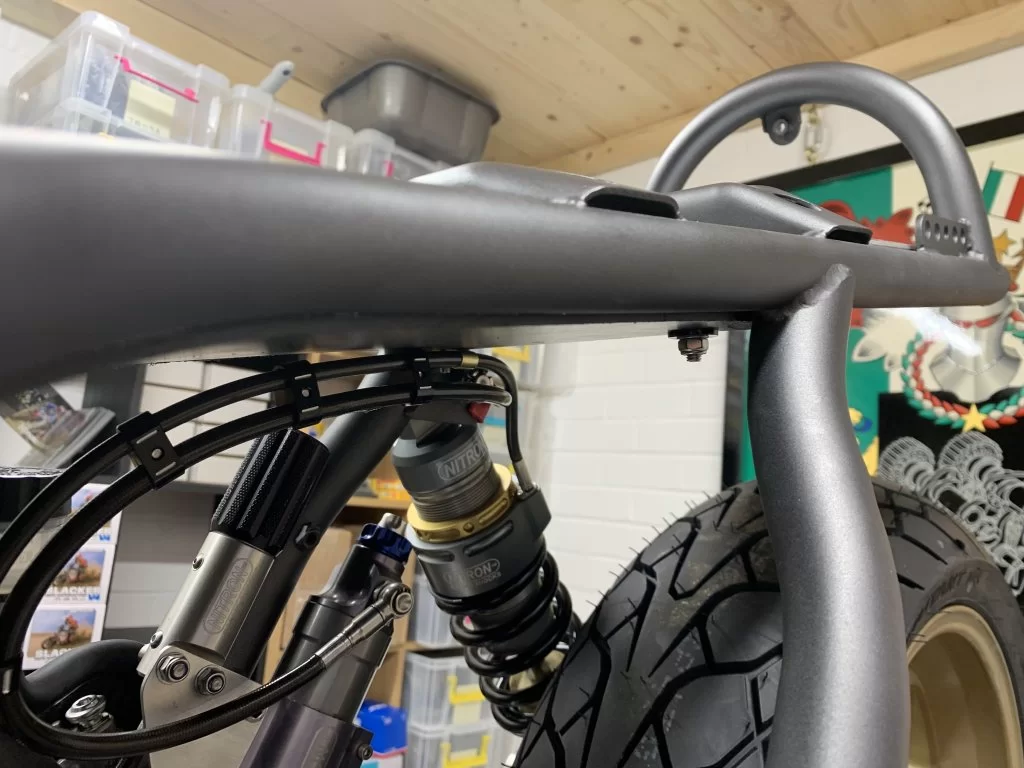
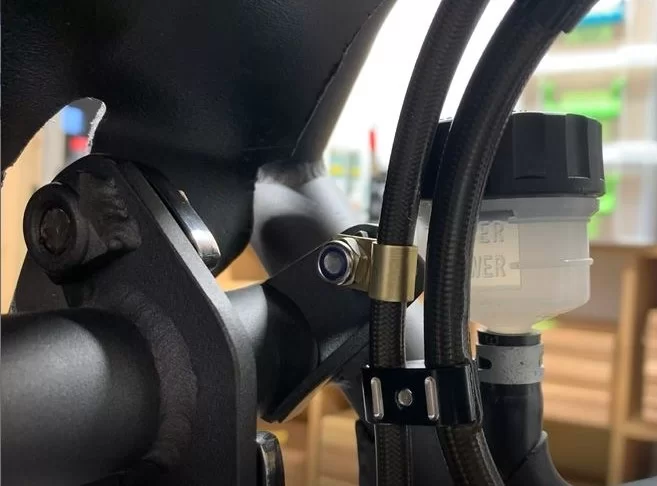
I utilised the R/H screw to fix the rear shock lines with a brass P Clip and also fitted an additional P Clip off the rear master cylinder mount to hold the lines neatly in position...


Happy with the finished result so it will probably remain on the bike


I could have taken the easy option of fitting a hugger but I think it would have spoilt the lines, another option would have been to fit nothing - but gave this a go and finally achieved a satisfactory result.
I extended the 2 screws which fix the rear laminated plate (top of the picture) to fix the rear of the new guard...
A lot of time spent fine tuning the shape as I didn't want any unsightly edges or gaps showing below the frame rails on either side (see below). The whole guard is fixed using the two fixing point shown above, with the front simply tucking into the rear engine mount recess on the back of the engine.
I utilised the R/H screw to fix the rear shock lines with a brass P Clip and also fitted an additional P Clip off the rear master cylinder mount to hold the lines neatly in position...
Happy with the finished result so it will probably remain on the bike
Last edited:

Also Scotch-bighted the top fairing stay and polished the mounting clamp...
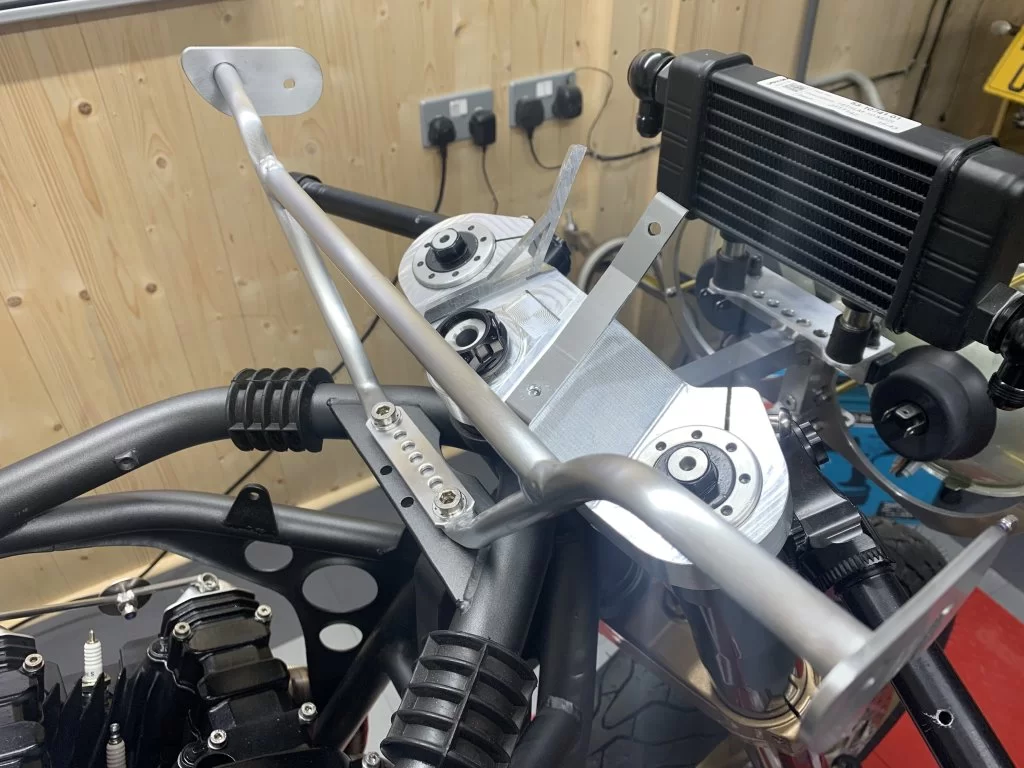
And temporarily double side taped my Rev Counter mounts in place to start thinking about the dash - they are similar to the originals in geometry but much less Heath Robinson.
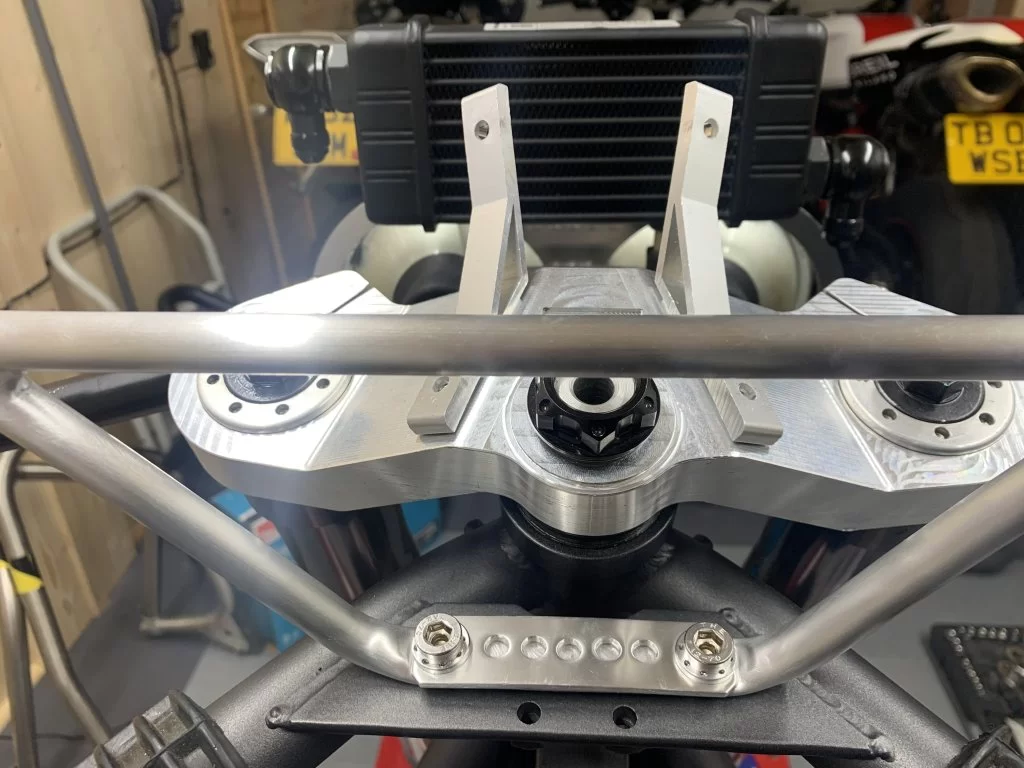
Drew out what will look neat and ordered some aluminium sheet to make it...
It will have the Rev Counter, the small Moto-gadget Speedo and 3 idiot lights for Neutral / Oil Level and Temperature (there is a Temp Sensor in the Cylinder Head although it's Air Cooled) so will try and reinstate that if it can be wired to trigger a red light - I'm guessing it sends a signal at a set temperature but electrics are just Witchcraft to me

And temporarily double side taped my Rev Counter mounts in place to start thinking about the dash - they are similar to the originals in geometry but much less Heath Robinson.
Drew out what will look neat and ordered some aluminium sheet to make it...
It will have the Rev Counter, the small Moto-gadget Speedo and 3 idiot lights for Neutral / Oil Level and Temperature (there is a Temp Sensor in the Cylinder Head although it's Air Cooled) so will try and reinstate that if it can be wired to trigger a red light - I'm guessing it sends a signal at a set temperature but electrics are just Witchcraft to me
Yep, every part is like a project all of its own as you well know!Worth the effort Exi, it's looking good
Easy to see how so called small jobs end up taking an age to complete !
Last edited:
Bent the cross brace to the desired angle, just needs cutting down to shape now once I've decided what that might be.....
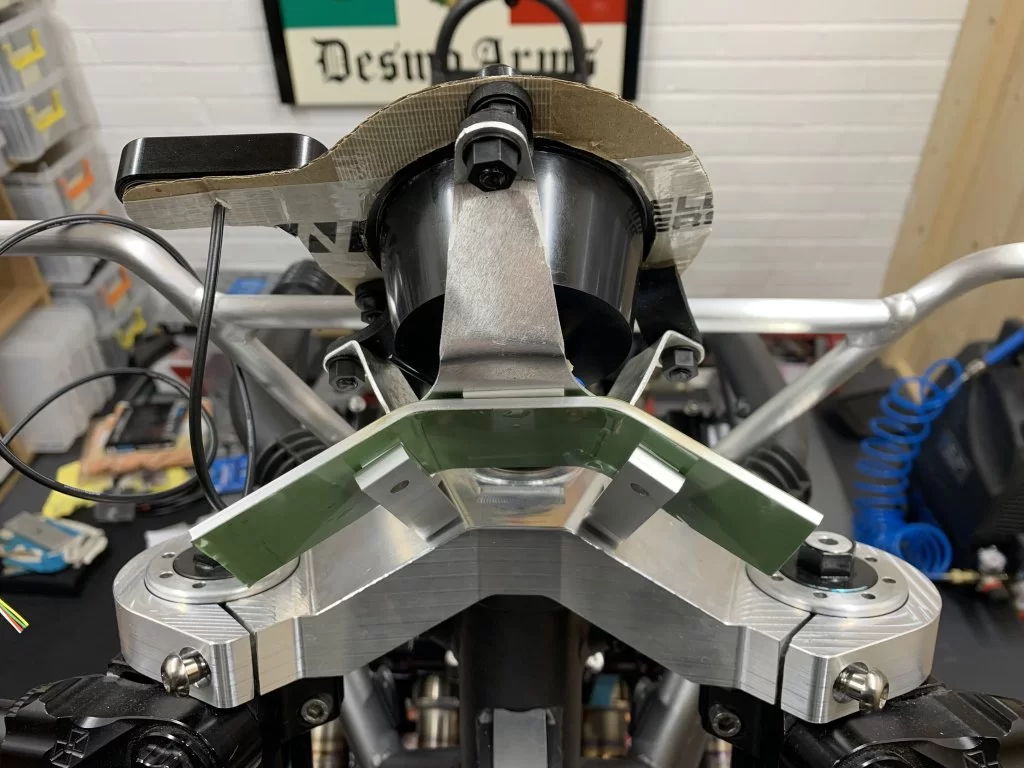
Also made a card template to check out the Tacho and Speedo position, just need to decide if I'm happy (even got the crayons out ) - it may need tilting back a little which could be troublesome

Also made a card template to check out the Tacho and Speedo position, just need to decide if I'm happy (even got the crayons out
) - it may need tilting back a little which could be troublesome 
Could you rubber mount the lower fixings and bend top fixing a bit would maybe do itBent the cross brace to the desired angle, just needs cutting down to shape now once I've decided what that might be.....
View attachment 63028
Also made a card template to check out the Tacho and Speedo position, just need to decide if I'm happy (even got the crayons out
View attachment 63029
Buy a bike, stop your frustrationAt this rate, we'll have 15 more prime ministers before it's finished
The whole Tacho / Speedo assembly is rubber mounted - where I would need to bend the brackets to angle it back a little more they are very thick, but it's doable. I need to drop the tank and fairing on to double check everything first I thinkCould you rubber mount the lower fixings and bend top fixing a bit would maybe do it
Last edited:
Decided to bite the bullet and attack the brackets today - clamped securely side by side so as not to distort the thinner triangular section, heated using the Sharpie method and hammered them to the correct angle. Luckily it worked out fine 


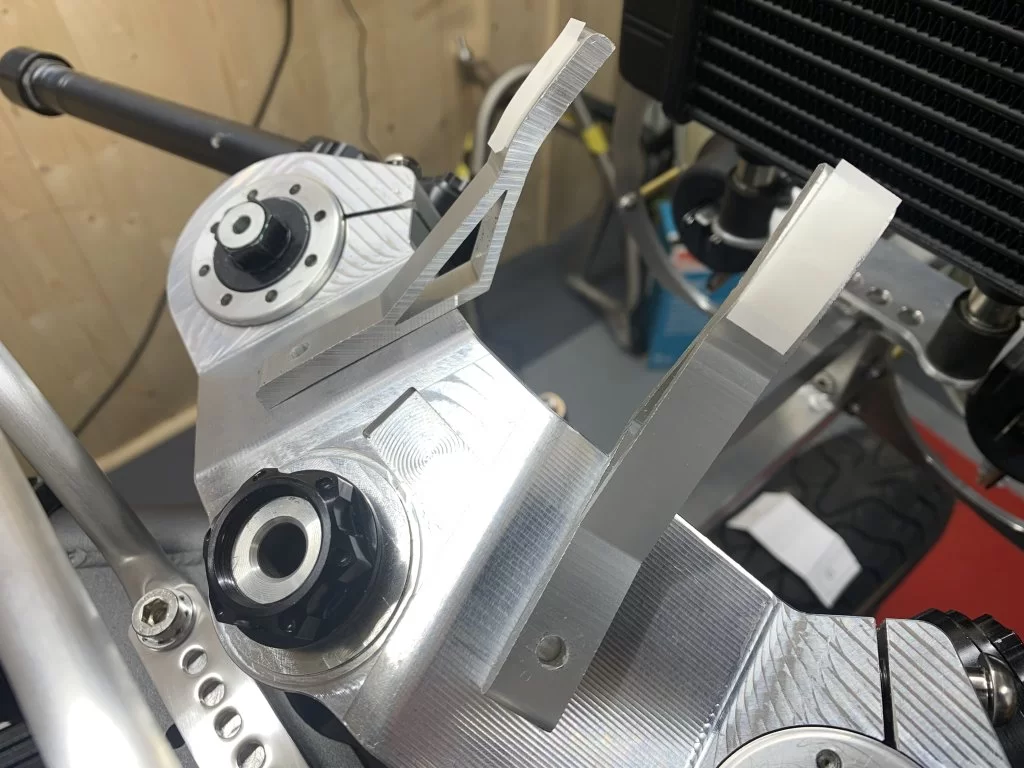
Now the tacho is in the correct position and angle when comparing to the original bike....
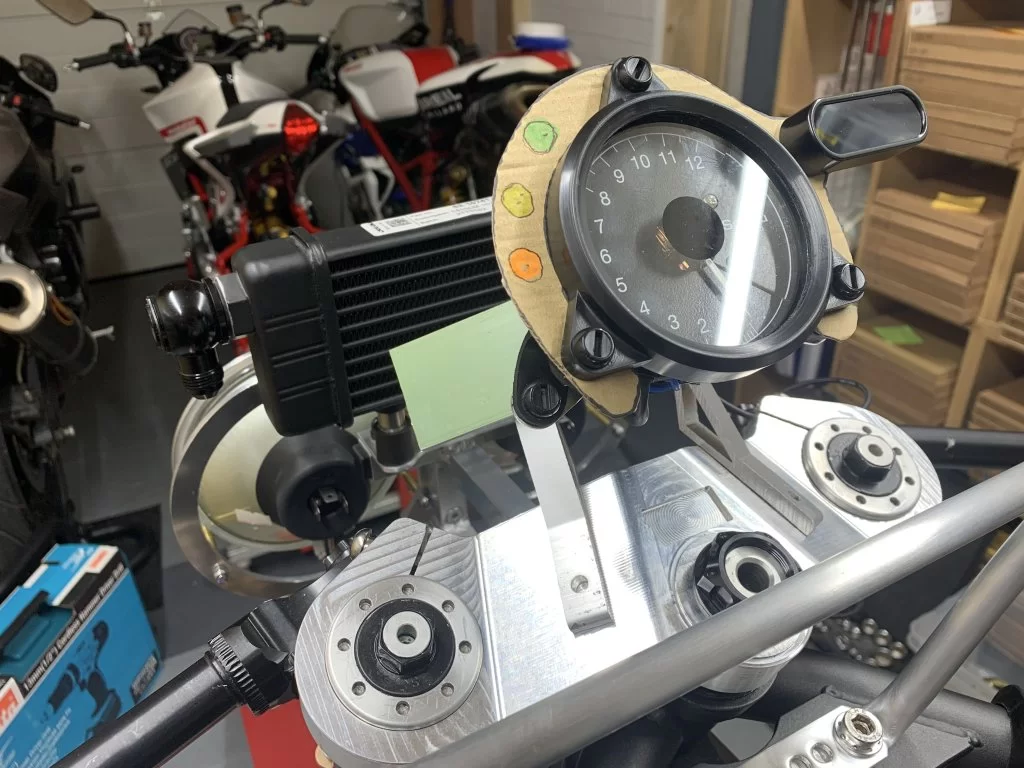
I will wait to shape the cross bracket after the yoke is drilled and tapped so I get it spot on and will replace the plastic bolts the manufacturer of the tacho used with Ti Domed Bolts
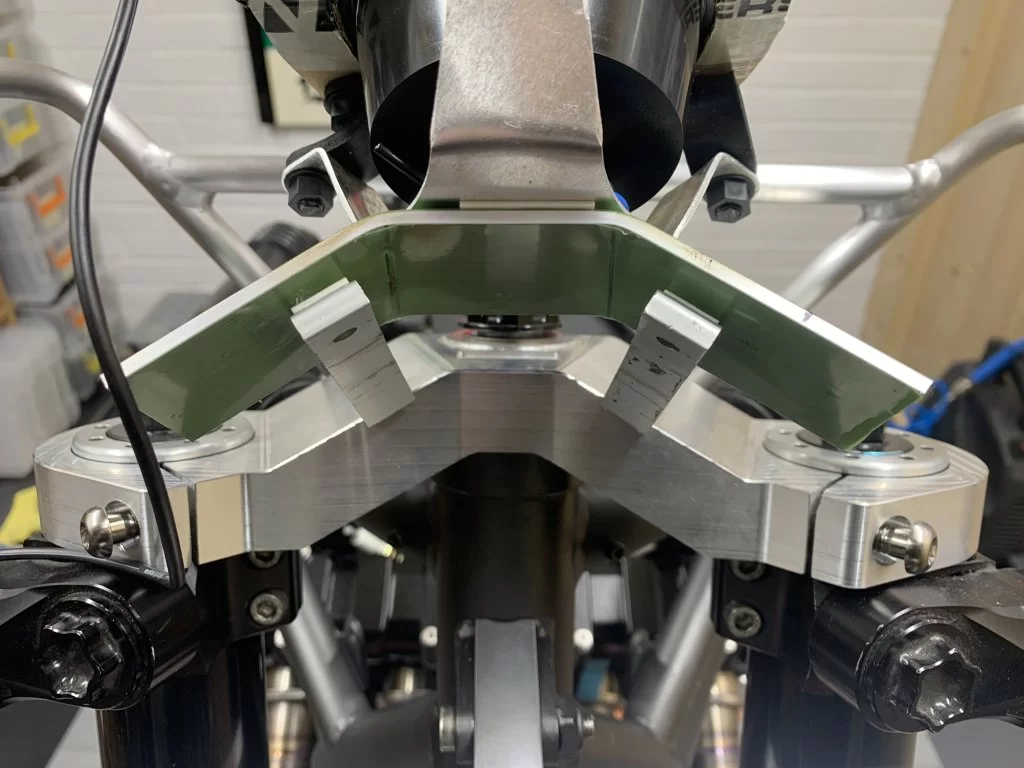
Now the tacho is in the correct position and angle when comparing to the original bike....
I will wait to shape the cross bracket after the yoke is drilled and tapped so I get it spot on and will replace the plastic bolts the manufacturer of the tacho used with Ti Domed Bolts
I trust there's going top be some flat slides adorning the back of that cylinder head sometime soon ? Or custom injection system ?
Oh yes indeed, only dug them out from their 30 years nap the other day: yet another major lengthy sub project
38mm Mikuni Flat-sides with custom aluminium slides...
 ) on Dyna Coils and Leads, APE Trac King Clutch Kit, Pingel dual outlet Hi Flow Fuel Tap and a Mikuni Carb Rebuild Kit - I feel a little unwell
I've been putting it off for monthsYou sure you're not a Londoner who moved to York? No self respecting Yorkshire man would spend that on "bits"
Not decided yetHaving seen the headstock and yop fairing stay, I can't see a provision for a key. Are you running this keyless?
it's all a bit whitchcraftery to me but I didn't want an ignition switch showing on the yoke.