1994 Monster M600

Aye arrived today checked the box this afternoon and they were lying there, will get them posted with the old ones and bearing thingys this week.
 
Eh no! I tried it on the cowl to make sure the ctrs were the same which it was and checked the underside hole on the seat which was ok, but when all bolted up even with the original brackets the cowl sits back from the seat amout 5mm. Not to worry tho I can make a set to suit the cowl I have, it was a new carbon cowl I bought from fleabay.:confused:
 
Nae bother, started an early spring clean today in the workshop, well it did feel like a spring day and found the bolt with the washer to remove the bobbins I forgot to put it in the bag with the brackets. Sorry!
 
A long overdue update.......

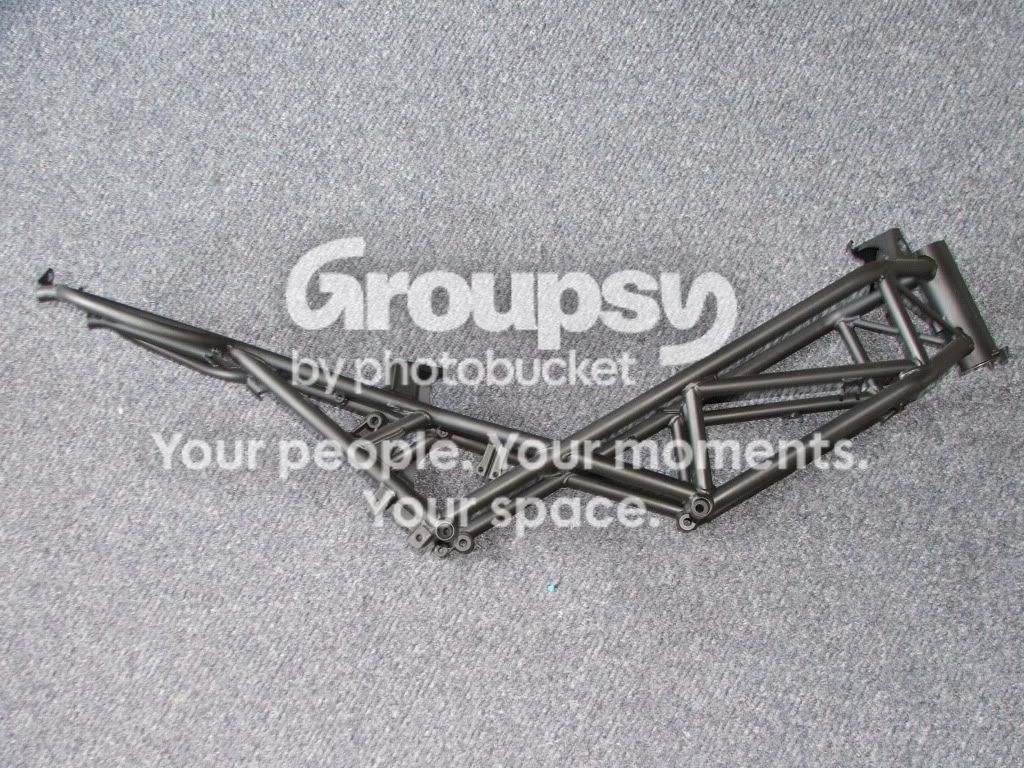
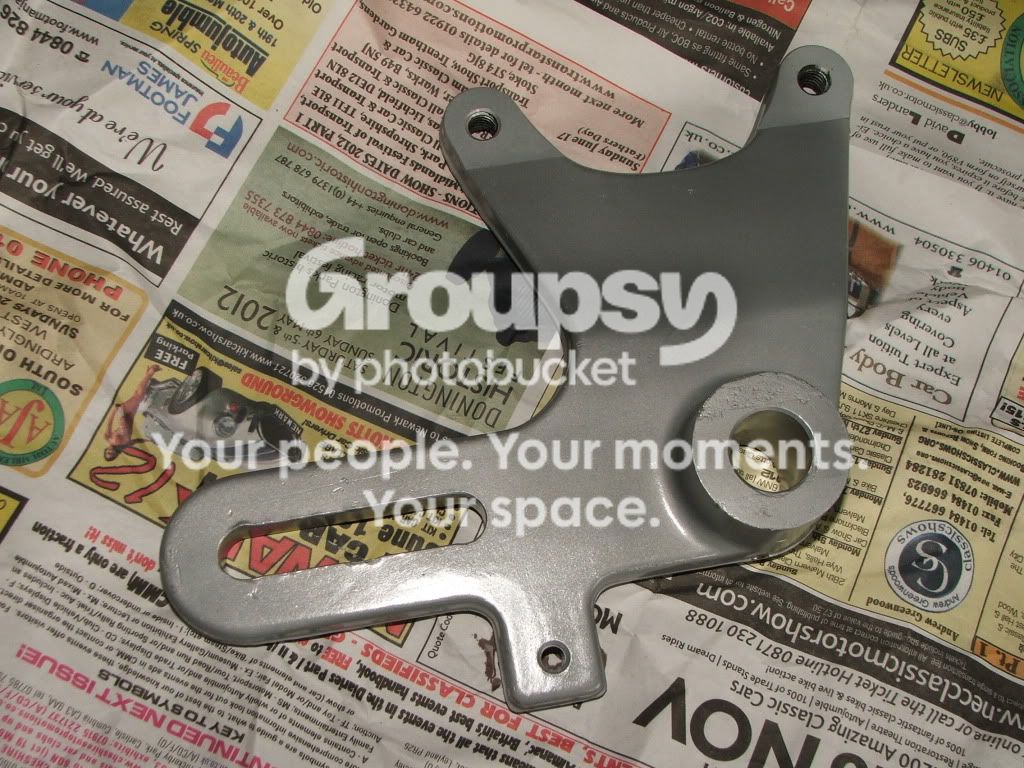
Finally, got my bits back from the blasters.

DSCF4894.jpg


The frame is currently in primer, so black will not be the final colour - despite it looking quite smart.

DSCF4895.jpg


DSCF4896.jpg


DSCF4897.jpg


DSCF4898.jpg


All the alloy has been bead-blasted and lacquered and, despite being a little greyer than I was hoping, I think it'll work well.

I still haven't finished stripping the wheels - those cush-drive bushes are a b1tch :(
 
Hello did you notice on the footrest hangers the bolts with large round heads that secure them to the crankcase what side and hole do the longer bolts go into. I have tried all four but they bottom out. I have two alloy spacers which I assume go on the opposite side of the crankcase to the stand. They are probably about 8mm longer must be something missing from the box o bits I got.:confused:
 
Weey look at you, too well organised. I am two 6mm spacers missing but can machine them up cheers!
 
Finally...... after about 6 weeks of head-scratching and hitting things with a big hammer......

DSCF4900.jpg


Now I just need to get the tyres off and the wheel are off to the blasters :)

I managed to cut some of the bushes enough that they cracked down the cut line, others were just bend enough to get sufficient purchase to drive 'em out from the back.

Other Monster, SS and ST owners beware, once the bushes deteriorate beyond a point they are a complete b1tch to remove as these ones (even the one that still had the centre) were impossible to pull out as the rubber just tore away from the outer.
 
Last edited:
Keep a hold of them they may come in handy for future rebuilds, that's if this one has not put you off ! have plenty bar lying aroung when I need another set.
 
I picked up the last batch of alloy stuff from the blasters today.

I dropped off the wheels and fork bottoms last week but changed my mind about the wheels during a moment of inspiration - they're now going the be the same colour as the frame so don't need blasted any more.

The fork bottoms are looking good though; I almost changed my mind about the wheels again :confused:

Engine's next :flash:
 
After much thought, I decided to do all the work to the engine before it gets prepared for painting - seen other folks doing it the other way round to great effect but I'm not as meticulous as them and thought I'd end up with oil fingerprints all over the nice fresh paint :)

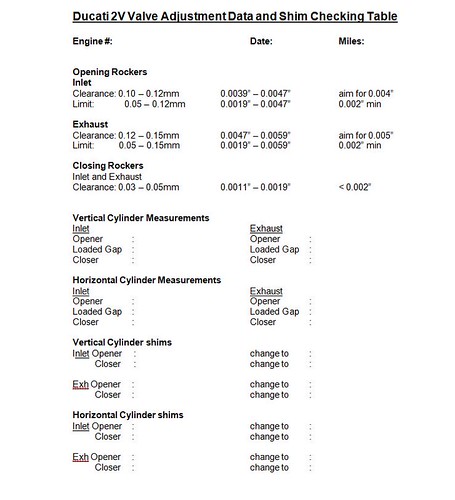
I've made a start on the horizontal cylinder, measuring the gaps and the shims and recording it all in a spreadsheet (DB isn't the only one that likes 'em :)), which calculates the sizes I need in mm and inches.

Fate must have know that I'd own a Ducati one day because when my Grandfather died back in 1977 one of the things I was given as a keepsake was his micrometer and, apart from measuring the thickness of my hair in the first few days I had it, I've only ever used it on Ducati shims.

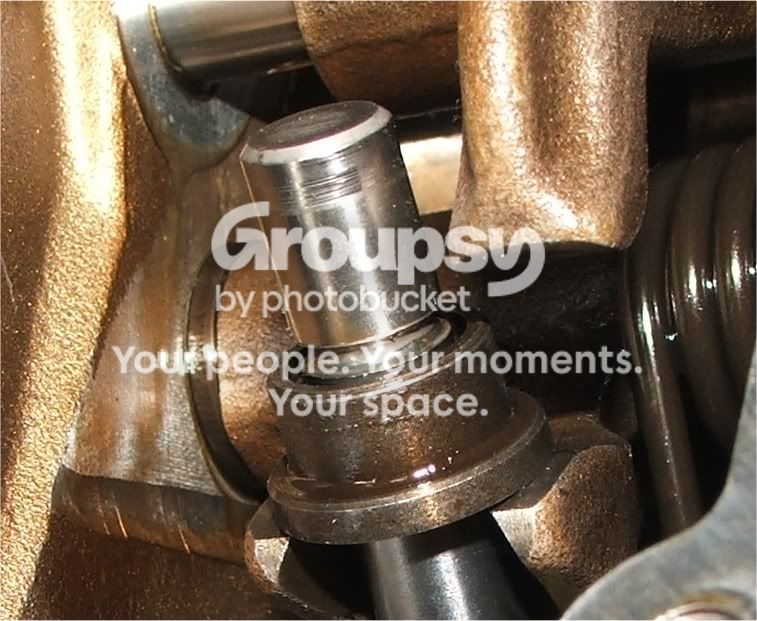
Head work has been long overdue as the exhaust opener was too tight to get my smallest feeler gauge in but not tight enough that the shim wouldn't turn. In the end I had to load the closing rocker and measure the clearance at both ends; the difference being the opener gap (1 thou of an inch :eek:) The closers are all overly loose, 7 and 8 thou instead of 1 thou, and as a result a burr has built up around the half ring groove which prevented the removal of the exhaust shim.
exhaust_valve.jpg


A little piece of emery paper sorted it out. Now just need to do the same on horizontal head.
 
Last edited:
Work on the Monster has taken a bit of a back seat in the last few months as I'd been concentrating my efforts on rebuilding the 998 and getting Trish's ST back on the road. Now all that's sorted out I thought it was time I started thinking about it again.

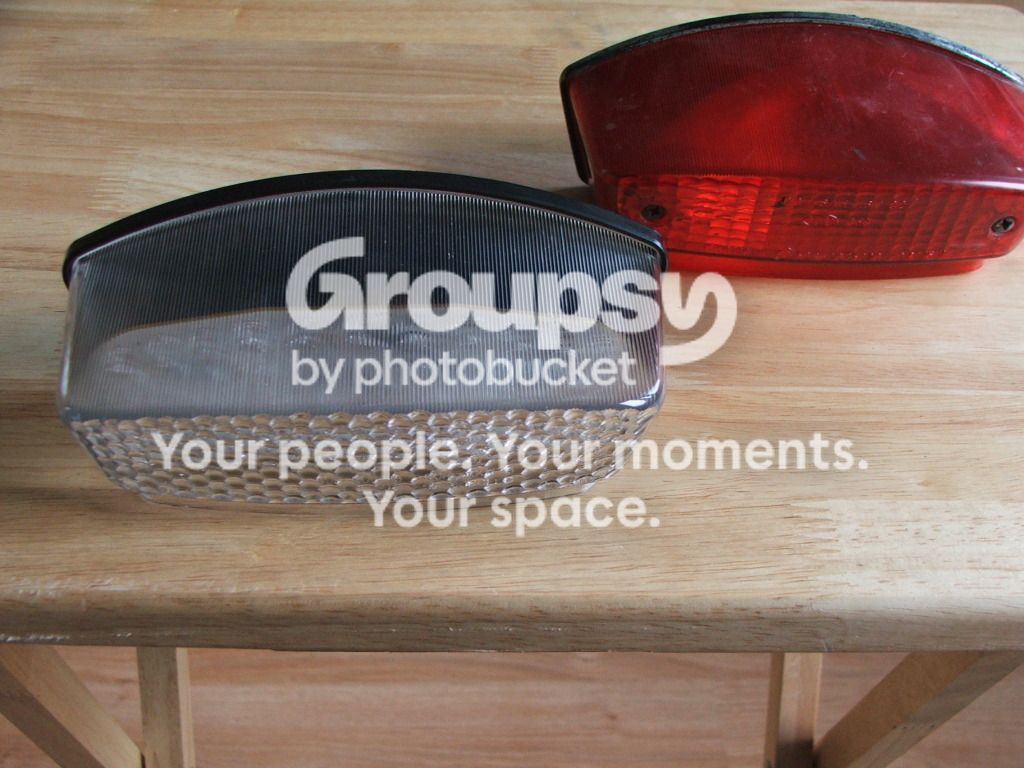
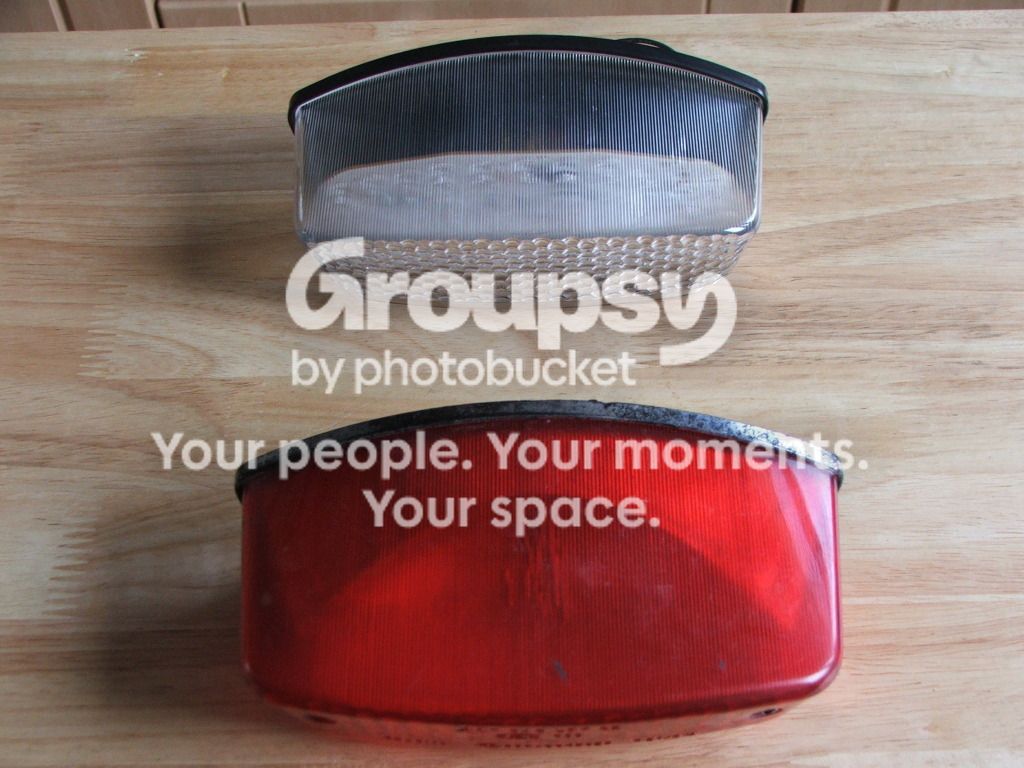
Went shopping today and came back with a new tail-light.

DSCF5257.jpg


DSCF5254.jpg


Well, you need to start somewhere :lol2:
 
43920861.jpg


What a difference a day 3 years makes.

The original plan for the Monster was to emulate the scheme of the old GT 750 with black and yellow and a Corse stripe but Sam's excellent 750 was very similar but with black and white.

Plan B involved candy apple red and some subtle air-brushing, but the idea never got off the ground.

Over the last week or 2, I've been thinking about the Monster a lot. The new plan is very similar to the original, but retaining all the original decals. The yellow and black scheme will include a satin black frame (similar to the primer it currently wears) and bead blasted and lacquered wheels.

I'm going to start setting targets of completion of jobs in order to maintain momentum so therefore plan to complete the engine service work by the end of next weekend so I can start preparing the engine itself for blasting.

I dug a few bits out the loft today for inspiration.

DSCF5877_zpsiu9ucuvh.jpg


It's now sitting in the shed like this so it can't be forgotten about.
 
Last edited:
[qimg]http://cdn.meme.am/instances/400x/43920861.jpg[/qimg]

What a difference a day 3 years makes.

The original plan for the Monster was to emulate the scheme of the old GT 750 with black and yellow and a Corse stripe but Sam's excellent 750 was very similar but with black and white.

Plan B involved candy apple red and some subtle air-brushing, but the idea never got off the ground.

Over the last week or 2, I've been thinking about the Monster a lot. The new plan is very similar to the original, but retaining all the original decals. The yellow and black scheme will include a satin black frame (similar to the primer it currently wears) and bead blasted and lacquered wheels.

I'm going to start setting targets of completion of jobs in order to maintain momentum so therefore plan to complete the engine service work by the end of next weekend so I can start preparing the engine itself for blasting.

I dug a few bits out the loft today for inspiration.

[qimg]http://i1187.photobucket.com/albums/z400/monster_998/Monster_Rebuild/DSCF5877_zpsiu9ucuvh.jpg[/qimg]

It's now sitting in the kitchen like this so it can't be forgotten about.

Fixt it for you :D
 
So much for targets......

The service work on the engine is now complete (only took 3 months longer than I planned), so now's the time to ready the engine for blast cleaning.

Heads are all taped up and sealed, just need to do the rest of it. I'll be taking a wire brush to it too as most of it has flaking paint.

Hopefully, I should have it at the blasters before new year (is this a more realistic target, I wonder? :rolleyes:)
 
Some Progress

Over the last few weeks, I've been out in the shed whenever I've had some spare time to prepare the engine for blast cleaning.

Masking up the holes with trusty gaffer tape and degreasing.

unblasted_engine_1_zps7xikaxkw.jpg


unblasted_engine_4_zpskt1xwptp.jpg


The engine was dropped off today and will hopefully be ready for collection at the end of the week.
 
Back
Top Bottom