Ducati 250 street scrambler

I have just received my brake drum back from Classic Brake Services had the shoes lined with a CB1 lining on inspection they are 1 1/2 longer on each shoe.
Linings are glued and rivited on over size then machined to fit the hub. I thought with only having a single brake drum better fitting the best I can get.
 
Sam, I'm sure a man of your calibre will not forget to chamfer the leading edges of the new friction material to prevent grabbing.
(Granny, eggs etc.)!
 
Hi yes well aware of that fix, but spoke to the guy in great length that does the linings http://www.realclassic.co.uk/techfiles/tech03092600.html and he suggested leaving alone as this material is not "grabby" in his words and keeping as much lining in there as poss.
He has the likes of Colin Seeley using his services and many classic racers so going to give his theory a try.
 
Last edited:
Finished the main stand this afternoon time to form the shoes on the bottom of each leg cut a template then cut some 3mm sheet to shape and was swithering if I should heat the plate to form then I remembered that I made tooling some 12yrs ago to form 1/2 square bar to make gates in the form of a Mackintosh design for my wee sister.

Never throw nowt out!
Photo0089.jpg


Close enough for country work.
Photo0090.jpg


Put it in the brake press

Photo0092.jpg


65 ton may be extreme!
Photo0093.jpg


But it worked, better lucky than good eh!
Photo0094.jpg
 
Started to assemble my rear brake hub this afternoon I had bought a set of aftermarket brake shoes from a well known maker but they didny fit as they were too large in dia by 1.2mm according to drum dia and measuring across the ctr of the brake shoe, so I thought why no machine them as were the front shoes. I machined up a snug fitting spigot to fit the brake plate where the wheel spindle fits through

Photo0099.jpg


then taped a M10 thread up inside the spigot then fixed the brake plate to the spigot using an over sized washer and allen bolt.

Photo0100.jpg


With the lathe turning counter clock wise this stopped the bolt coming undone but I was amazed at how out of true the shoes were to the plate from initial touch on the brake shoe to its final dia was 2.5mm just shows that you are better machining shoes to fit the drum.
 
The rod kit is arriving next week so decided to clean out the sludge trap ready for assembly

Before

IMG_2866.jpg


Nice and clean now, gun wash and compressed air works wonders

IMG_2867-1.jpg
 
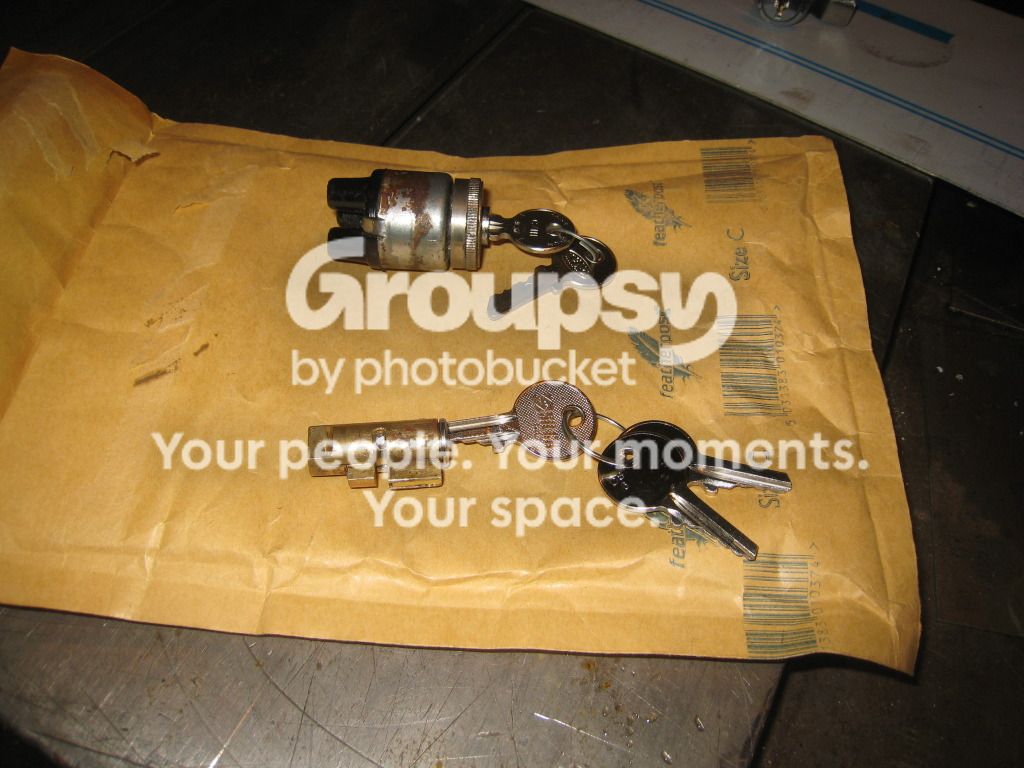
Just received a package in the post from "ma Da" I gave him the ignition switch and steering lock which I had to bore out the barrel to remove from the frame last week . He has managed to @@@@@@@ise another barrel to fit and made keys for both.:thumbs:

Just what are Dads for!

IMG_2888-1.jpg
 
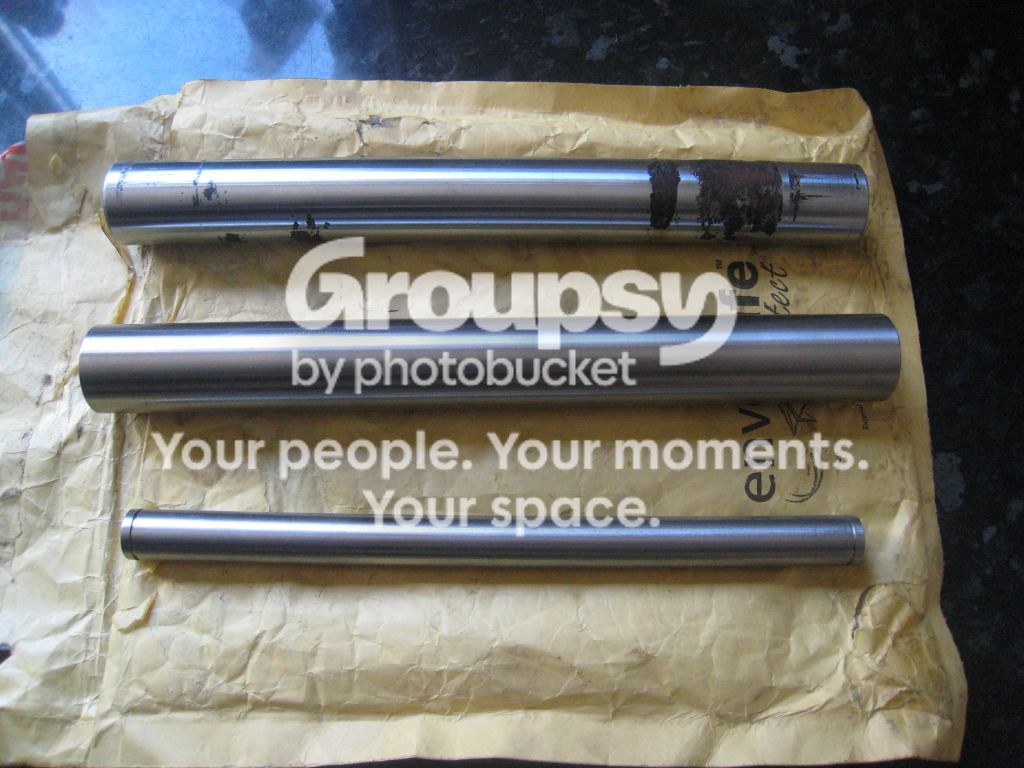
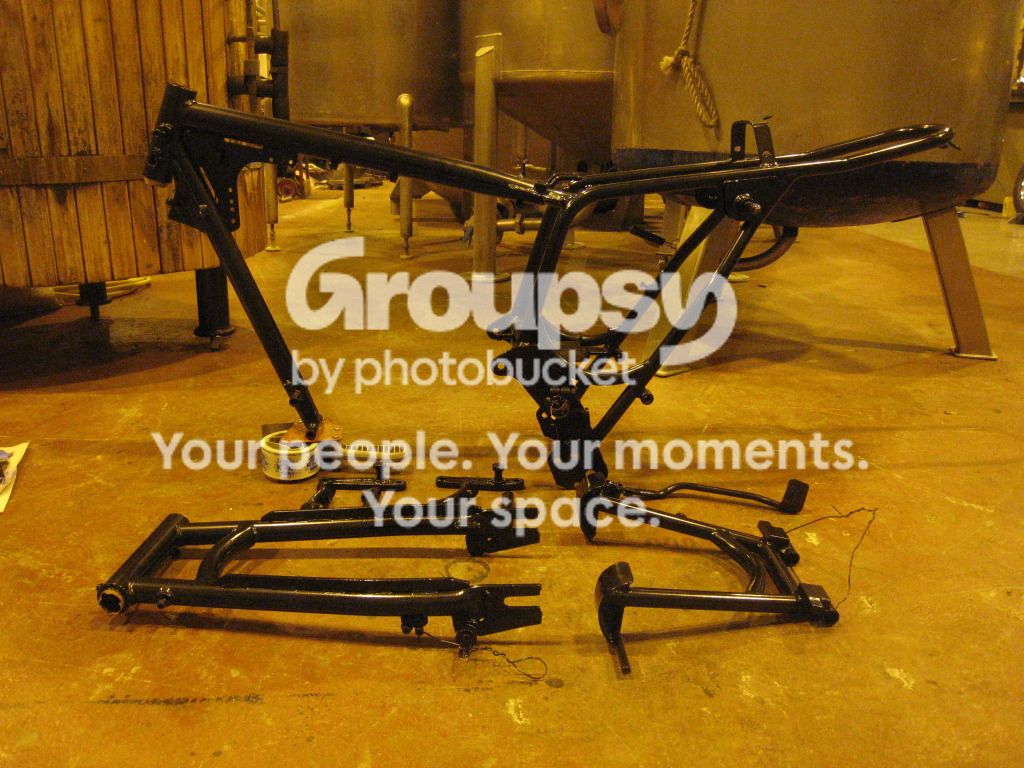
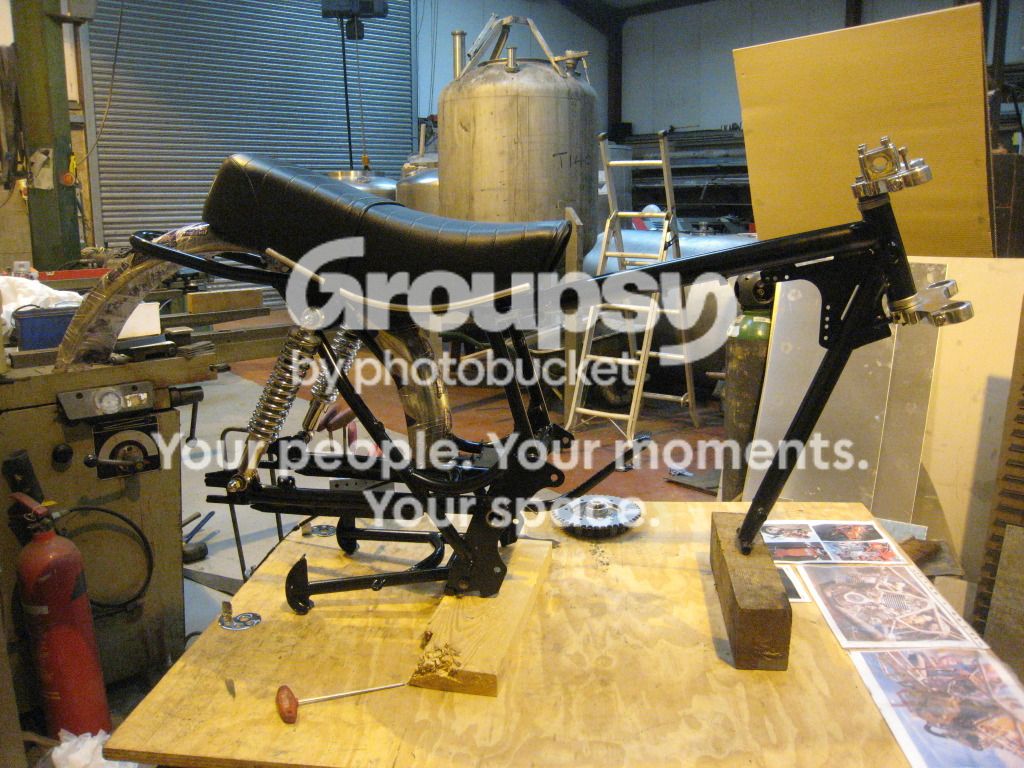
Tape removed threads cleaned also added another grease nipple to the swing arm on the drive side (I had tapped another hole prior to coating!), the original only had a grease point the far side this way it will definately get grease. Swing arm fitted with a new pivot pin and shocks.

IMG_2892.jpg
 
Off topic but Classic Bike his month did a wee feature on the Ariel Arrow.

Someone mentioned long running project................:whistle:
 
Off topic but Classic Bike his month did a wee feature on the Ariel Arrow.

Someone mentioned long running project................:whistle:

It's their fault I started it in the first place! I REALLY should get it done, but keen to get the A10 on the road first as I would actually put the miles on that as opposed to a hopped up, cramped up 2 stroke. What bikes are getting on the SDC track day again?
 
It is a drill that uses special cutters and has a switched electric powered magnetic base, good for drilling large holes in heavy / thick steel. Mainly used for boring beams in the construction of buildings and the likes.
 
Back
Top Bottom